Chapter 4: Insert a Date or Time
FA69315–5 English 39 Linx 5900 & 7900 Quick Start Guide
4 Insert a Date or Time
In this chapter you learn how to use a Date field or a Time field in your
message. These field types use the current date and time, which is stored in
the internal clock in the printer. You can use an offset to change the printed
date or time (see page 41).
4.1 Create the field
To insert a Date and Time field in a message, perform the following steps.
4.1.1 Edit the message
1. At the Print Monitor page, press the Message Store key.
2. At the Message Store page, use the arrow keys to highlight the
required message, then press the Edit key. The Message Editor page
is displayed, and shows the content of the message that you selected.
The cursor (see Figure 2-3 on page 16) shows your current position
within that message.
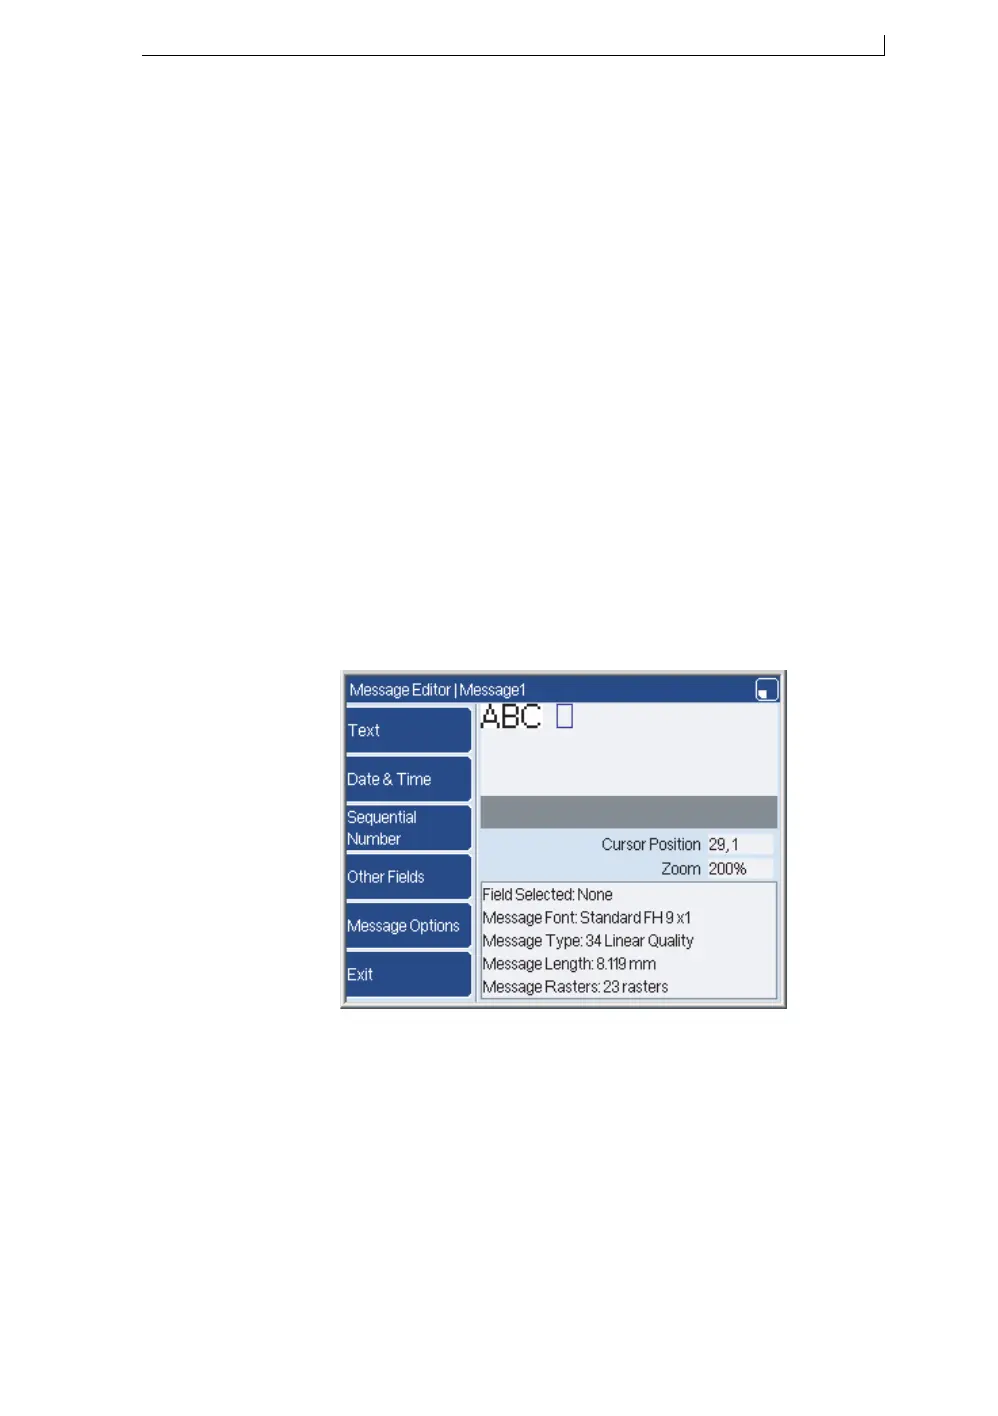
3. Use the arrow keys to move the cursor to the position where you wish
to insert the field. Make sure that the cursor is beyond the boundaries
of any existing field:
Figure 4-1. Message Editor and Cursor