Page 6 of 13 FA69349–2 English
Jun 2013
13
How To Create a Logo
Linx 7900
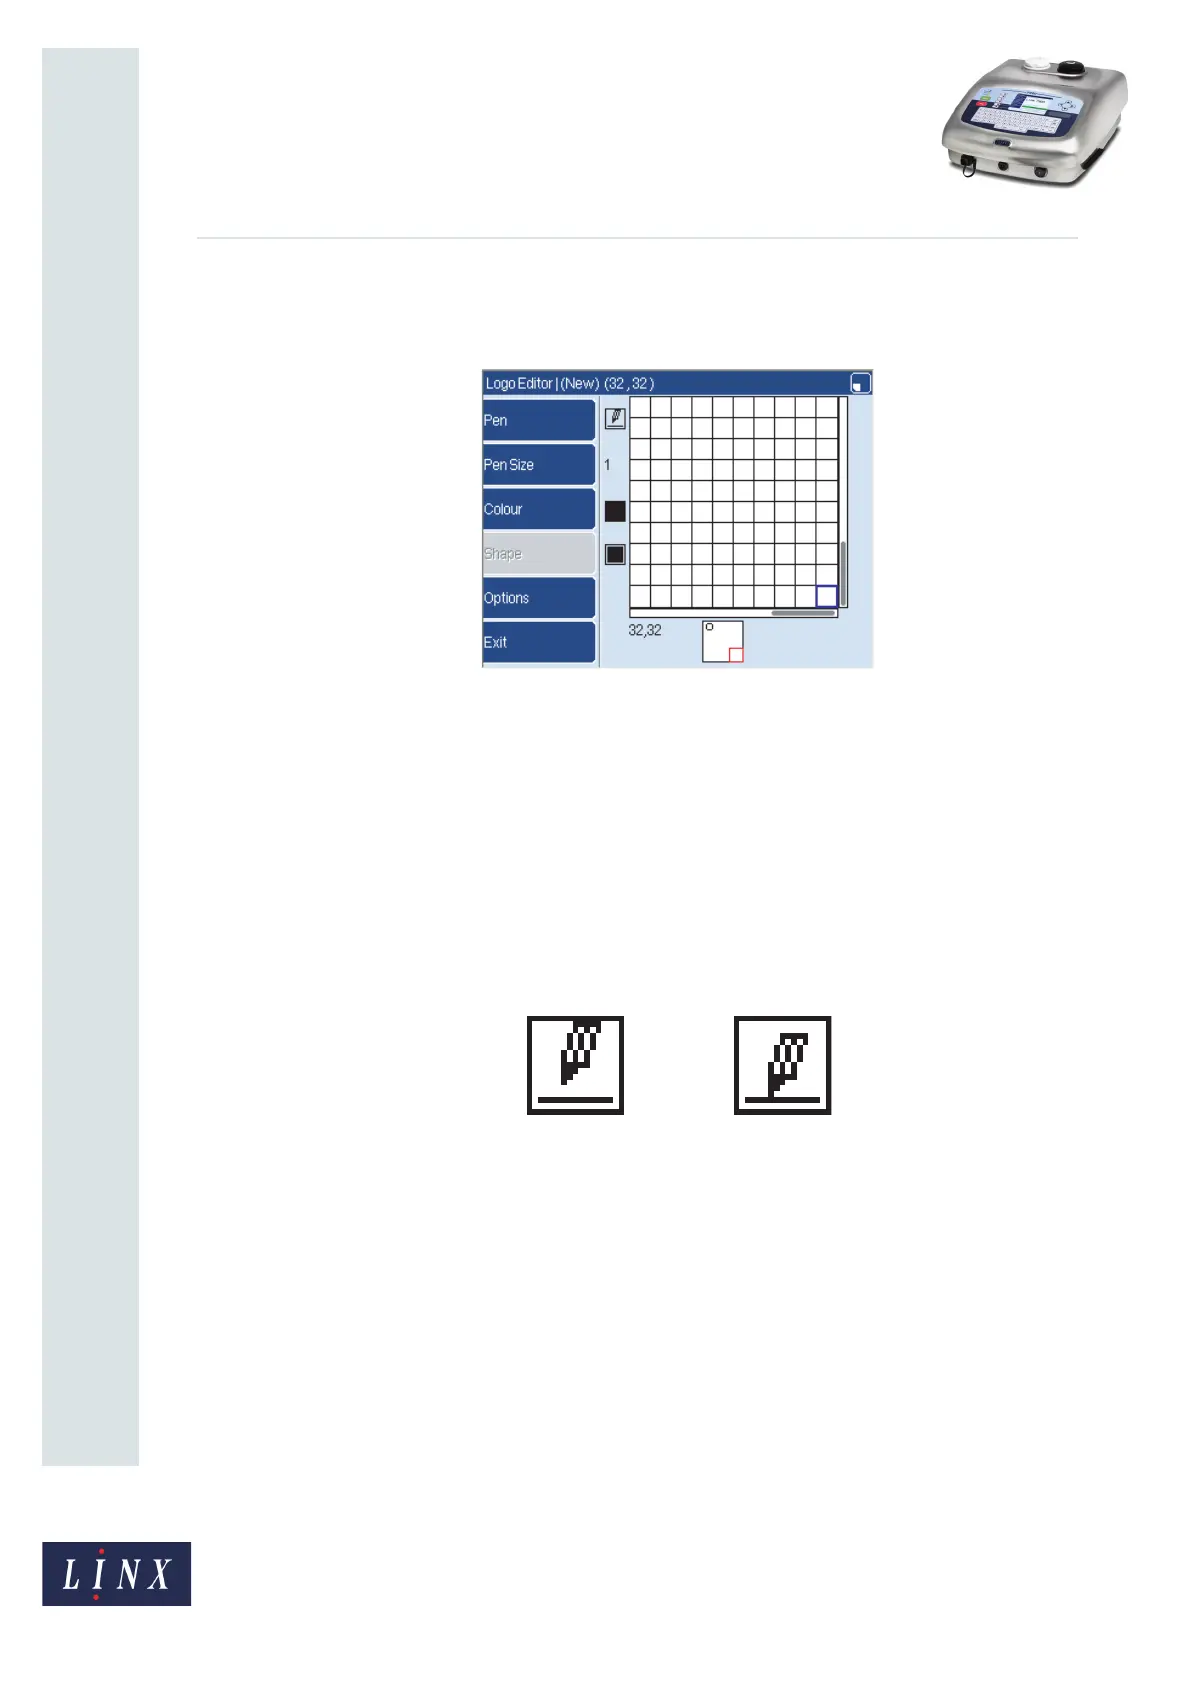
Figure 6 shows a logo that contains a circle at the top of the logo. The scroll bars and the red
box indicate that you can see the bottom corner of the logo. The circle is not visible because
the cursor is moved to row 32 and column 32, but you can see the circle in the preview box.
Figure 6. View window and scroll bars
The shape of the preview box changes if you change the height or the width of the logo (see
‘Resize’ on page 10).
2.3 Logo Editor keys
The following keys are available in the Logo Editor page.
2.3.1 Pen
The Pen key controls the action of the cursor. Figure 7 shows the icon that is next to the Pen
key.
Figure 7. Pen icon
Figure 7 (a) shows a pen above a surface and Figure 7 (b) shows a pen that touches a
surface. The icon indicates the action of the cursor, as follows.
(a) When the printer displays this icon and you move the cursor, the cursor does not
change the colour of any squares.
(b) When the printer displays this icon and you move the cursor, the cursor draws a line.
To select the required action and change the icon, press the Pen key or press the space bar
on the keyboard.
NOTE: When you make any changes to your logo, remember that the Logo Editor does not
have an ‘Undo’ function. If you make an error, you must change the pen colour and
overwrite your changes, or discard the logo and restart the process.
69262