Rev: 06.05.18 Page 2
CCD-0001360
System and Safety Information
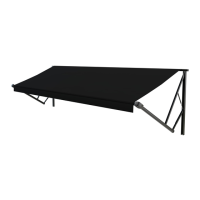
The Solera® Classic Awning is designed for use on most recreational vehicle units and is available in a variety
of sizes to fit even the largest unit. Additional information about this product can be obtained from www.
lci1.com/support or by downloading the free myLCI app. The app is available on iTunes® for iPhone® and
iPad® and also on Google Play™ for Android™ users.
iTunes®, iPhone®, and iPad® are registered trademarks of Apple Inc. Google Play™ and Android™ are
trademarks of Google Inc.
Fig. 1
TABLE OF CONTENTS
System and Safety Information 2
Preparation 3
Resources Required 3
Installation 3
Installing the Awning Rail (If Necessary) 3
Assembling the Awning 4
Mounting the Bottom Mounting Brackets 4
Mounting the Awning 5
Securing the Fabric 7
Installing the Stop Bolt 7
Notes 8-9
NOTE: Solera® Classic Awning drive and idler heads are preloaded with tension and secured with cotter
pins from the factory. If the cotter pins have been removed or otherwise lost, and tension needs to
be added to the heads, use the turn chart (Fig. 1) to add the correct number of turns to the awning
heads.
Moving parts can pinch, crush or cut. Keep clear and use caution.
Failure to follow the instructions provided in this manual may result in death, serious injury, unit
damage, or voiding of the component warranty.
Classic Awnings Pre-Install
Turn Chart
Size Turns
6 ft to 10 ft 4
11 ft to 14 ft 5
15 ft to 18 ft 6
19 ft and up 8

 Loading...
