Rev: 06.05.18 Page 5
CCD-0001360
Mounting the Awning
1. Measure the distance from the awning rail channel to the lower mounting bracket fastening point.
2. Compare the distance from the center of the roll tube and the support arm assembly foot to the
measurement in Step 1 and adjust the support arm assembly to make both distances equal.
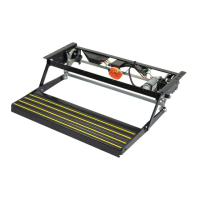
A. Open the support arm assembly handle (Fig. 6) and slide the outer arm lower channel (channel #2)
(Fig. 7) up or down as required. Close the handle and slide the outer arm lower channel (channel
#2) (Fig. 7) until the locking pin clicks into the nearest positioning hole.
Fig. 6
Fig. 7
Fig. 8
3. Use a screwdriver to spread open either end of the awning rail on the installation side (Fig. 8A).
4. To protect the fabric from damage during installation, file any sharp edges or burrs from the awning rail
channel.
5. Use silicone lubricant and spray the inside of the awning rail channel (Fig. 8B).
6. Remove the packaging from the fabric. Unroll a small portion of fabric, but not more than one turn.
NOTE: The next step will require three people: One to feed the polycord into the awning rail channel; two
to walk the support arm assemblies along the awning rail while the fabric slides into position.
7. Slide the polycord into the awning rail channel and walk the support arm assemblies and fabric down
the awning rail channel until the support arm assemblies are in line with the centerline marks made
previously.
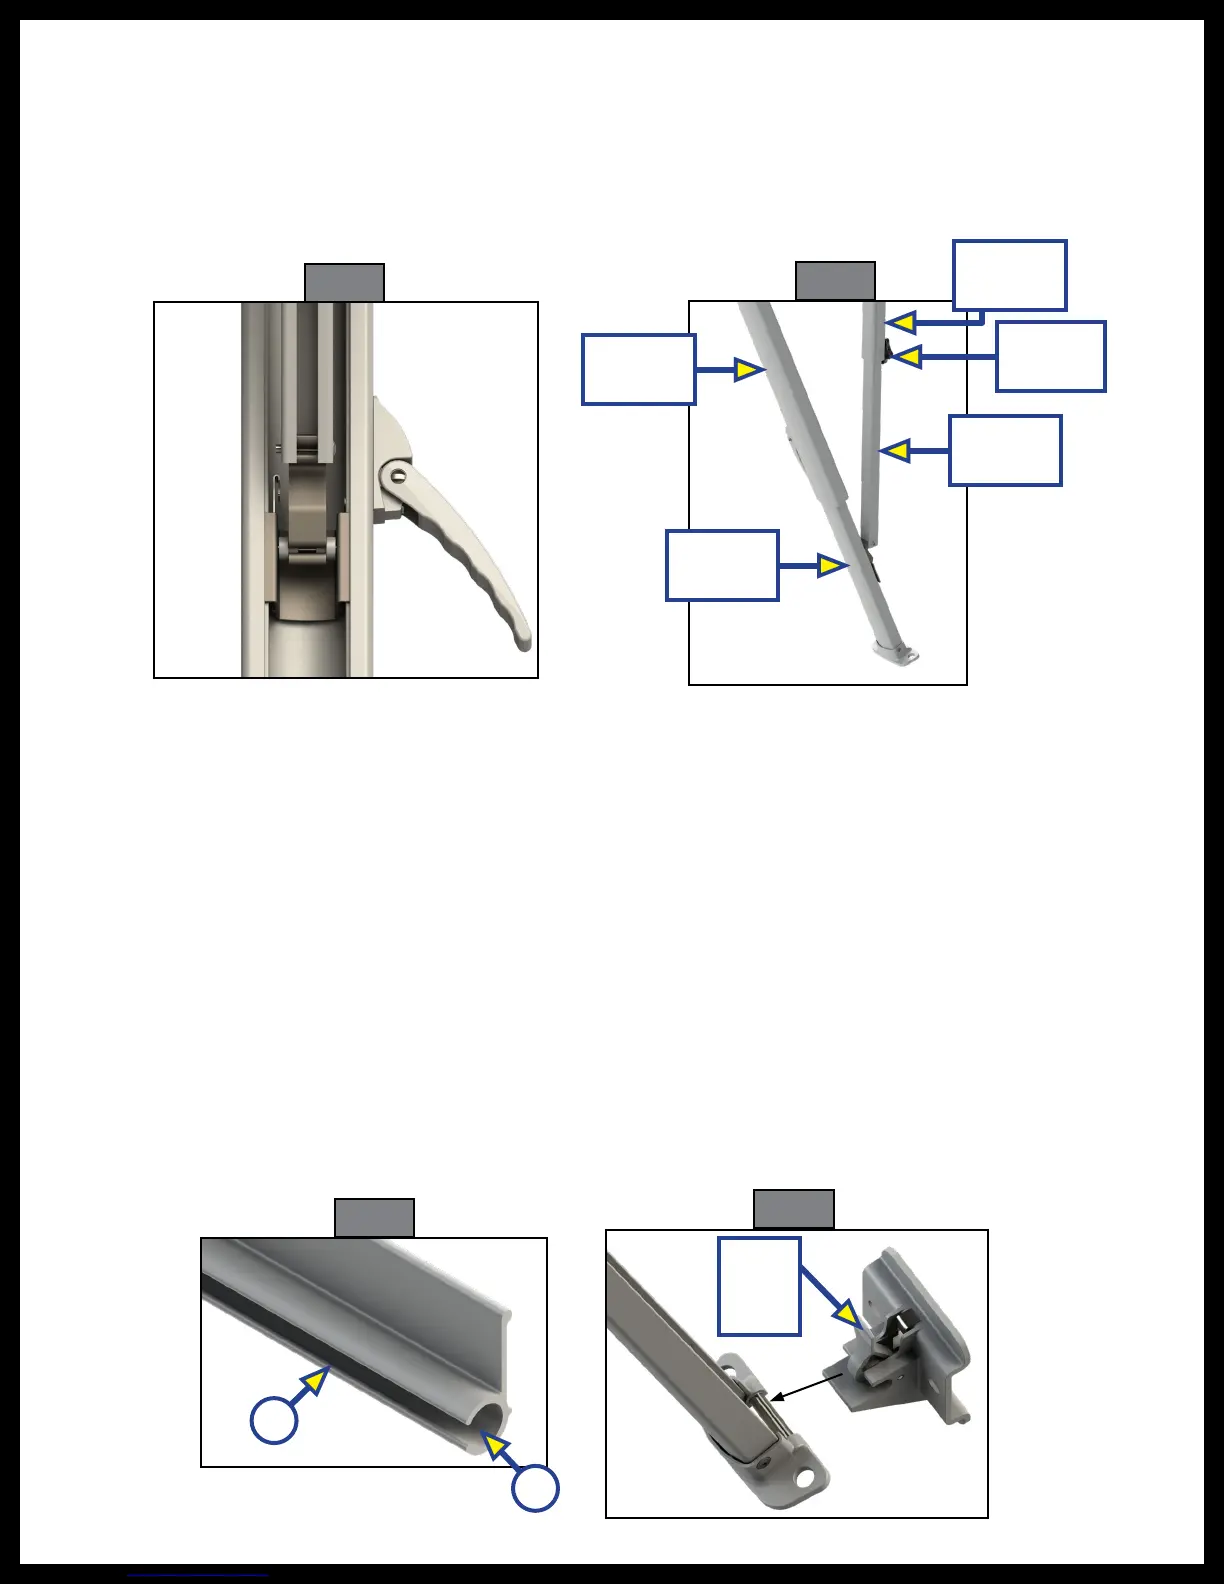
8. Lift the support arm assembly up and secure the feet into the previously installed bottom mounting
brackets by pressing the lever and opening the latch (Fig. 9).
9. Slide the mount/rafter arm upper channel (channel #3) (Fig. 7) up or down as needed over the mount
arm lower channel (channel #4) (Fig. 7).
NOTE: If adjustments need made so the upper mounting brackets straddle the awning rail, loosen the
black locking knob on the mount/rafter arm upper channel (channel #3)(Fig. 7).
Channel
#1
Channel
#2
Channel
#4
Locking
Knob
Fig. 9
A
B
Channel
#3
Push
to
Open

 Loading...