3 Press to select ‘Once’, ‘Daily’ or ‘Weekly’,
then press ENTER.
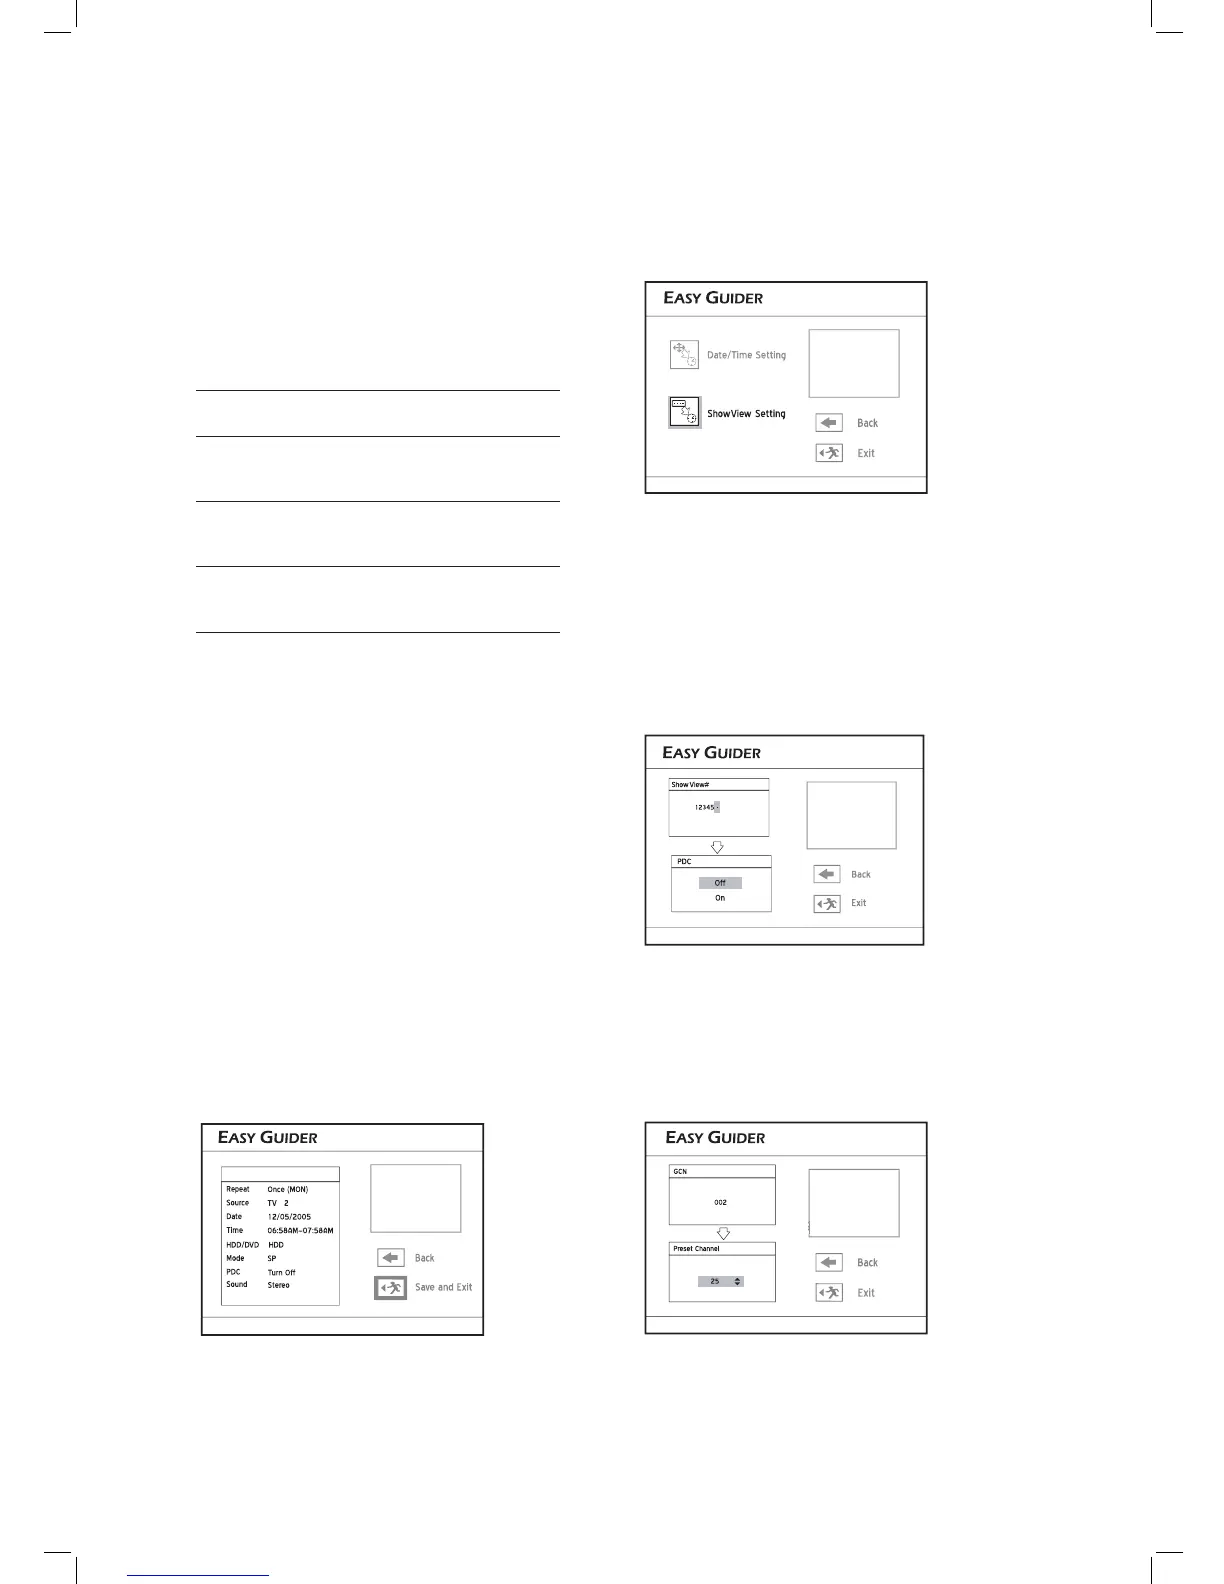
4 Press number buttons (0-9) to enter the ShowView
number of a program you wish to record, then
press ENTER.
Press to switch on or off the PDC function,
then press ENTER.
(For more details, please see ‘VPS (Video Program-
ming System) & PDC (Program Delivery Control)’
(p.41) in the note section.)
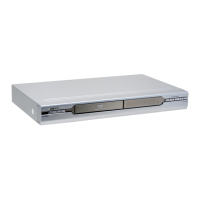
5 A ‘Preset Channel’ pop-up box will appear, if the
DVD recorder fails to fi nd information of a cor-
responding channel.
Press to enter the channel number which
corresponds to the GCN (Guide Channel Number)
designated by the ShowView system, then press
ENTER.
As the channel number of a TV station may vary
depending on where you live, you need to set up a
matching list in order to use the ShowView system
to schedule a timer program.
3 Press to select the signal source, then press
ENTER.
If you select ‘TV’, press to select the channel
you want to record, then press ENTER.
If you select ‘TV’, press to switch on or off the
PDC function, then press ENTER. (For more details,
please see ‘VPS (Video Programming System) &
PDC (Program Delivery Control)’ (p.41) in the note
section.)
4 Press to select ‘Once’, ‘Daily’ or ‘Weekly’,
then press ENTER.
Recording
Frequency
Suitable Applications
Once
To record program aired at a
specifi c date/time
Daily
To record program aired every day
at a specifi c time
Weekly
To record program aired on certain
day(s) every week at a specfi c
time
5 Press or number buttons (0-9) to enter
the date, then press ENTER.
You can set the date up to 2099/12/31 (Year/Month/
Day)
6 Press or number buttons (0-9) to enter
the Start time, then press ENTER.
7 Press or number buttons (0-9) to enter
the End time, then press ENTER.
8 Press to select ‘DVD’ or ‘HDD’ as the target
medium to save the recording , then press
ENTER.
9
Press to select a recording mode, then press
ENTER.
10
If your signal source is set to ‘TV’, press to
select a TV audio mode, then press ENTER.
11
Summary of the timer program will appear.
Press to select ‘Back’ to modify the setting.
Or press ENTER to save the setting and exit the
screen.