44
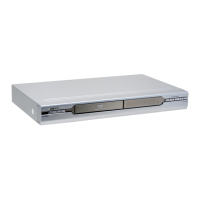
The clean-up process will then start.
7 When completed, press ENTER to exit the screen.
The application will permanently delete selected fi les
or albums.
Overall clean-up time may vary depending on the
original recording conditions.
Defragment (HDD)
1 On the Easy Guider menu, press to select
‘Disc Tools’, then press ENTER.
2 Press to select ‘Tools for Hard Drive; then
press ENTER.
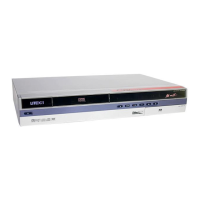
3 Press to select ‘Defragment’, then press
ENTER.
4 Press to select ‘Go’, then press ENTER.
The defragmenting process will then start.
5 When completed, press ENTER to exit the screen.
Materials on the hard drive will not be lost during this
process.
Regular defragmenting is recommended, as it helps
improve overall performance of the hard drive.
If during the process you decide to cancel the ap-
plication, you can press to select ‘Exit’, then press
ENTER to exit the present screen.
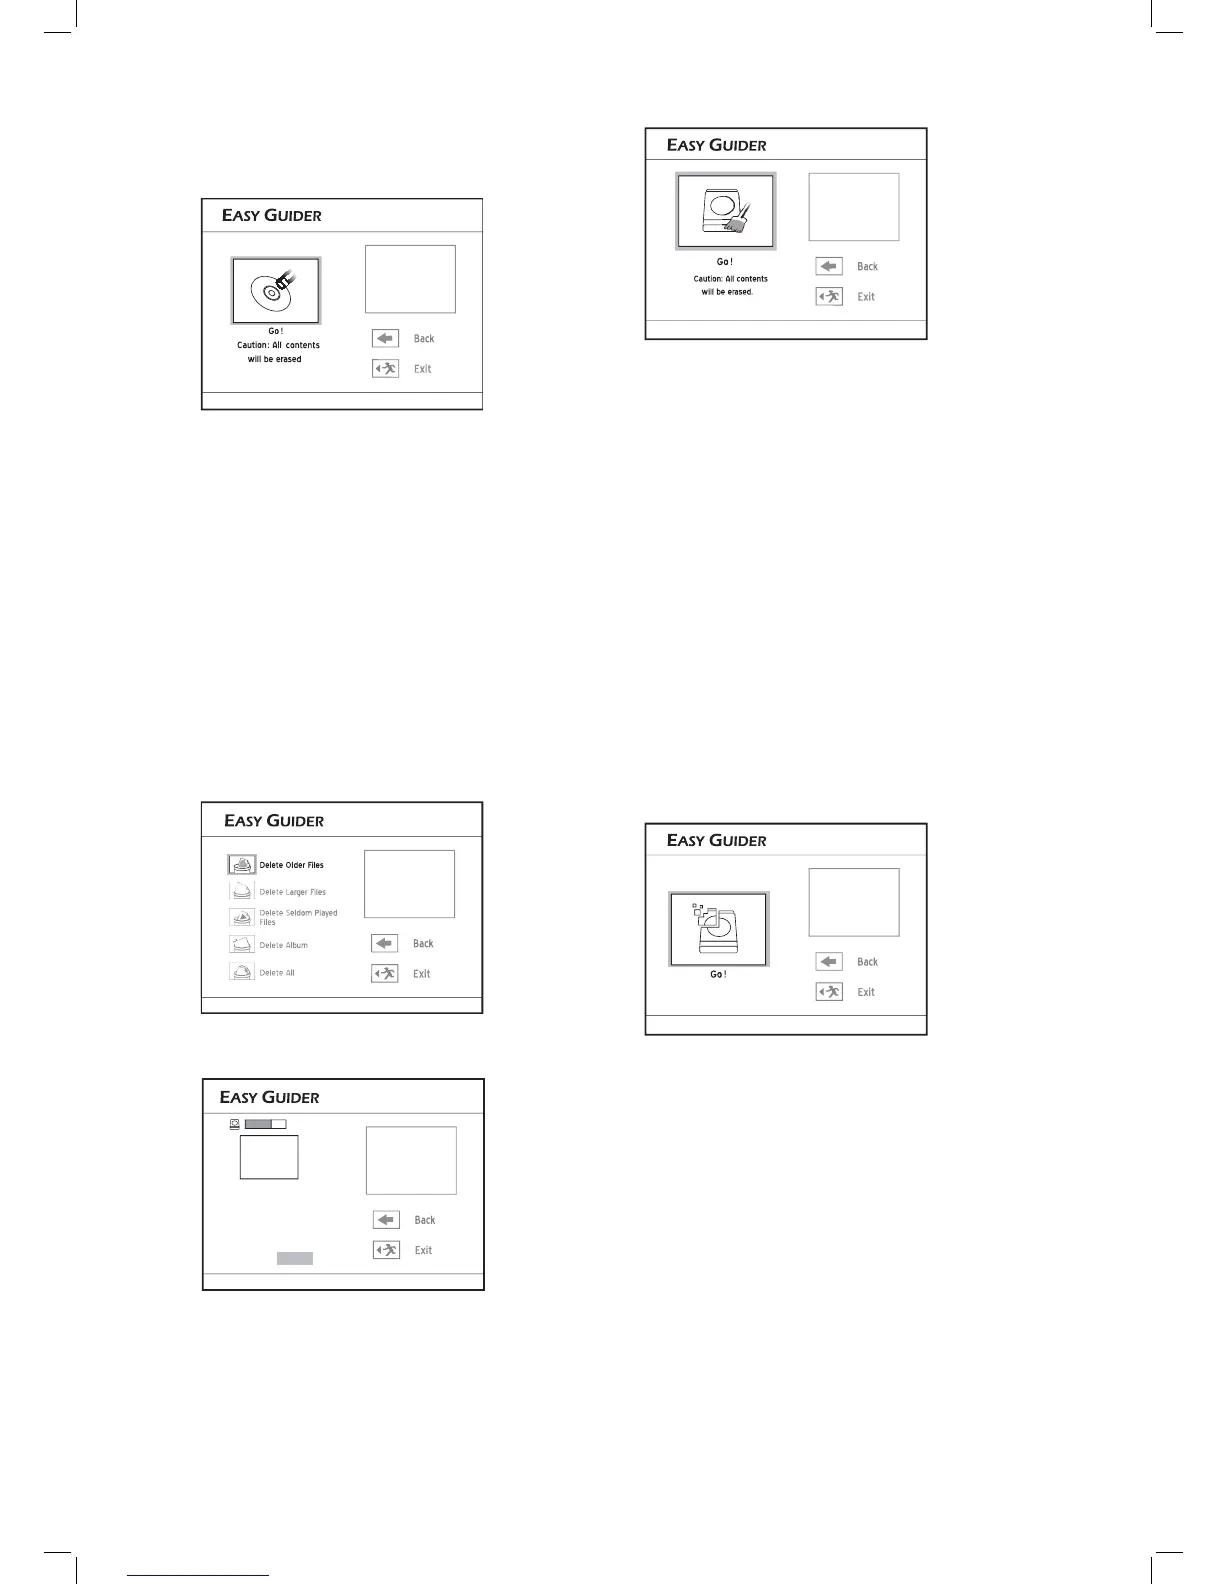
3 Press to select ‘Erase’, then press ENTER.
4 Press to select ‘Go’, then press ENTER.
The erasing process will then start.
5 When completed, press ENTER to exit the screen.
Clean up (HDD)
1 On the Easy Guider menu, press to select
‘Disc Tools’, then press ENTER.
2 Press to select ‘Tools for Hard Drive; then
press ENTER.
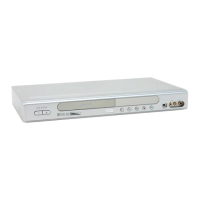
3 Press to select ‘Clean up’, then press
ENTER.
4 Press to select ‘Delete Older Files’, ‘Delete
Larger Files’, ‘Delete Seldom Played Files’, ‘Delete
Album’, or ‘Delete All’, then press ENTER.