SMARTNEO - OPERATING MANUAL // PAGE 27
9.3 AUTO-DETECT: CHANGING THE NUMBER OF
SLIMDRIVES
NOTICE In Cascading Systems, this process will only aect the Actuators attached to the master
Control Box. Refer to the Cascading Manual to avoid system damage.
NOTICE Auto-Detect settings depend on the parameterization of the SMARTneo-2G. Contact
LOGICDATA before attempting to change the table conguration.
The SMARTneo-2G can automatically detect how many SLIMdrives are connected to the system. This means
that you can change the number of SLIMdrives the SMARTneo-2G must control without changing the pa-
rameterization of the control box. To change the number of SLIMdrives to be controlled:
1. Perform a Factory Reset (Chapter 8.3)
2. Disconnect the SMARTneo-2G from the mains and wait for 10-15 seconds
3. Connect/Disconnect SLIMdrives at Plug Ports M1/M2 until you have the desired number.
4. Reconnect the SMARTneo-2G to the mains
▸ The error code E70 will appear on the Hand Control
5. Perform a Position Reset Procedure (Chapter 6.7)
▸ You can now use the table system as normal
9.4 CHANGING THE NUMBER OF ACTUATORS (OTHER)
CAUTION
Risk of injury through incorrect installation
Only Skilled Persons have the expertise to complete this process safely. Installation by
unskilled persons can lead to minor or moderate personal injury or system damage.
• Ensure that only Skilled Persons are allowed to complete the installation
• Refer to Chapter 2.8 to ensure that personnel meet all requirements.
NOTICE The menu has a timeout of 5 seconds. If no entry is made in this time, it will close with-
out saving settings.
This function allows you to manually change the number of Actuators that the SMARTneo-2G will control.
Proceed as follows to manually change these settings.
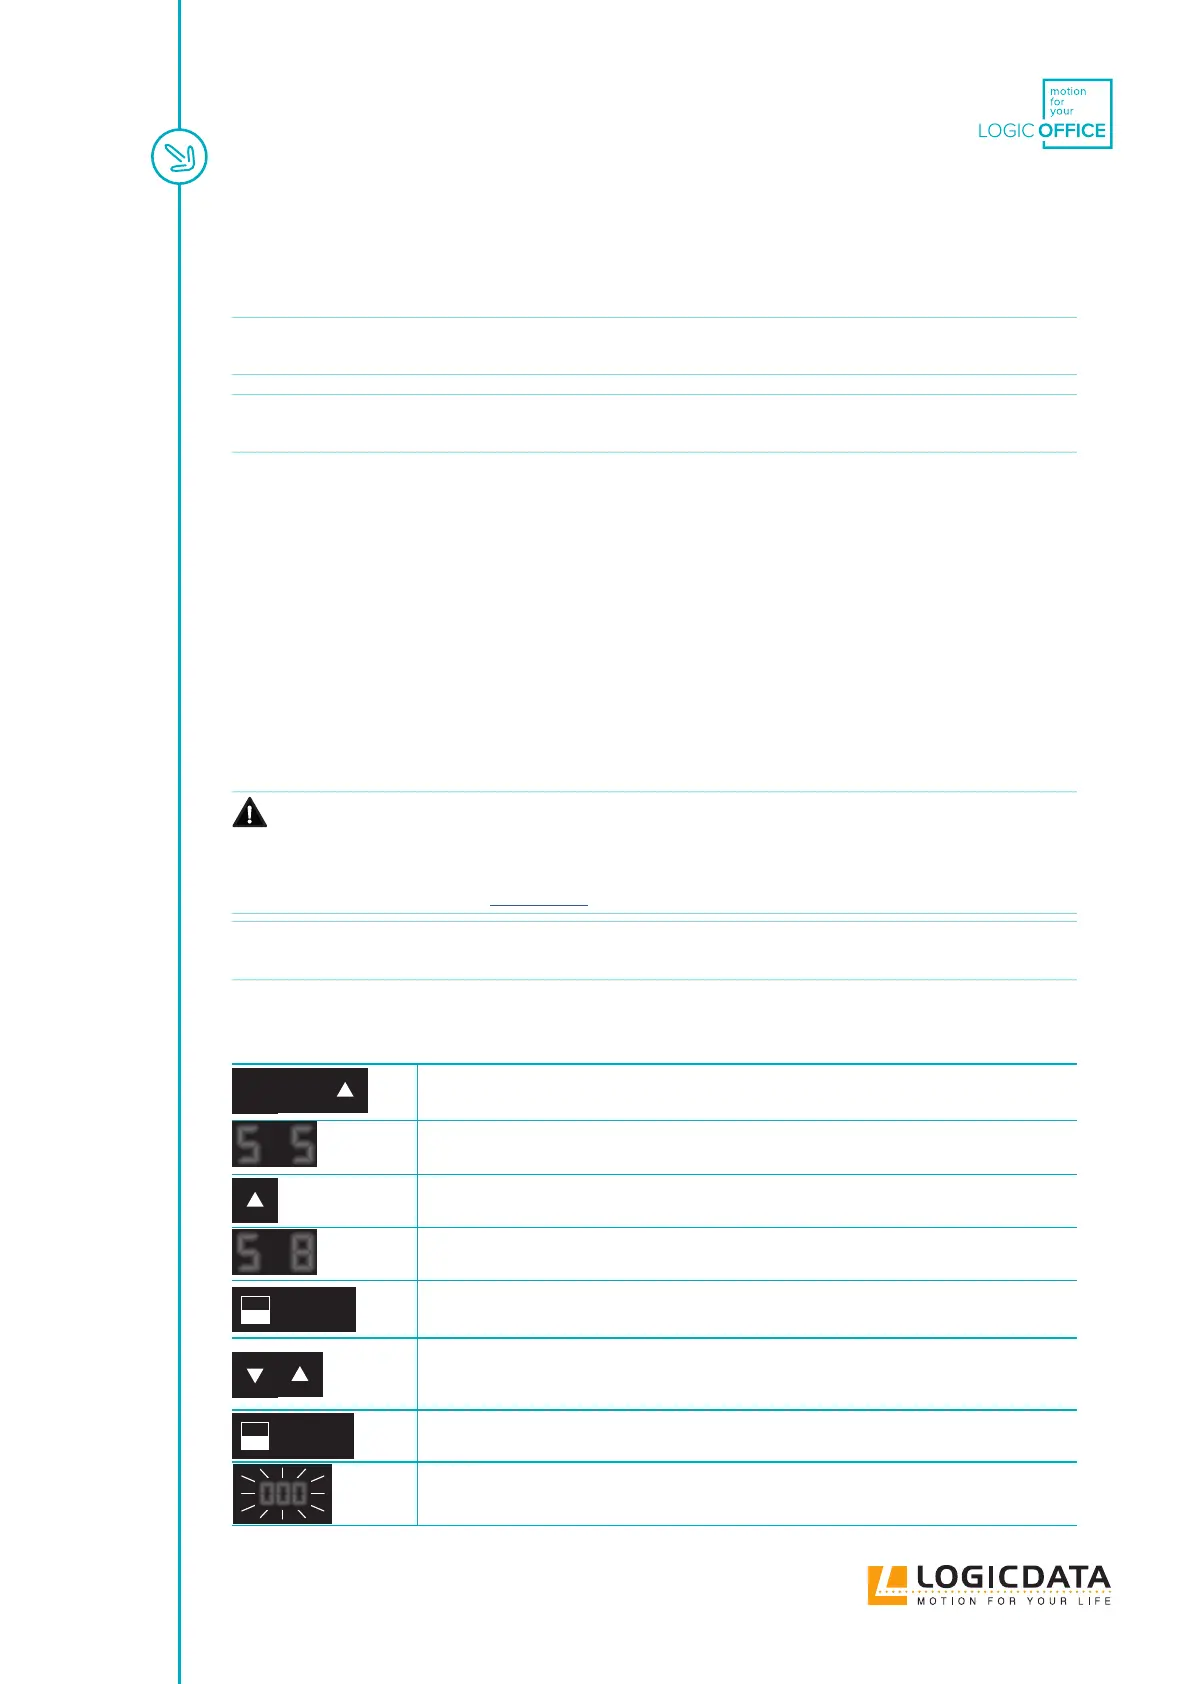
1. Press the Memory Position Keys 1 and 2 and the UP Key for 3 seconds.
▸ The display will show S and a number, e.g. S 5.
2. Press the UP Key until the display shows S 8.
▸ The display shows S 8.
3. Press the SAVE Key
▸ The display will show the currently detected number of motors (1 or 2)
4. Press the DOWN Key to reduce the number of Actuators (Minimum 1).
5. Press the UP key to increase the number of Actuators.(Maximum 2).
▸ The display will show the selected number of Actuators.
6. Press the SAVE Key to conrm the changes to settings.
7. When 000 ashes on the display, perform a Factory Reset (Chapter 8.3)
2
1
S 5
S 8
SAVE
SAVE
ooo
 Loading...