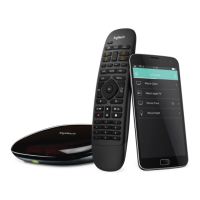
Logitech Harmony Smart Control
36
4. Hover over a command to assign to that button and click on Long Press, Short Press, or Both to make
the selection.
5. Click OK.
NOTE: Each button on your remote can be assigned more than one command. For example, the Fast
Forward button on the top of your remote can be set up so that quickly pressing it (short press)
activates the Fast Forward function and holding it (long press) activates the Skip Forward function.
You can also assign a sequence of commands instead of a single command, but you must use
MyHarmony to assign command sequences to buttons.
Device mode
It is recommended that you map buttons while in Activities mode so that you do not need to go into device mode to
send commands to your device. Buttons mapped in device mode will not carry over into any of your Activities.
Changing hub assignments with MyHarmony
By default, IR signals are sent at the same time from the Harmony Hub and the IR mini blaster in order to control
your equipment. This default works for the vast majority of configurations. If you have an advanced set up such as
multiple televisions or multiple set top boxes that are of the same manufacturer, then you may need to isolate
signals to the IR mini blaster. To change this behavior:
1. Select the Settings tab on the left hand side of the screen.
2. Click Hub Assignments.
3. Select the correct assignment for each device from the drop-down list for that device. Choose between:
• Hub & mini blasters
• Hub only
• Mini blaster port 1
• Mini blaster port 2
4. Click Finish.
Upgrading your Harmony Smart Control firmware
When new firmware is available for Harmony Smart Control, the Harmony App displays a message notifying you to
sync your Harmony App with MyHarmony. In addition, when you manually sync your Harmony App with
MyHarmony, it always checks for a firmware update and begins the update if needed.
Personalizing your Remote
Customizing Favorite Channel icons with MyHarmony
When you choose a Favorite Channel from the list of channels offered by your provider, a default icon for that
channel is provided. To choose a different icon for a channel, follow these steps:
1. Select the Favorites tab on the left had side of the screen.
2. Click Edit Your Favorite Channels.
3. Click Next.