19
Underneath existing work top
(Whenttingbeneathaworktop)
Inmostmodernttedkitchensthereisonlyonesingleworktopunderwhichcabinets
andelectricalappliancesaretted.Inthiscaseremovetheworktopofthedishwasher
byunscrewingthescrewsundertherearedgeofthetop(a).
a
b
b
Attention
Afterremovingtheworktop,thescrewsmustbescrewedagainundertherear
edgeofthetop(b).Theheightwillthenbereducedto815mm,asscheduledbythe
InternationalRegulations(ISO)andthedishwasherwilltperfectlyunderthekitchen
workingtop.
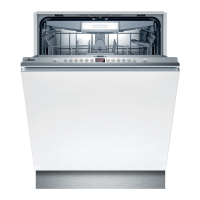
Built-In Installation(for the integrated model)
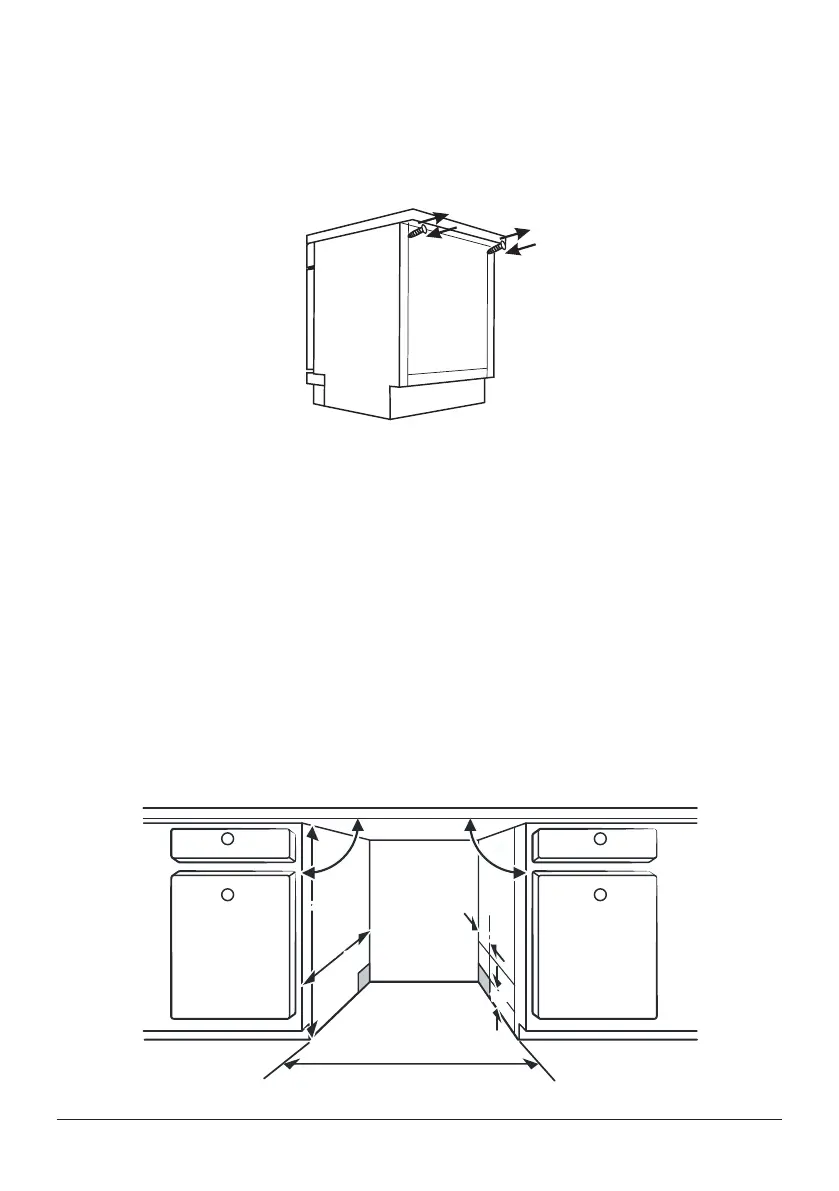
Step 1. Selecting the best location for the dishwasher
Theinstallationpositionofdishwashershouldbeneartheexistinginletanddrain
hosesandpowercord.Illustrationsofcabinetdimensionsandinstallationpositionof
thedishwasher.
1. Lessthan5mmbetweenthetopofdishwasherandcabinetandtheouterdoor
alignedtocabinet.
AA
100
80
Electrical,
drainand
water
supplyline
entrances
Spacebetween
cabinetbottomand
oor
600mm(for60cmmodel)
450mm(for45cmmodel)