N843_QSG_EN_R2
Test your cameras prior to selecting a permanent mounting location by temporarily
connecting the cameras and cables to your NVR using one of the following 2 methods:
a. Connect cameras directly to the recorder (recommended).
N843 Series
Quick Setup Guide
Physical setup of recorder and essential system settings
b. Connect cameras to a PoE switch or router on your network (not included).
1 / 2
Connect the recorder to your router using the included Ethernet cable.
NOTES:
• It may take up to 1 minute for cameras to start up and transmit video to your recorder.
• This guide covers connecting IP cameras to your security recorder only. For full instructions on
installing your cameras, please refer to your camera’s documentation at lorex.com.
• Connecting cameras to a router, or a network switch without PoE, requires a power adapter for
each camera. Refer to your camera’s documentation at lorex.com for the correct power adapter
model number.
OR
NOTES:
• If you are using a PoE switch, ensure the switch is connected to the same network as your
recorder.
• To receive automatic rmware updates and enable remote viewing with mobile apps, a high
speed Internet connection is required (minimum upload speed of 5Mbps required for 4K viewing;
3.5Mbps for lower resolutions). All other system features can be used without an Internet
connection.
Copyright © 2021 Lorex Corporation
As our products are subject to continuous improvement, Lorex reserves the right to modify product design, specications
and prices, without notice and without incurring any obligation. E&OE. All rights reserved.
Need Help?
Visit us online for up-to-date software
and complete instruction manuals
Click on the Downloads tab
4
Visit lorex.com
Search for the model
number of your product
Click on your product
in the search results
3
2
1
See the steps below (expanded instructions to the right) to complete initial setup of the
recorder:
Lorex Fusion supports connectivity with select wireless devices to the NVR. To learn more
about fusion connectivity and which Lorex devices are compatible with this feature, visit
lorex.com/pages/fusion.
* Not included / sold separately.
For camera compatibility information, visit lorex.com/compatibility.
STEP 1:
Connect cameras*
STEP 2:
Connect router*
STEP 3:
Connect mouse
STEP 5:
Connect power
STEP 4:
Connect monitor*
Overview of extra ports:
NOTE: For full instructions on using the extra ports, please refer to your security recorder’s instruction
manual at lorex.com.
Audio In/Out
Connect microphone / speaker*
Setting Up Your Recorder
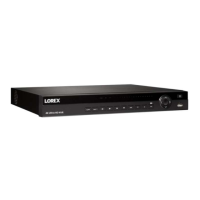
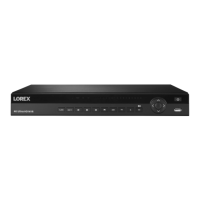
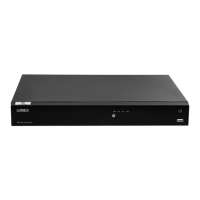
USB MouseEthernet CablePower Adapter HDMI Cable
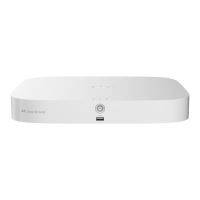
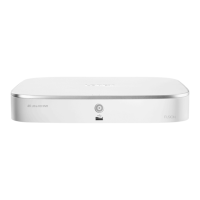
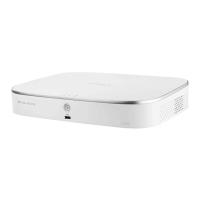
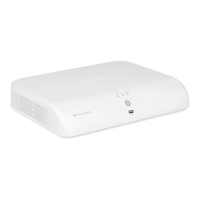
4K Ultra HD Security NVR
12.8” / 324mm
9.6” / 245mm
2.4”
60mm
Package Contents
Dimensions
Lorex Fusion
s
STEP 1: Connect cameras*
Connect the recorder to a monitor using the included HDMI cable or a VGA cable (not
included). The HDMI port supports up to 4K resolution, and VGA supports up to 1080p.
Connect the included mouse to a USB port on the recorder.
Use the included power adapter to connect the recorder to a nearby outlet.
OR
IMPORTANT: To optimize picture quality, set the recorder’s video output to match the resolution of your
monitor. See the section Changing the Recorder’s Output Resolution on the rear for details.
Back panels shown below are for illustration only. Your recorder’s back panel
may appear different, with all the same ports in different locations.
STEP 2: Connect router*
STEP 3: Connect mouse
STEP 4: Connect monitor*
STEP 5: Connect power
To quickly open a window that displays vital system information such as device ID, model
number, rmware version, and IP address:
Reference: Quick Access to System Information
• Tap the button on the front panel of the recorder.
• Right-click to open the Quick Menu and click Info.
OR
STEP 6:
Lorex Setup
Wizard
Record your password below and store in a secure place:
When you rst power up your recorder, the
Lorex Setup Wizard will begin. The Wizard will help you
congure core system settings.
You will also create a secure password. For future reference,
it is recommended that you record your password here:
STEP 6: Lorex Setup Wizard
N843_QSG_EN_R2.indd 1N843_QSG_EN_R2.indd 1 2021-04-08 4:25:17 PM2021-04-08 4:25:17 PM