
J
Jennifer HopkinsJul 28, 2025
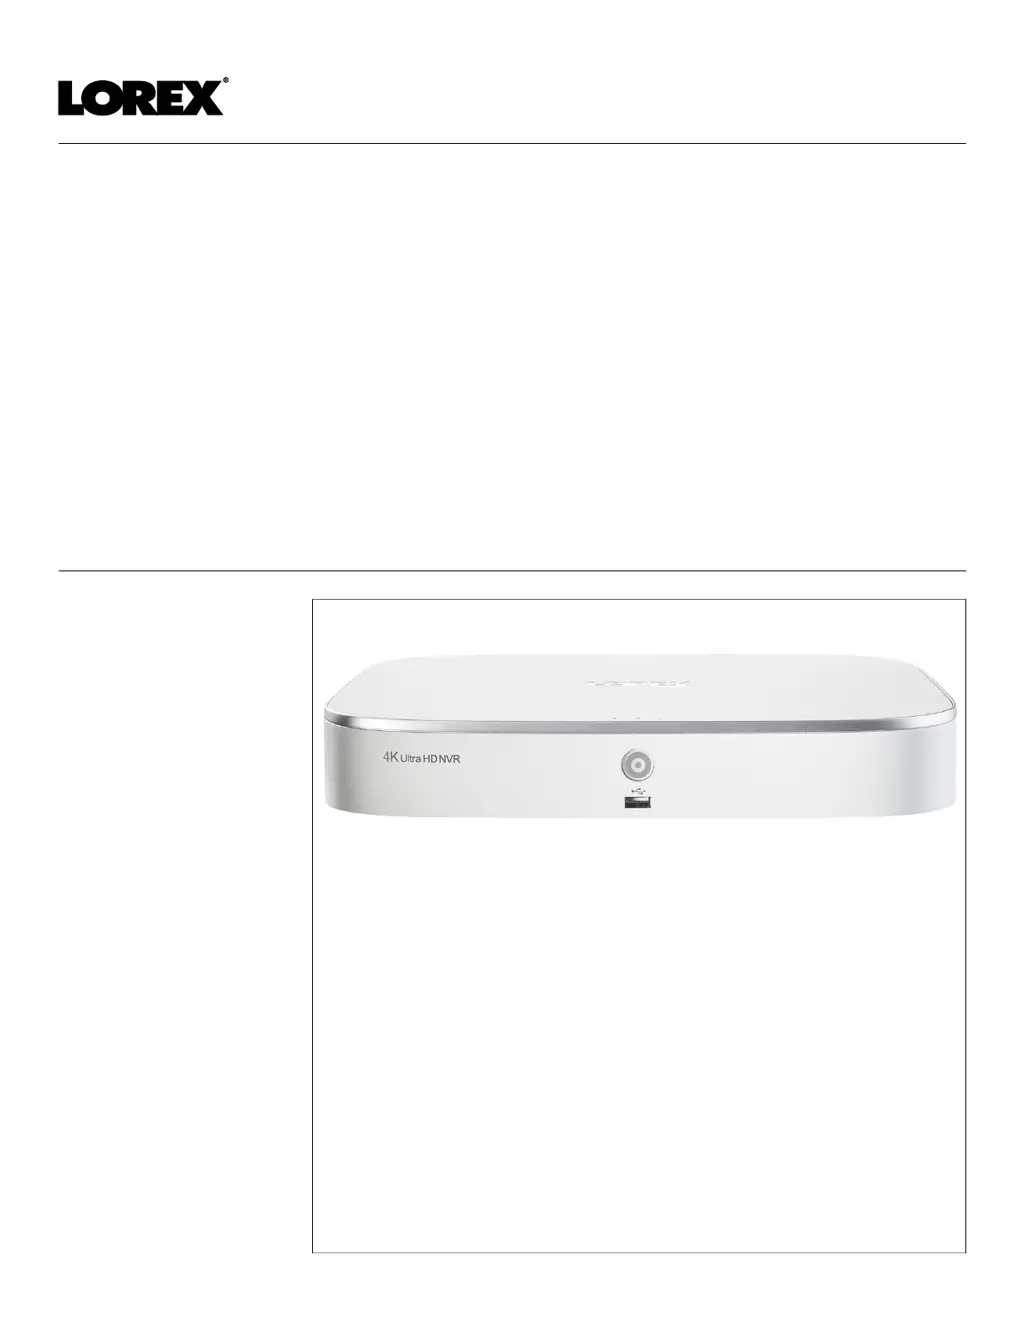
What to do if Lorex N841 DVR is not receiving power?
- MMichael LeeJul 29, 2025
If your Lorex DVR isn't powering up, first check that all power cables are securely connected, including the power adapter at the back of the unit. If the cables are connected but the system still isn't receiving power, ensure the system is powered on and that the LED indicators on the front are lit. If connected to a power bar or surge protector, try connecting the power adapter directly to a wall outlet. Also, verify the outlet is working by plugging another device, like a lamp, into it.