Camera Installation
5
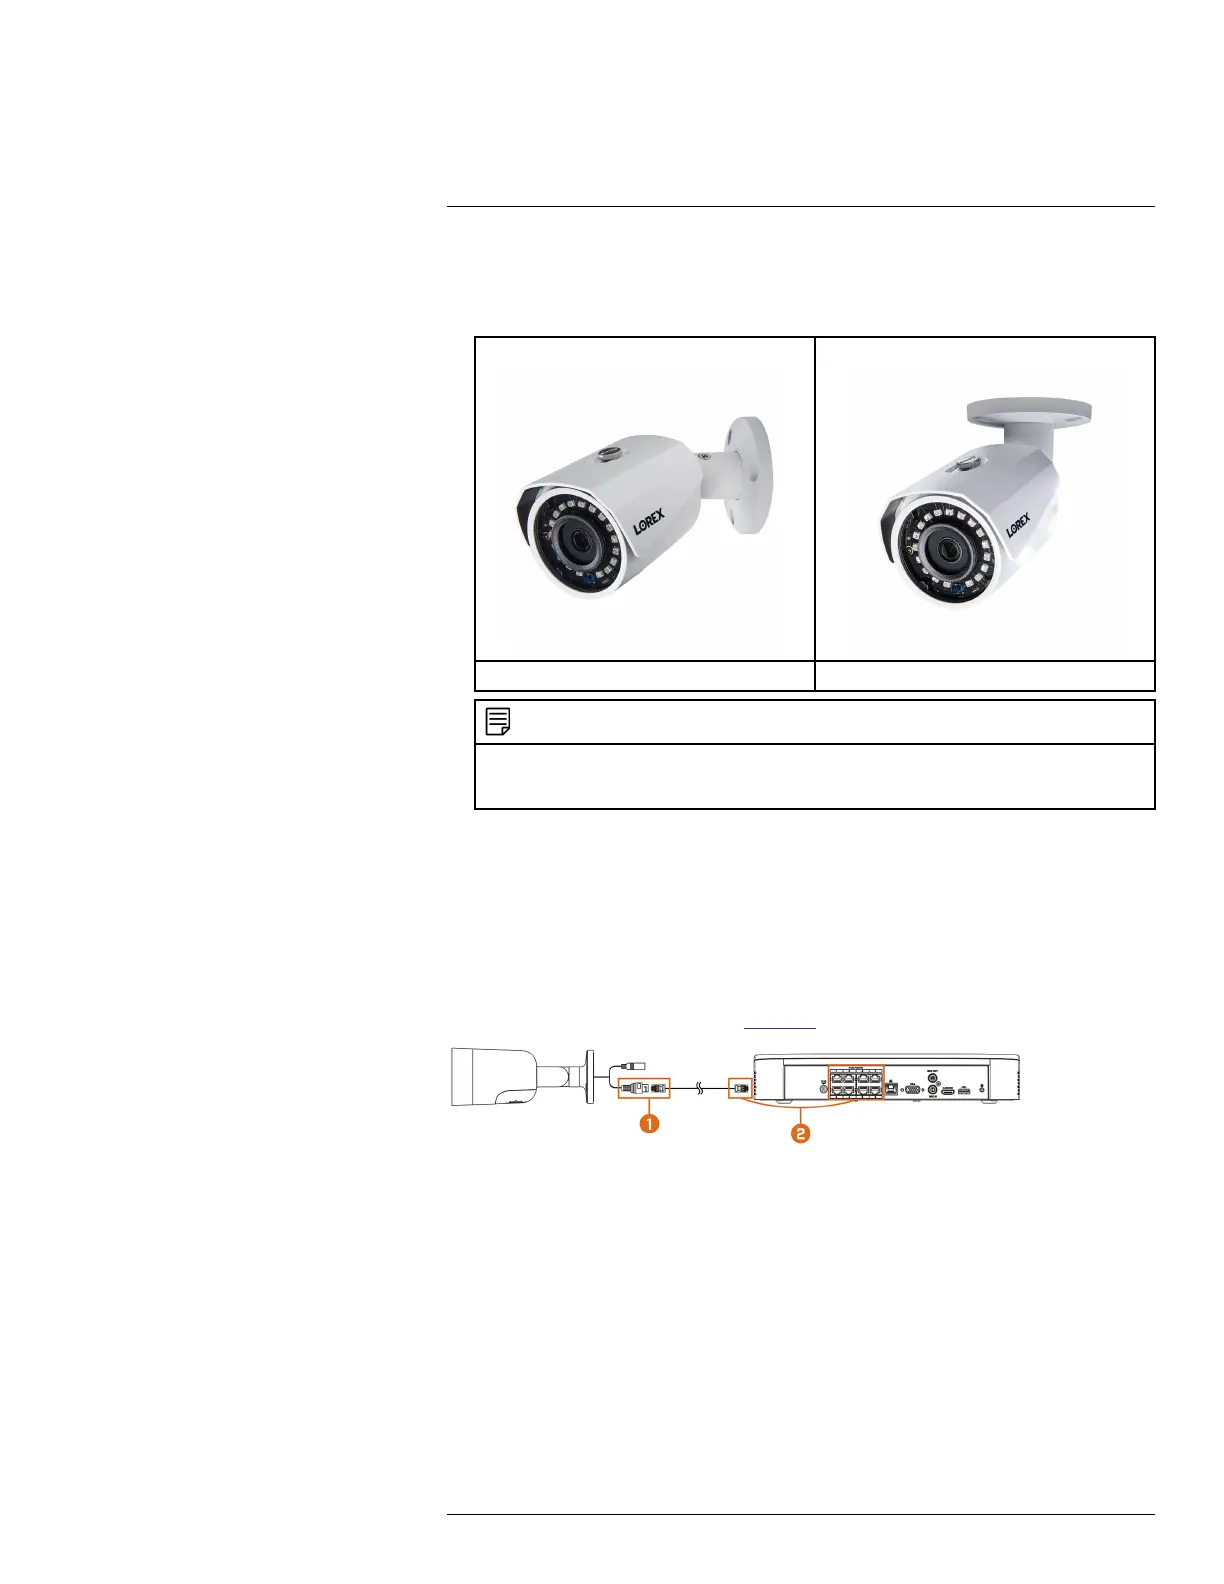
2. Adjust the camera stand to ensure that the camera has a satisfactory view of the area you
would like to monitor. Stand configuration depends on the mounting surface you have chosen
(see below for suggested stand configurations).
Wall Mount Ceiling Mount
NOTE
Counter / table top mounting is not recommended if you are planning to utilize Person & Vehicle detection
due to limited accuracy. Please refer to 14.1 Ensuring Accurate Person & Vehicle Detection, page 48 for rec-
ommended camera angling to ensure accurate detection.
5.3 Connecting Camera Extension Cables
It is recommended to connect your cameras directly to the NVR. This is because the NVR features
Power over Ethernet (PoE) ports that are used to transmit video and audio, as well as provide
power to the camera without the need for a power adapter.
You can also connect cameras to a network switch or router (see 4.8 Connecting Cameras to the
Local Area Network (LAN), page 10for details). If your switch does not support PoE, or you are
connecting cameras to a router, you will require a power adapter for each camera (sold separately).
Refer to your camera’s documentation at lorex.com for the correct power adapter to use.
1. Connect the camera to the included Ethernet extension cable.
2. Connect the other end of the Ethernet extension cable to one of the PoE ports on the rear panel
of the NVR.
#LX400113; r. 1.0/56015/56022; en-US 14