M
Michelle TaylorAug 5, 2025
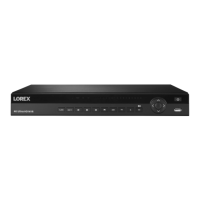
What to do if my Lorex N882A63B is not powering on?
- EEric GuerraAug 5, 2025
If your Lorex DVR isn't powering up, first ensure all power cables are securely connected, including at the back of the unit. If connections are good, check that the DVR is actually powered on—the LED indicators on the front should be lit. If it's plugged into a power bar or surge protector, try plugging it directly into a wall outlet. Finally, test the outlet itself by plugging in another device like a lamp to confirm it's providing power.