Do you have a question about the Lorex N910 Series and is the answer not in the manual?
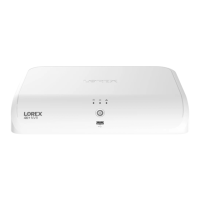
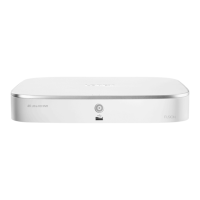
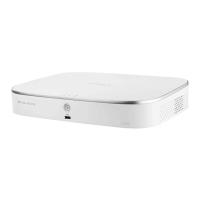
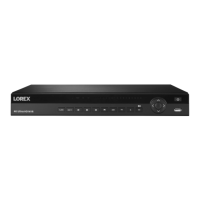
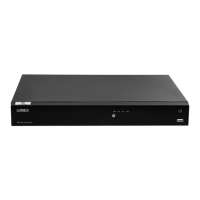
Details the front panel components of the recorder, including status lights and buttons.
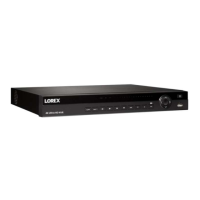
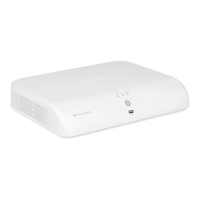
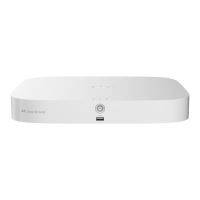
Details the rear panel connections and ports for the recorder.
Connect the recorder to your Wi-Fi router using the included Ethernet cable for initial setup.
Connect a USB mouse for navigation and a flash drive for firmware updates or event copying.
Connect the recorder to a TV using an HDMI cable for display and configuration.
Connect the power adapter and follow the on-screen wizard for network setup.
Download the Lorex Home app from your device's app store to connect your recorder.
Tap the '+' icon in the app to add and connect your recorder for remote viewing.
Turn on the camera, open the Lorex Home app, and tap '+' to start the connection process.
In Live View, click a channel, select Device Search, and double-click the camera to add it.
Enter the camera's password and allow time for connection. Multiple devices can be added.
Disable camera alerts in the app to prevent duplicate notifications after setup.
Access support and related information by scanning QR codes or visiting provided web links.
View the full Terms of Service and Limited Hardware Warranty Policy on the Lorex website.
Information regarding the device's compliance with FCC rules and operational conditions.
| Series | N910 Series |
|---|---|
| Category | DVR |
| Video Output | HDMI, VGA |
| Power Supply | 12V DC |
| Operating System | Embedded Linux |
| Recording Modes | Continuous, Schedule, Motion |
| Motion Detection | Yes |
| Operating Temperature | 14°F to 131°F (-10°C to 55°C) |
| Storage Capacity | Up to 10TB |
| Compression Format | H.264 |
| Network Connectivity | Ethernet |
| Remote Access | Lorex Cloud App |
| Audio Input/Output | 1 audio input, 1 audio output |