S15 Assembly and Installation Guide
1008286 Rev B
Loring Smart Roast Proprietary – This document is controlled by
Document Control. By printing this document, it will become a “Reference” copy.
Users are responsible for verifying that it is the latest revision available.
Page 5 of 50
Contents
Introduction _________________________________________________ 7
Audience
_______________________________________________ 7
Additional Documentation
__________________________________ 7
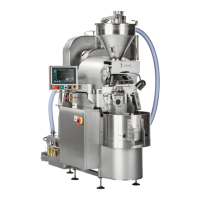
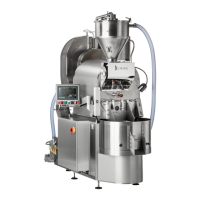
Major Components, Assembled
______________________________ 8
Back View, Components, As Shipped
_________________________ 9
Notes for Unpacking
_______________________________________ 11
Uncrate the Roaster
__________________________________________12
Attach Roaster Feet
_______________________________________15
Assemble the Roaster
_________________________________________18
Attach Vacuum Tube
______________________________________21
Attach the Cyclone
________________________________________24
Attach Purge Gate Air Cylinder
______________________________26
Attach Gas Mixer Line
_____________________________________27
Secure Cyclone Fasteners
__________________________________28
Water Line (Chaff Quench Hose)
_________________________29
High Temperature Cutoff Switch
______________________________ 29
Connect the Ignition Wire
______________________________________30
Burner Control Unit (BCU) Ignition
____________________________31
Direct Spark Ignition (DSI)
__________________________________33
Install the Thermocouples
__________________________________36
Complete the Cyclone Installation
_______________________________37
Final Roaster Assembly
_______________________________________38
Attach Mini Cyclone
_______________________________________38
Move Roaster to Final Location
______________________________40
Tryer Handle
_____________________________________________ 40
 Loading...