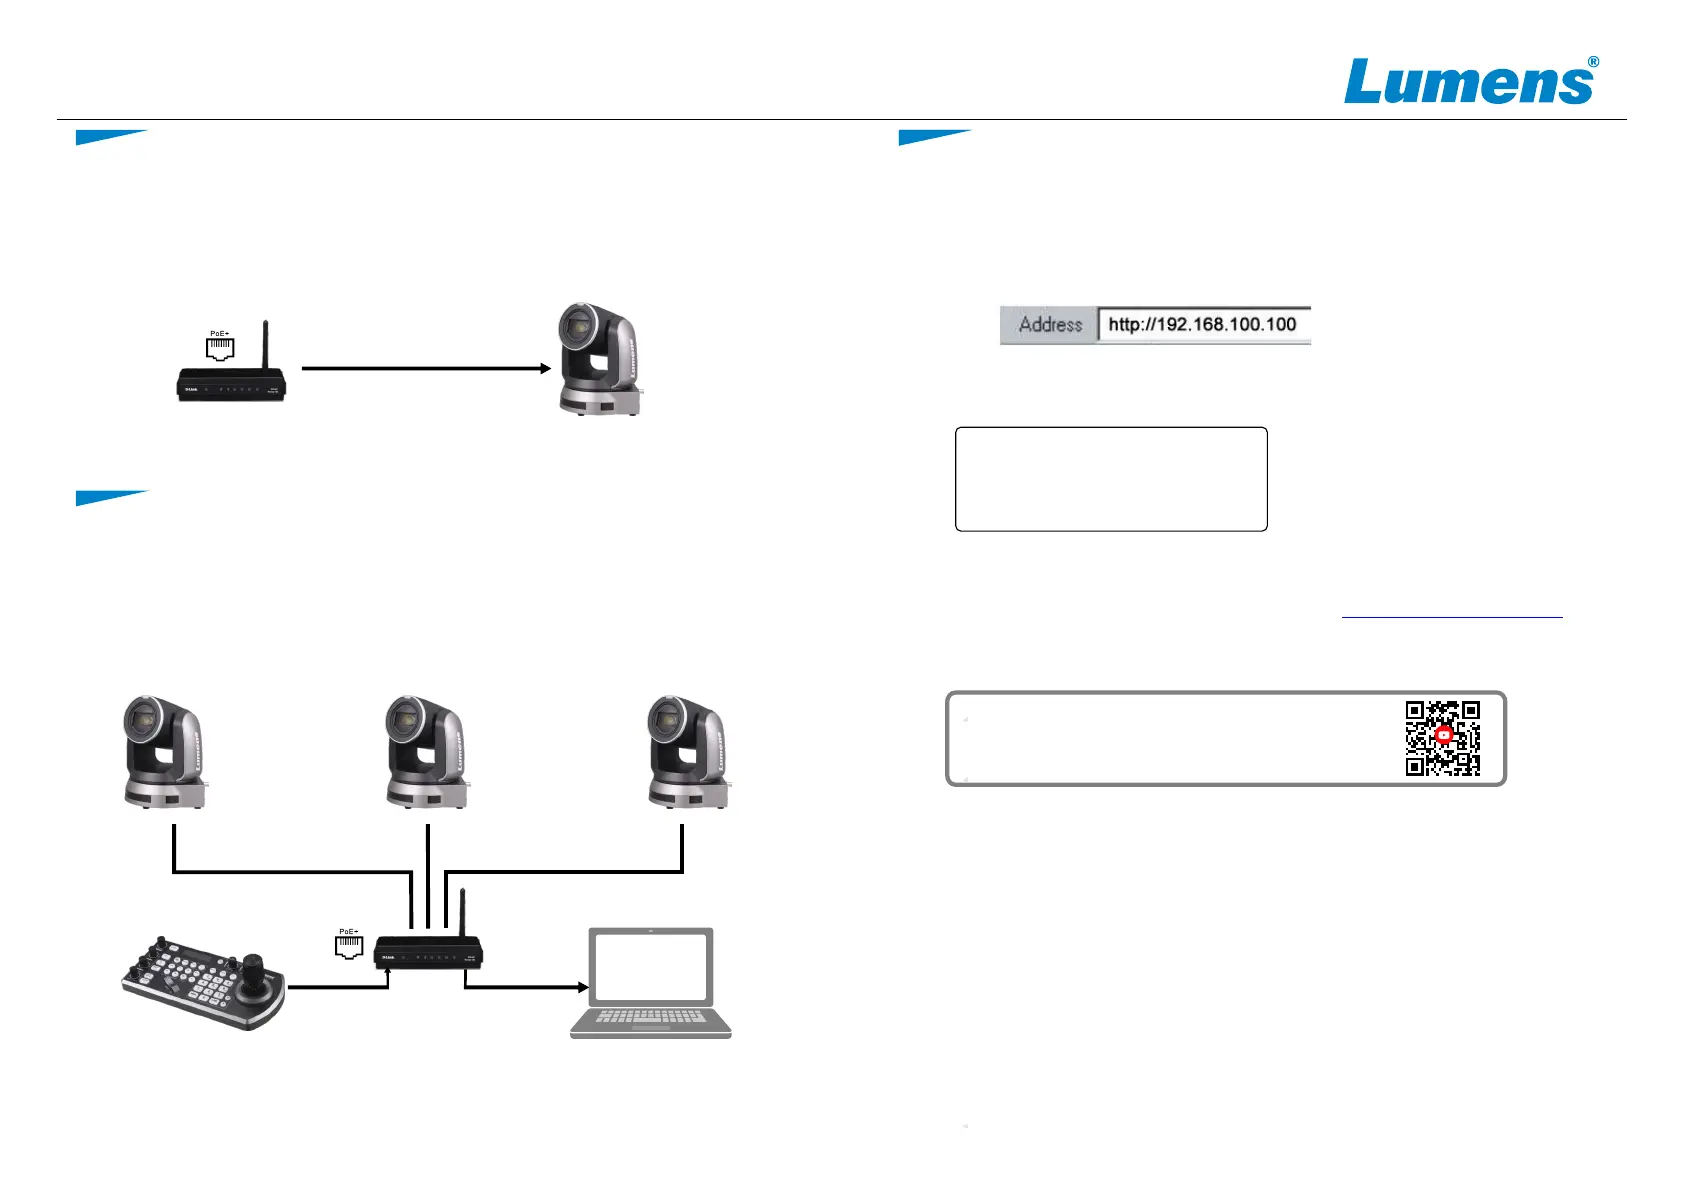
6.1 Open your web browser and enter the IP address in the address bar.
* The IP address can be verified on a connected monitor by clicking [MENU] =>
[Ethernet] => [IP Address] on the remote control
●
● Access power by using a router that supports PoE or connecting to a hub
with a network cable
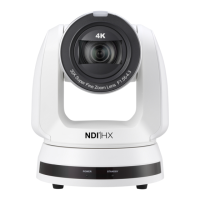
※ VC-A71P-HN supports PoE++(IEEE802.3bt)
Connect the DC12V power adapter for power supply
CameraCameraCamera
CAT6 network cable CAT6 network cable
CAT
network cable
6
Router
VS-KB30 Computer
CAT6 network cable
Router
Camera
CAT6 network cable
*For New Tek product operation or instructions, please go to http://new.tk/NDIHX-Driver-Win
www.MyLumens.com
5. Camera connection description
Copyright © Lumens Digital Optics Inc. All rights reserved.
4. About the power supply
6. View camera IP image
* If camera connects to computer directly, not via DHCP router. The default IP address is
192.168.100.100.
Connect one camera or multiple cameras, control keyboard and computer to
the same router to control camera.
Account: admin
Password: 9999
* Please visit YouTube [My Lumens] channel to watch the
related videos for instructions
6.2 Enter the user name and password to view the camera images,
control the camera and manage advanced settings.
 Loading...