www.MyLumens.com
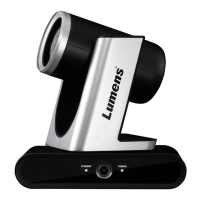
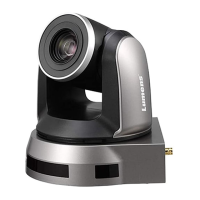
Auto-Tracking Camera
Copyright ©2020 Lumens Digital Optics Inc. All rights reserved.
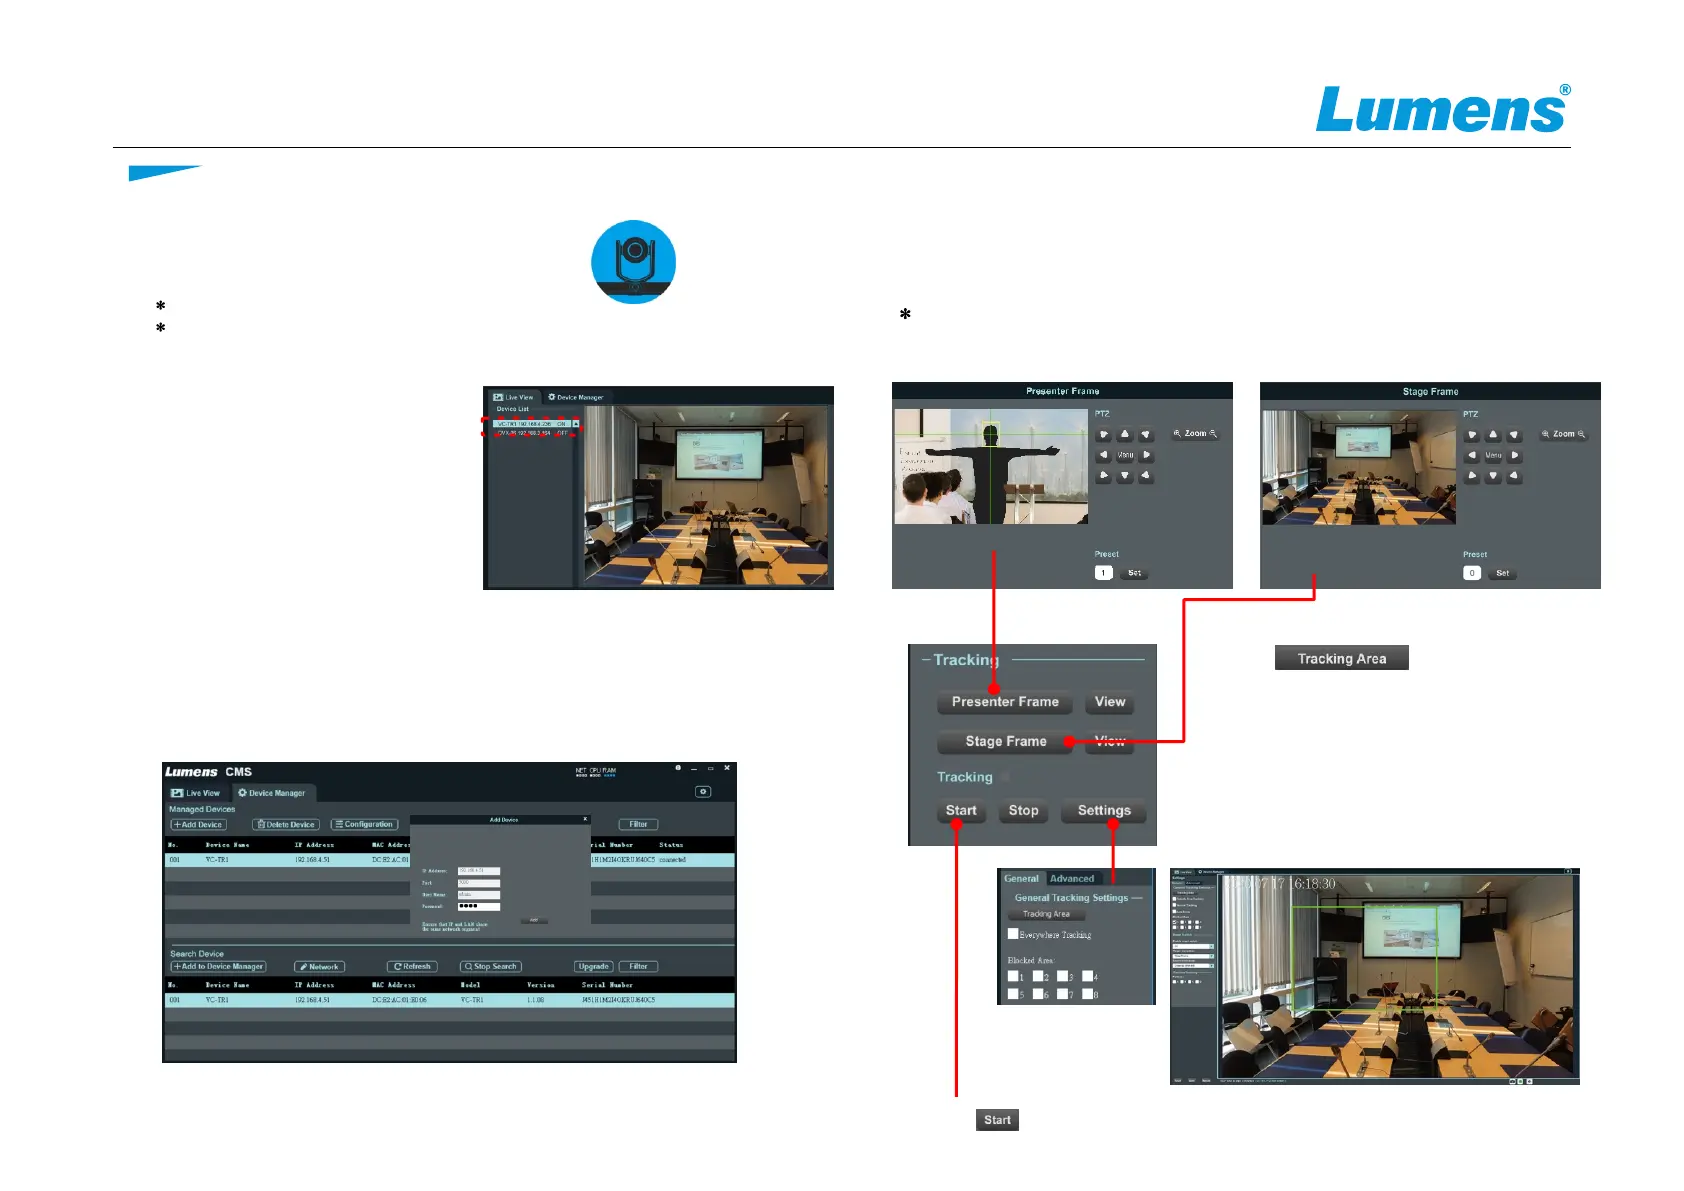
6.3 Open the LumensCMS software, and add in the camera
Support Windows 7 and later versions
6. Instructions on Software Installation and Tracking Device
6.1 Confirm that the computer and the camera are
in the same network segment
26. Install LumensCMS software
Please download the relevant software from Lumens website
1. Automatically add it in
First, turn on the camera. After opening
the LumensCMS software, the camera
will be automatically added to the list for
about 5~7 seconds. Double-click the
camera to display the screen.
2. Manually add it in
Open the Device Manager page
2.1 Search Device:j[Refresh]>k >l[Add to Device Manager]
m
2.2 Go back to [Live View]page. Double-click the camera added to the list to
display the screen
Click camera
Click
n
6.3 Set tracking parameters
1. Presenter Frame
Operate the PTZ to set the tracking screen. This
setting determines the magnification and the
vertical angle of the PTZ during tracking.
Recommendation: The face shall be in the yellow
auxiliary frame. After straightening the arms, the
best distance between the left and right sides and
the frame is to accommodate at least 1 person.
2. Stage Frame
Operate the PTZ to set the stage screen. When
the camera loses the tracking target, the screen
will automatically switch to the Stage Frame
screen.
3.
Click
Drag the mouse to customize the tracking area
When the target appears in the
the camera will start the tracking.
¡ Everywhere Tracking: After being checked, the
will still be tracked automatically if it is
tracking area frame.
¡ Blocked Area(1-8): Draw the Blocked Area. The
Area can block the motion detection
(but not the face detection).
[Settings]>[Tracking Area]
(green frame),
tracking area,
target
outside the green
Blocked
4. Click to start the tracking.
Quick Start Guide
j
k
l
n
m
 Loading...