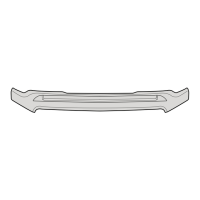
Front Air Dam Installation Steps
Page 2 of 2
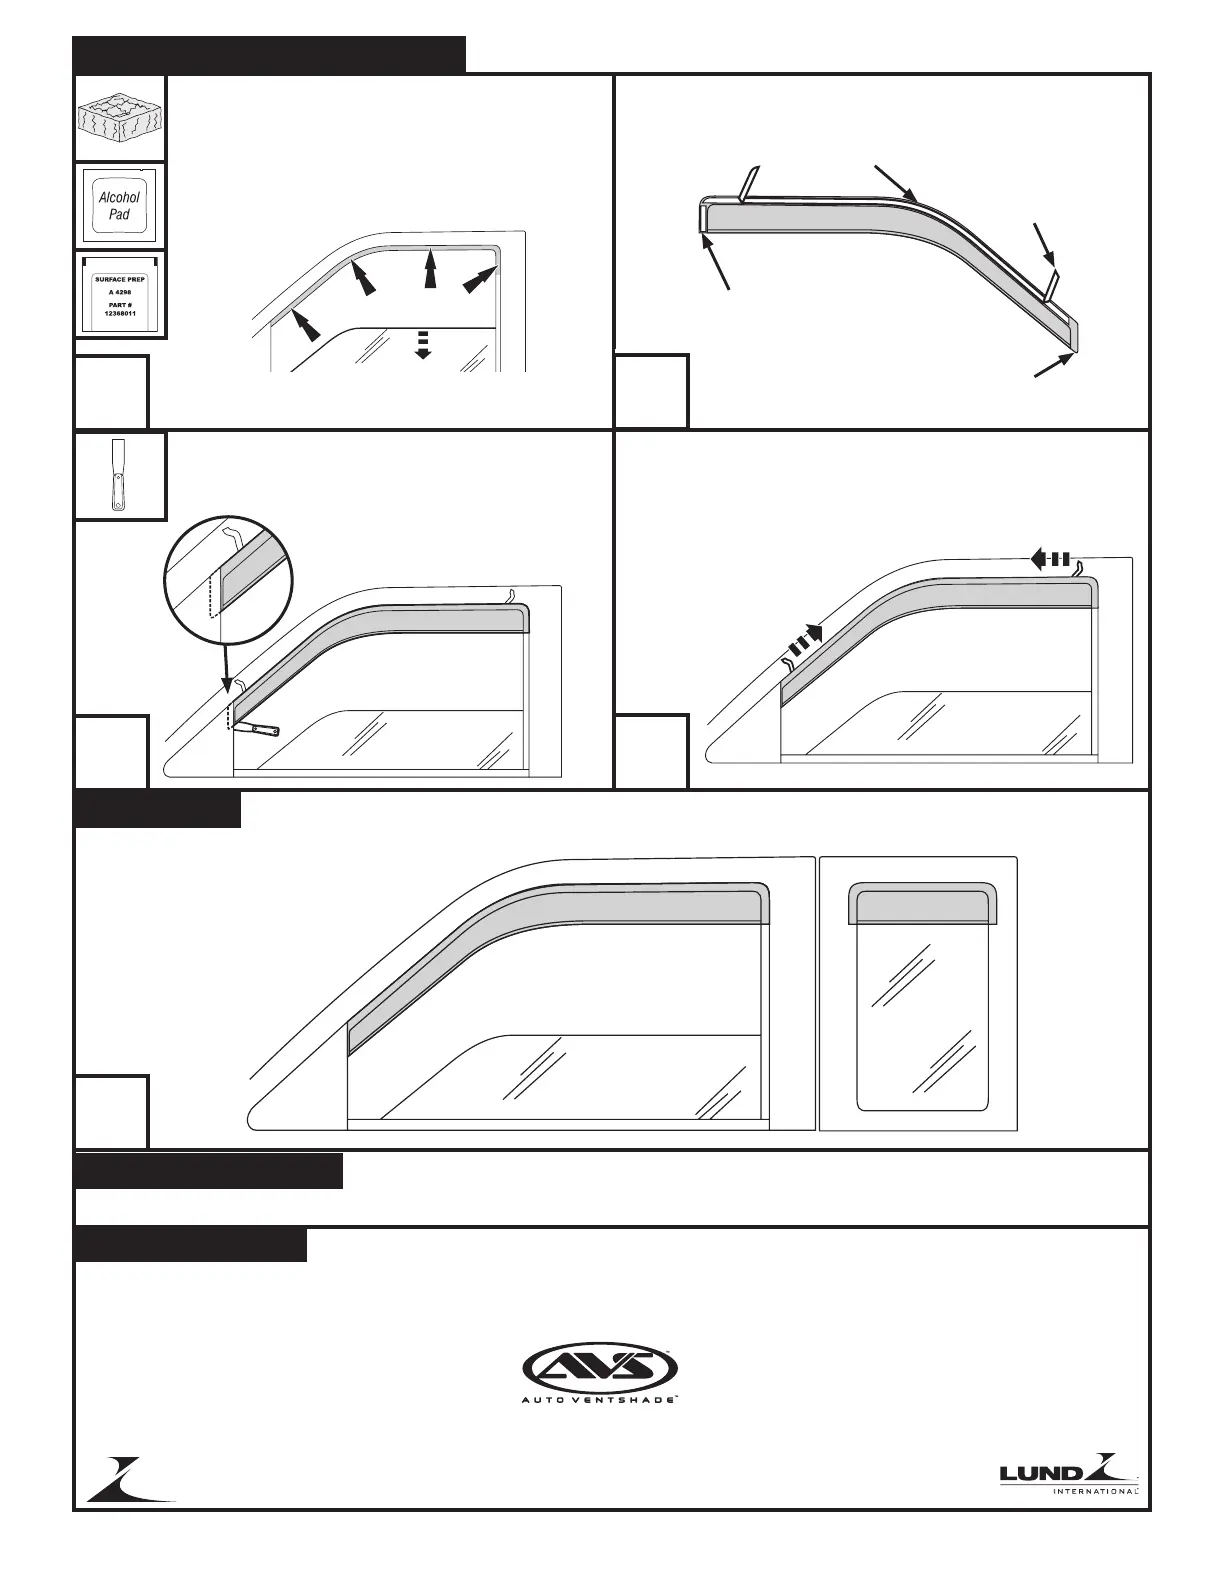
Front Visor Installation Steps
1
2
3
4
5
NOTE: Actual application may vary slightly from illustrations.
Lower the window & scuff the outside of
the window trim where the visor will attach.
Clean the scuffed area with an alcohol pad.
Apply surface prep scuffed area.
Remove the tape liner from the rear flange. Peel back
2” (5 cm) of tape liner from each end of top flange.
free end
top flange
rear
flange
front
flange
Slide the front flange behind the mirror cap,
use a putty knife to create a gap if needed.
Attach the top and rear flanges to the window
trim.
R
emove tape liner by pulling on free ends. Apply
pressure to top and rear tape flanges to secure.
4 Piece Set
REAR VISORS DO NOT USE SURFACE PREP OR SCOTCH BRITE PAD.
Rear visor attaches to the painted surface surrounding the window.
CAUTION: Read surface prep warning
on page 1 before continuing.
P
erform Step 1 on both front doors,
then continue.
Care and Cleaning
• Wash only with mild soap & dry with a clean cloth.
Congratulations!
You have purchased one of the many quality Auto Ventshade™ branded products offered by Lund International, Inc. We take the utmost pride in our
products and want you to enjoy years of satisfaction from your investment. We have made every effort to ensure that your product is top quality in
terms of fit, durability, finish and ease of installation.
© 2005 Lund International, Inc. All rights reserved.
Auto Ventshade
TM
, the Auto Ventshade
TM
logo and the AVS
TM
logo are trademarks of Lund International, Inc.
Lund International, Ventshade Accessories Division
655 Raco Drive, Lawrenceville, GA 30045
800-241-7219 • Fax 770-339-5839 • Visit us at lundinternational.com
™