Page 6 of 7 11/21/16
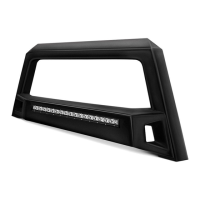
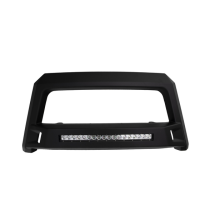
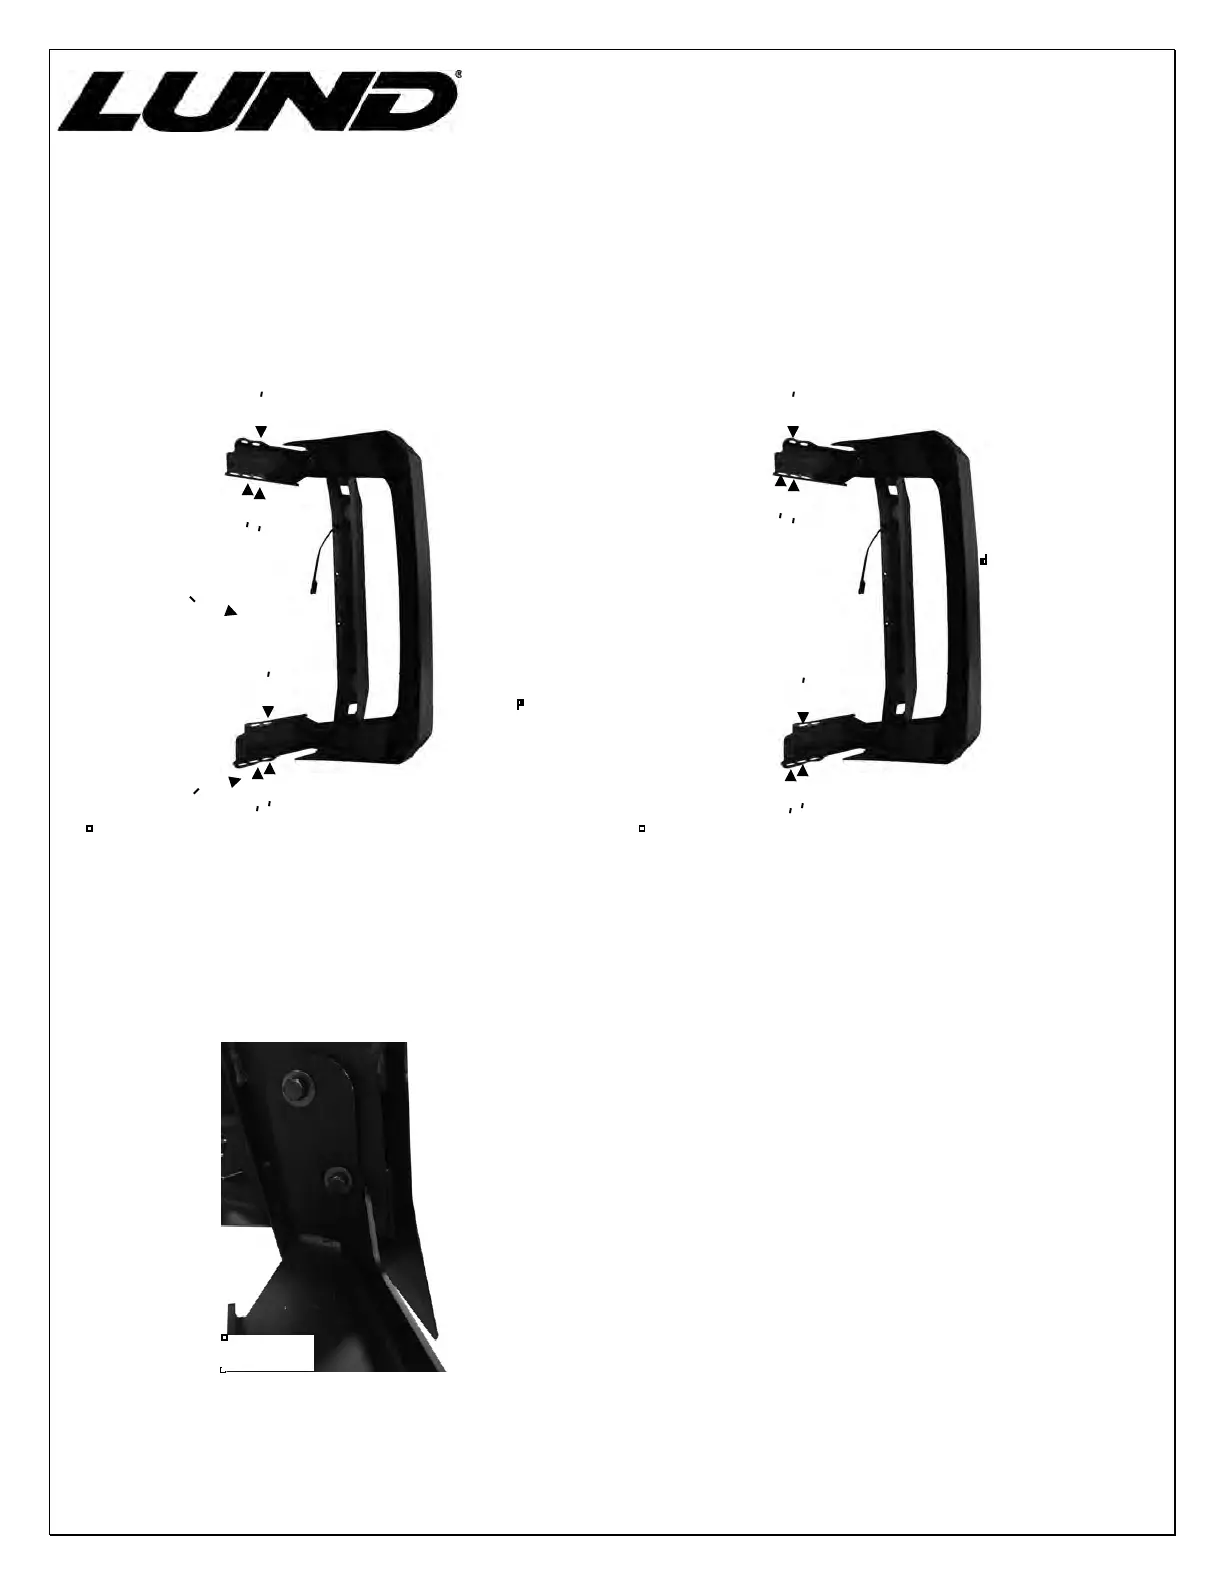
5. IMPORTANT: The Brackets are designed with (2) mounting positions to fit multiple models and model
years. Most Silverado/Sierra models will use the “back” mounting position with the Brackets pushed in to
install the Bull Bar closer to the bumper, (Figure 8A). Tahoe, Yukon and Suburban models may require
the forward mounting position to move the Bull Bar forward or to provide more clearance for accessory
lights (Figure 8B).
6. Repeat Steps 2—5 to install the passenger side Mounting Bracket.
7. With assistance, hold the Bull Bar up in position on the outside of the Mounting Brackets. Bolt the Bull Bar
to the Brackets with (4) 10mm x 30mm Hex Bolts, (8) 10mm Flat Washers and (4) 10mm Nylon Lock Nuts,
(Figure 9). Do not tighten hardware at this time.
8. Check the Bull Bar alignment with the vehicle and for clearance between the Bull Bar and the bumper. If
Bull Bar is too close to or touching bumper, remove the Bull Bar and reinstall the Brackets in the “forward”
position away from the bumper, (Figure 8B). Adjust as required then fully tighten all hardware at this time.
 Loading...