Page 2 of 2
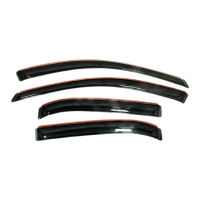
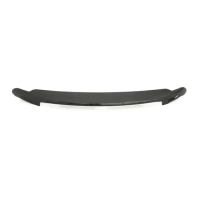
rear
visor
clip
rear visor
x2
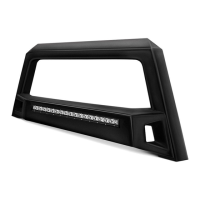
Installation Steps
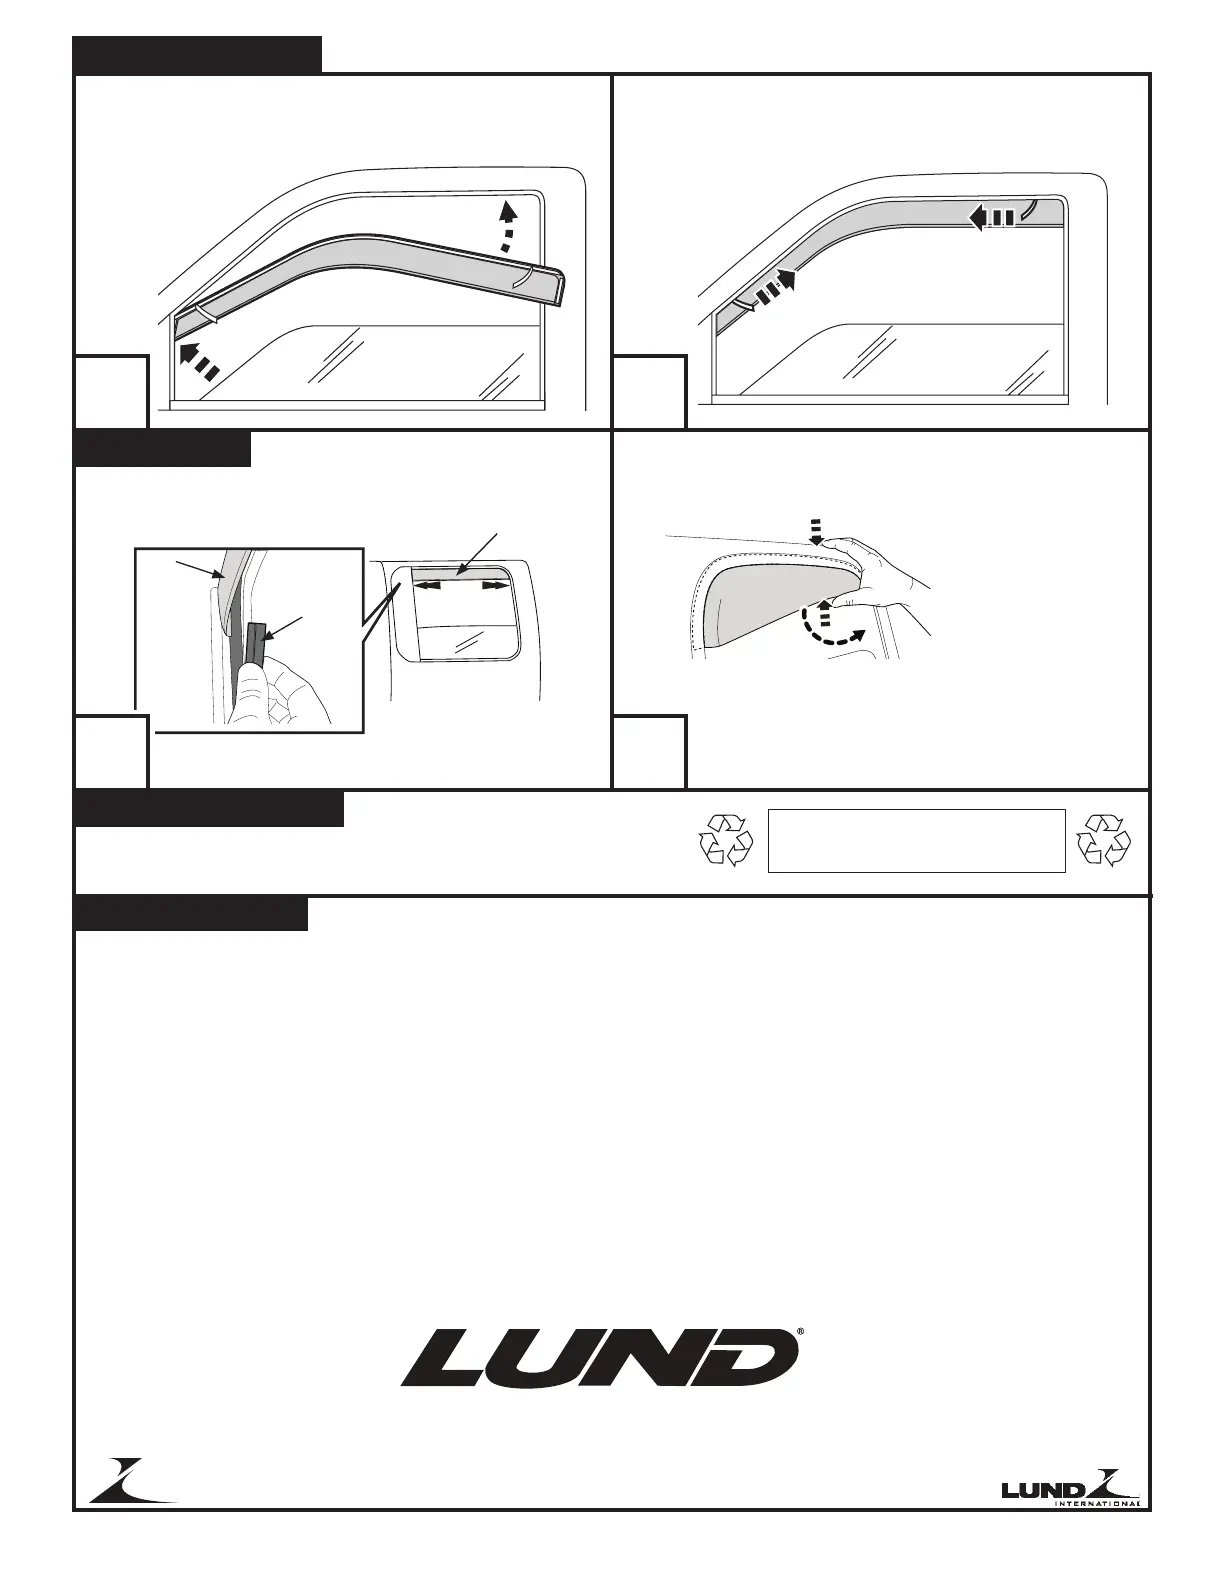
NOTE: Actual application may vary slightly from illustrations.
Insert visor into window channel, front flange first. Remove tape liner by pulling on free ends. Raise window
slowly and leave up for 24 hours to secure visor to window
channel.
Care and Cleaning
• Wash only with mild soap & dry with a clean cloth.
Congratulations!
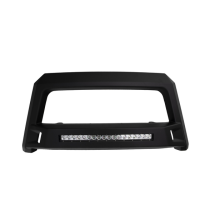
Rear Visors
With the visor in place insert a clip into the
window channel behind the visors front and
rear flanges.
If the visor does not seat
correctly, roll down window
and repeat Step 6.
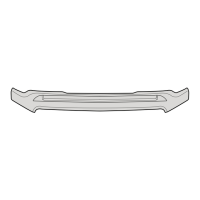
Repeat Steps 1 thru 6 for passenger side.
NOTE: It is necessary to both hold the visor up into the window
channel AND pull the bottom of the visor slightly outward while rais-
ing the glass to seat visor properly.
The material that your product is made from can
be recycled. Please also consider recycling the
packaging that your product came in.
You have purchased one of the many quality Lund
®
branded products offered by Lund International. We take the utmost pride in our
products and want you to enjoy years of satisfaction from your investment. We have made every effort to ensure that your product is
top quality in terms of fit, durability, finish and ease of installation.
© 2019 Lund, Inc. All rights reserved.
Lund
®
and the Lund
®
logo are trademarks of Lund, Inc.
Lund International
800-328-2438 • Visit us at lundinternational.com
™
3 4
5 6