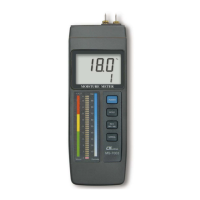
3) Power on the meter by pressing " Power Button "
( 3-2, Fig. 1 ) once.
4) Hold the " Probe Handle " ( 3-18, Fig. 1) by hand
and let the " Sensing head " ( 3-19, Fig. 1 )
immersed wholly into the measured solution. Shake
the probe to let the probe's internal air bubble drift
out from the sensing head.
Display will show the conductivity mS ( uS ) values.
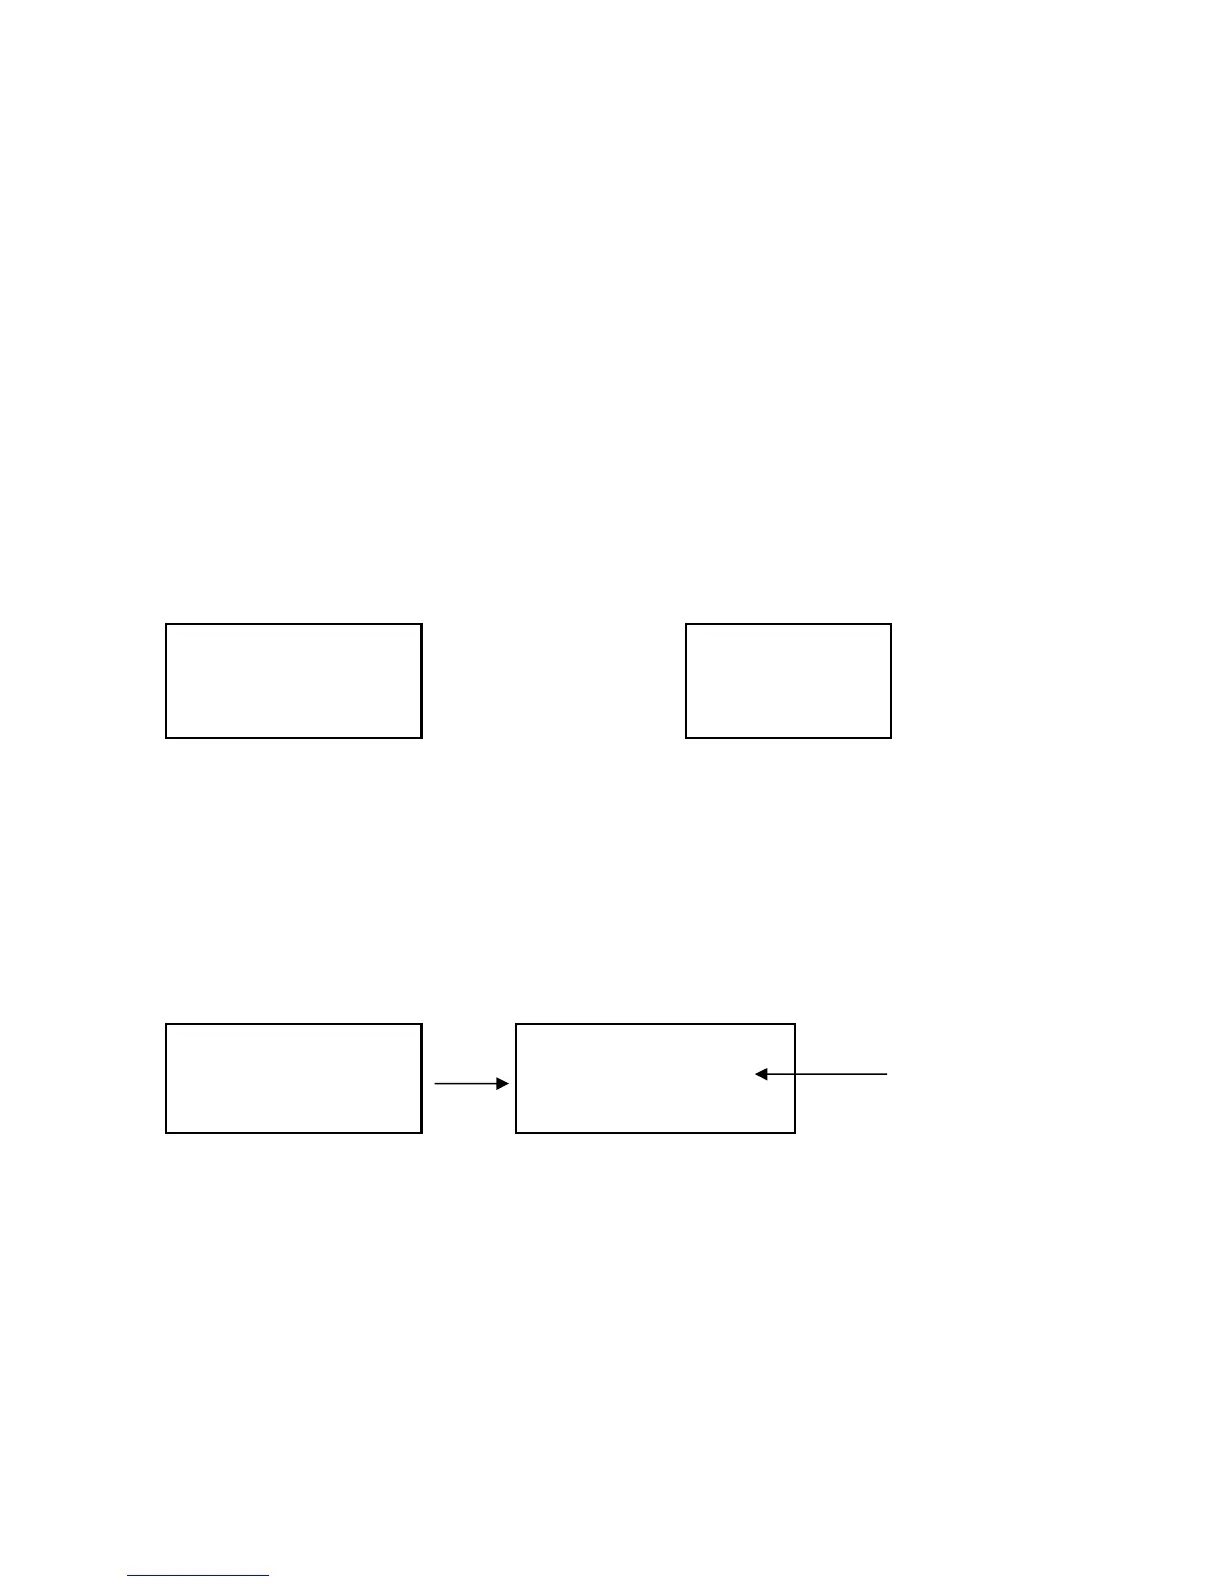
5) Use the two fingers to press the " ▲ Button " ( 3-5, Fig. 1 ) " ,
and " ▼ Button " ( 3-6, Fig. 1 ) at the same
time. the display will show the following screen as
example(Fig. a), release the both fingers , then Press the
" Enter Button " ( 3-8, Fig. 1 ) , the display will show
the following screen as example (Fig. b).
CD
CAL Fig. a CAL Fig. b
6) Press the " Enter Button " ( 3-8, Fig. 1 ), the measuring
value will present on both upper and lower Display.
Use "▲ Button " ( 3-5, Fig. 1 ), " ▼ Button " ( 3-6, Fig. 1 )
to adjust the up display value exact same as the standard
conductivity value. Press the " Enter Button " ( 3-8. Fig. 1 )will
save the calibration data and finish the calibration procedures.
Standard value
1.318 1.413
1.318 1.318