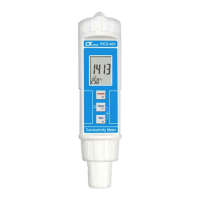
6-1 Conductivity measurement
1) Prepare the Conductivity Probe ( included, CDPB-04 ),
install the " Probe Plug " ( 6-1, Fig. 3 ) into the
" CD Socket " ( 3-15, Fig. 1 ).
2) Power on the meter by pressing " Power Button "
( 3-2, Fig. 1 ) > 2 Sec.,Press and hold the "Function Button"
(3-6, Fig. 1)Select the Meter's measurement Mode to " Cd "
( Conductivity measurement ), refer to chapter 4, page 12.
3) Hold the " Probe Handle " ( 6-2, Fig. 3 ) by hand
and let the " Sensing head " ( 6-3, Fig. 3 )
immersed wholly into the measured solution. Shake
the probe to let the probe's internal air bubble drift
out from the sensing head.
Display will show the conductivity mS ( uS ) values.
at the same time the left bottom display will show the
Temp. value of the measured solution.
Manual range operation
The meter is default to be used for the auto range
mode. Push the " Range Button " ( 3-5, Fig. 1 ) once in
sequence will change the range from 20 uS,200 uS, 2 mS,
20 mS, 200 mS and auto range.
Change the Temp. unit to ℉
If intend to change the Temp. unit from ℃ to ℉, please
refer to chapter 12-7 page 43.
Change the Temp. Coefficient Factor
The default Temp. compensation factor value of the
measurement solution is to 2.0% per ℃. If intend to
change it, please refer to chapter 12-11, page 45.
20