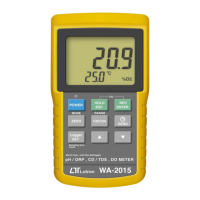
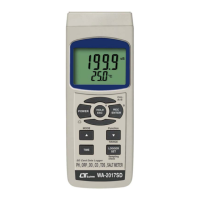
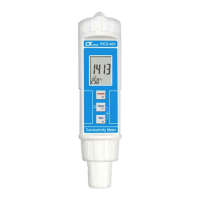
3) Power on the meter by pressing " Power Button "( 3-2, Fig. 1 )
> 2 Sec., press the "Function (3-6 Fig1)" Select the Meter's
measurement screen to the only " Conductivity "screen.
4) Hold the " Probe Handle " ( 6-2, Fig. 3 ) by hand and let the
" Sensing head " ( 6-3, Fig. 3 ) immersed wholly into the measured
solution. Shake the probe to let the probe's internal air bubble drift
out from the sensing head.Display will show the conductivity mS
( uS ) values.
5)
Use the two fingers to press the "
Button " ( 3-5, Fig. 1 ),
and "
Button " ( 3-6, Fig. 1 ) ,Until Display will show the
following screen then release the both fingers.
Temp. Calibration
Calibration
=>
Zero Calibration
Gain Calibration
Clear
Escape Calibration
Press the "
Button " ( 3-5, Fig. 1 ) or "
Button " ( 3-6, Fig. 1 )
select to Gain calibration point.
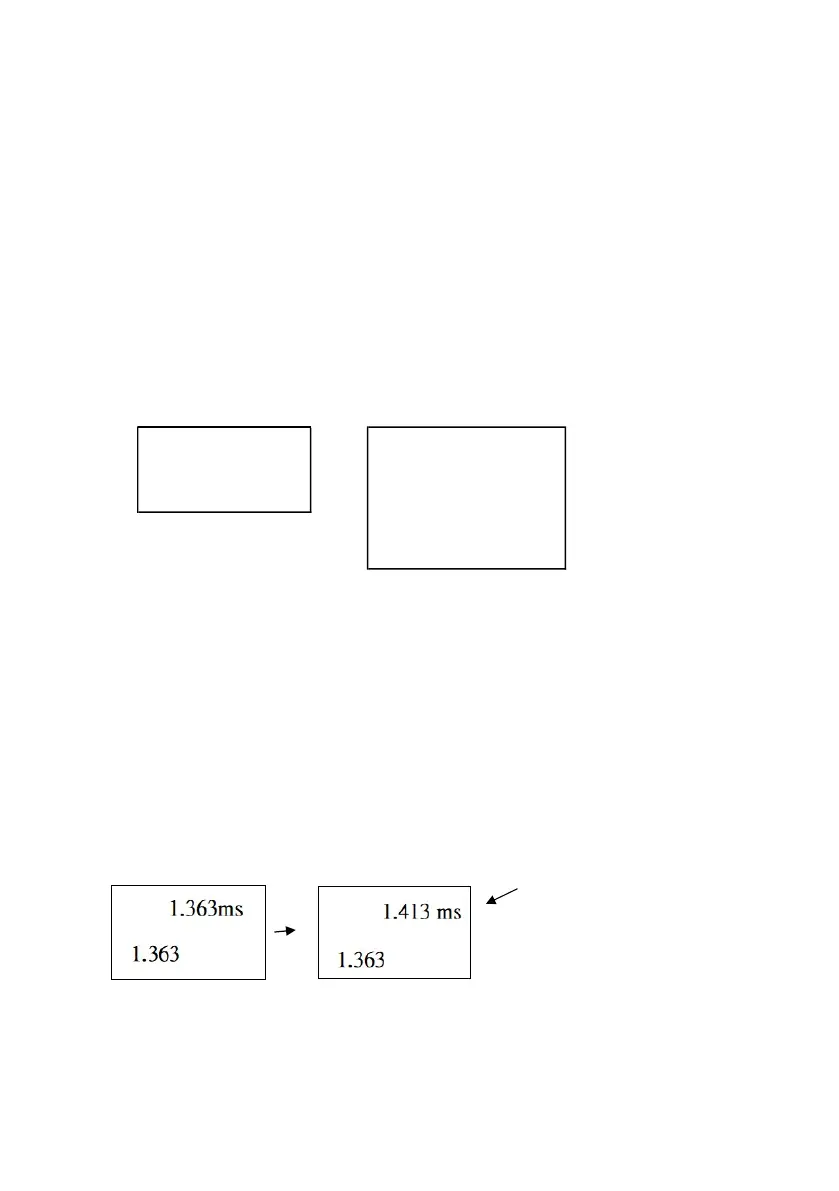
6) Press the " Enter Button " ( 3-8, Fig. 1 ), the measuring
value will present on both upper and lower Display. Use
"
Button " ( 3-5, Fig. 1 ), "
Button " ( 3-6, Fig. 1 ) to adjust
the up display value exact same as the standard conductivity
value. Press the " Enter Button " ( 3-8. Fig. 1 ) will save the
calibration data and finish the calibration procedures.
Standard value
* If only intend to make the one point calibration, just
execute the 2 mS range ( 1.413 mS Cal. ) is enough.
22