continously detected. In that case the monitor will be activated for another 5 seconds.
There are 2 reasons to use the scan button: 1- to prevent you from being disturbed by the
bright LCD screen, or 2- to save energy. Press the scan button again to deactivate the scan
mode.
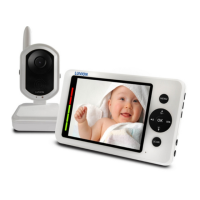
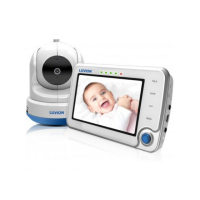
19. Speaker Produces the sound from the baby unit.
20. AV out Audio-video socket which allows you to connect a television or monitor to the
parent unit, using the RCA cable.
Note: When the RCA cable is connected the screen of the parent unit will be turned o.
21. Charging indication LED The LED is red when the built-in battery is being charged and
22. turns green when it is fully charged.
23. Foot Enables you to position the parent unit on a at surface.
24. Battery compartment This compartment allows the battery to be replaced. Only use
25. original Luvion batteries.
26. DC in Connect the included DC 5V power adapter to power and/or charge
the parent unit.
27. On/O button Turns the parent unit ON or OFF.
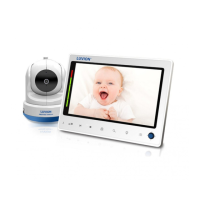
OVERVIEW OF BABY UNIT (CAMERA)
1. Temperature sensor Measures the temperature.
2. Pair button The pair button is located at the back of the baby unit. It enables you to
reconnect the baby and parent unit or to connect additional baby units.
3. Camera antenna Sends and recieves signals to/from the parent unit.
4. Lens / Infrared light These LEDs are automatically activated when the room gets darker
and enable you to monitor the baby under no/low light conditions. The infrared LEDs do
use a lot of energy and can therefore empty the batteries more quickly.
5. ON/OFF button Turns the baby unit ON or OFF.
6. Microphone Recieves sounds from the area near the baby unit and transmits it to the
parent unit.
7. Night light Press this button to turn on the night light. The night light can also be turned
on/o remotely with the parent unit’s night light button.
8. Sensitivity To adjust the sensitivity of the camera. A lower sensitivity means that sounds
recieved by the baby unit need to be louder to be transmitted to the parent unit. A higher
sensitivity means that at a low sound level the sounds will be transmitted to the parent unit.
Note: If you wish to monitor every sound. Go to Menu Auto Mute and select NO. This will activate
an “open channel”.
9. ECO switch Allows you to set a lower transmitting power. This will save energy.
10. Volume To increase or decrease the volume of the lullabies.
11. DC 5V power Enables you to connect the baby unit to the electricity grid.
Note: The baby unit also works on 4 AA batteries (not included). Do not leave the batteries in
the baby unit when you use it with the power adapter.
12. Battery compartment Open this compartment to place 4AA batteries to power the baby unit.