7
www.major-equipment.com
2. Grease the PTO shaft universal joints, drive shaft bearing and carrying arm pivots.
3. Re-sharpen old blades with a grindstone if necessary. Replace bent blades with new ones.
4. Check the blade mounting bolts are tight
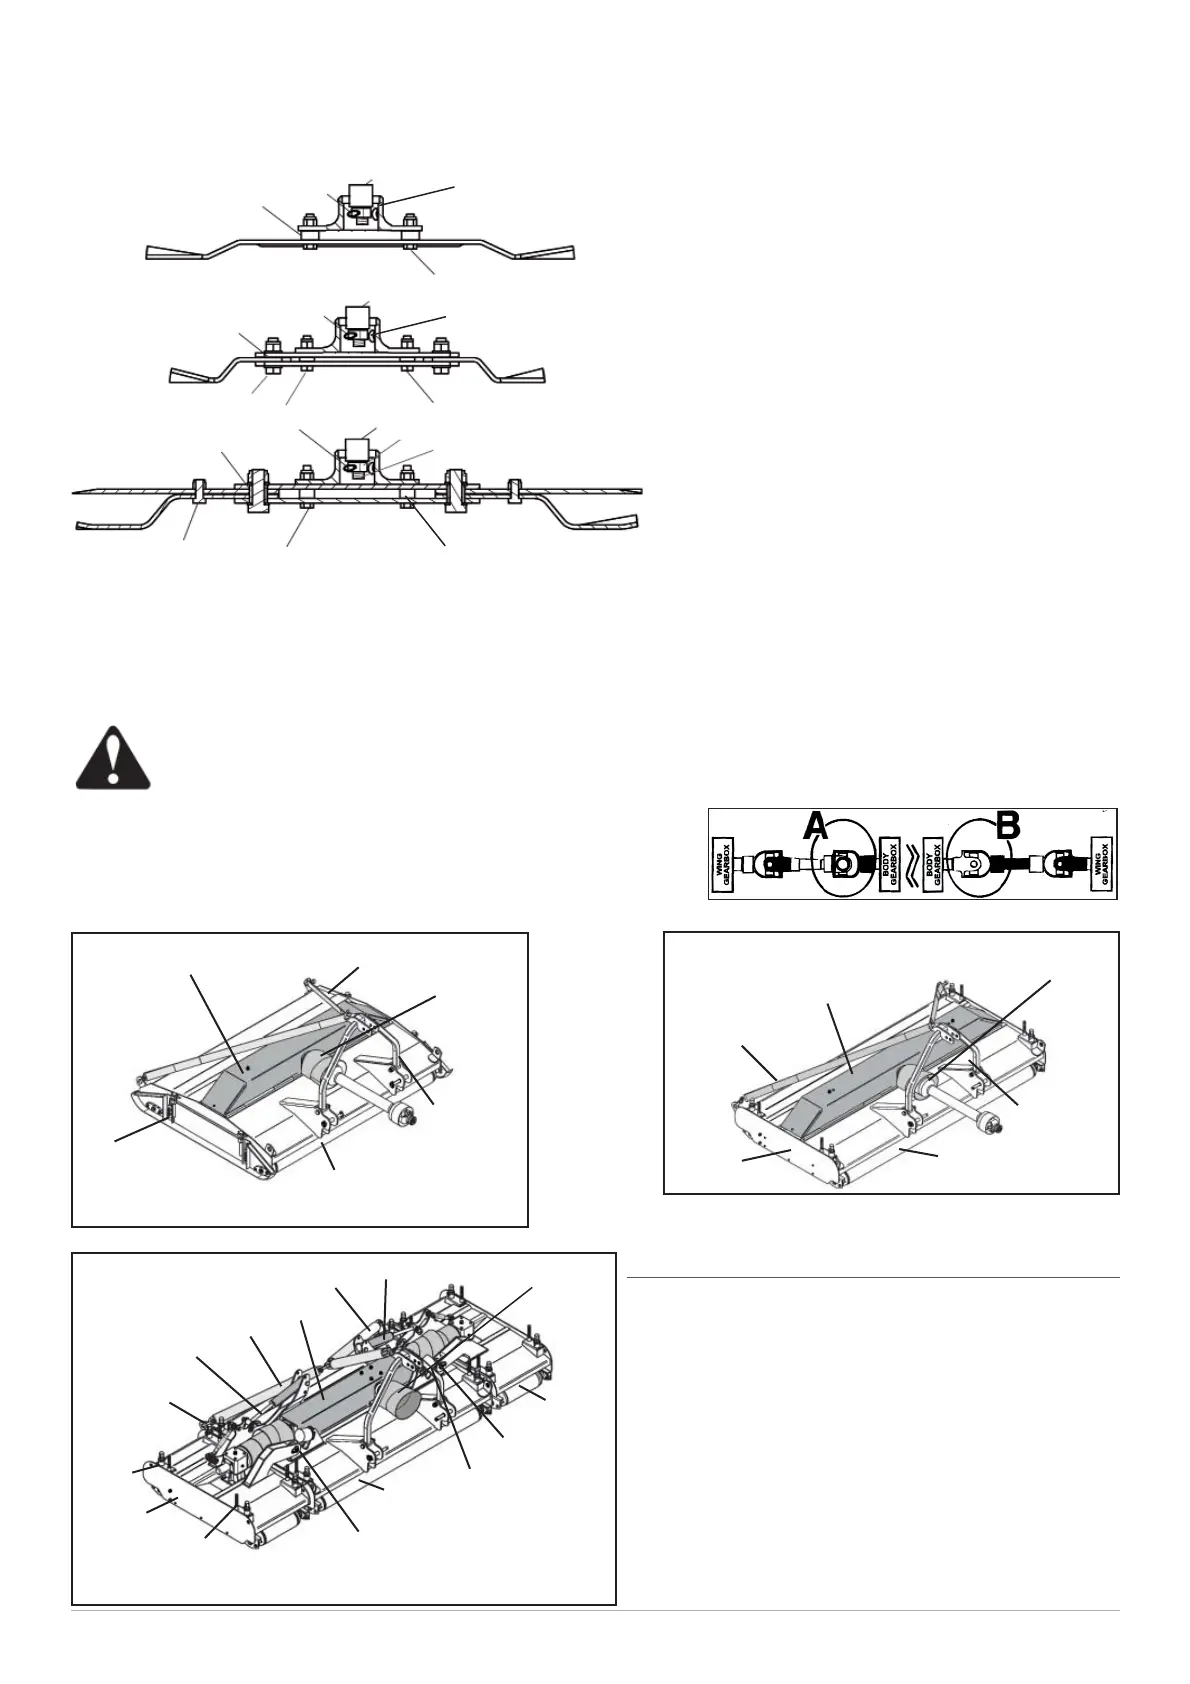
1 - Spacer bushings
2 - Blade mount bolts
3 - Blade pivot bush
4 - Blade pivot bolt
5 - Gearbox output shaft
6 - Split pin
7 - Retaining nut
8 - Bolt
5. Ensure the gearbox shaft nuts are tight and retained in place by split pin.
6. Check tightness of all nuts, bolts and retaining screws after the fi rst and second hours of work.
7. Ensure safety guards and fl aps are in place at all times where fi tted.
8. Due to the corrosive nature of grass when cut, wash down the machine when fi nished mowing, especially when
the machine is being stored for a long period of time.
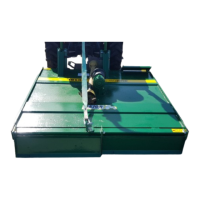
No Name No Name
1 Drawbar 10 Axle Ram Stopper
2 Jack - T/port Position 11 Wing PTO Shaft
3 Jack - Parking Position 12 Gearbox cover
4 Roller 13 Roller Adjuster & Guide
5 Wing Ram 14 Wing Transport Locking
Bar
6 Wing 15 Drawbar Ram Stopper
7 Hinge 16 A-Frame
8 Axle 17 Strap
9 Axle Ram 18 PTO Cover
Key to Main Parts
ENSURE THAT AFTER SERVICING THE TRANSMISSION,
THAT THE WING PTO SHAFT YOKES ARE CORRECTLY
ALIGNED AS SHOWN IN THE DIAGRAM BELOW – 12000,
17000 & 18000 MODELS ONLY. IF THE SHAFT JOURNALS ARE
FITTED INCORRECTLY THE DAMAGE WILL ONLY OCCUR WHEN
THE WINGS ARE RAISED INTO TRANSPORT POSITION
1
6
6
1
6
5
7
8
1
5
7
7
5
2
2
8
2
3
3
4
12
13
14
16
17
18
18
18
8000GR 6300GR & 8400GR
1100GR & 15000GR
14
11
5
12
17
5
4
7
16
4
7
13
6
13
17
12
13
4
16