8
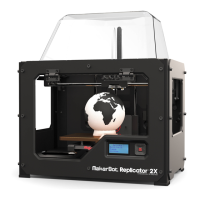
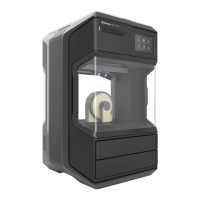
MakerBot Replicator
MakerBot
8
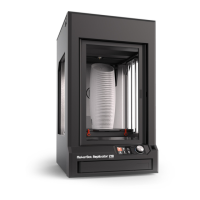
MakerBot Replicator
MakerBot
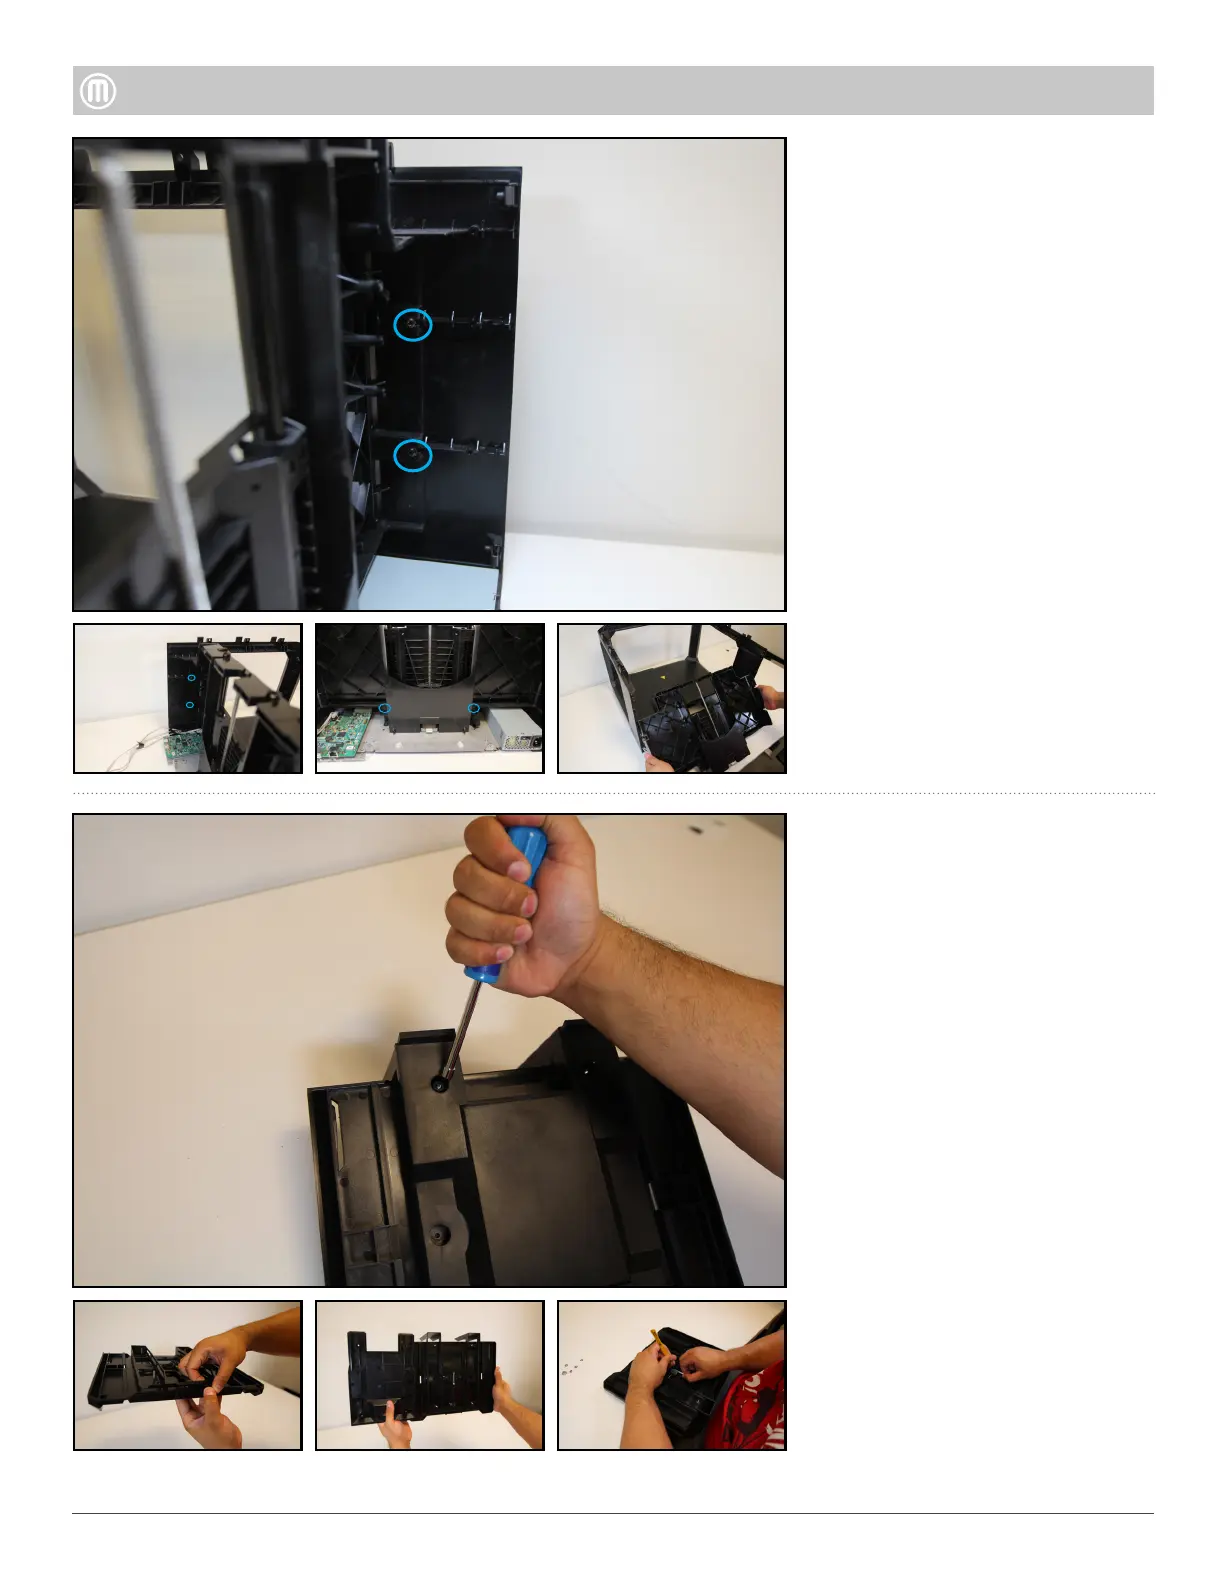
Four (4) Torx button thread
formers button heads that attach
the Z-Back to the side panels
Two (2) Torx button heads that
attach the Z-Back to the Floor
Plate.
Remove the following screws:
Pull Z-back back towards you
away from the body of the
Replicator and set aside.
To remove Z-Stage Assembly
remove the four (4) Torx button
head screws using a T15
To remove Z-Stage Assembly
remove the four (4) Torx button
head screws using a T15
To open up the Z-Stage remove
the Nylock Nuts located
underneath the Z-Stage using
a 5mm nutdriver (Note: Older
models have Push Nuts that
will have to be pried open). Next
remove the four (4) Conical
Springs (2 strong, 2 weak) located
with in the Z-Stage. Finally slide
out the Spring Clevis Pin that
holds the Build Plate Holder and
Step 12 - Remove the Z-Case
•
•
•
•