MAKERBOT SKETCH MANUAL
PAGE 15
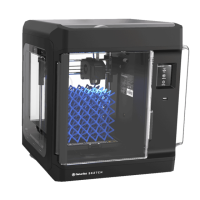
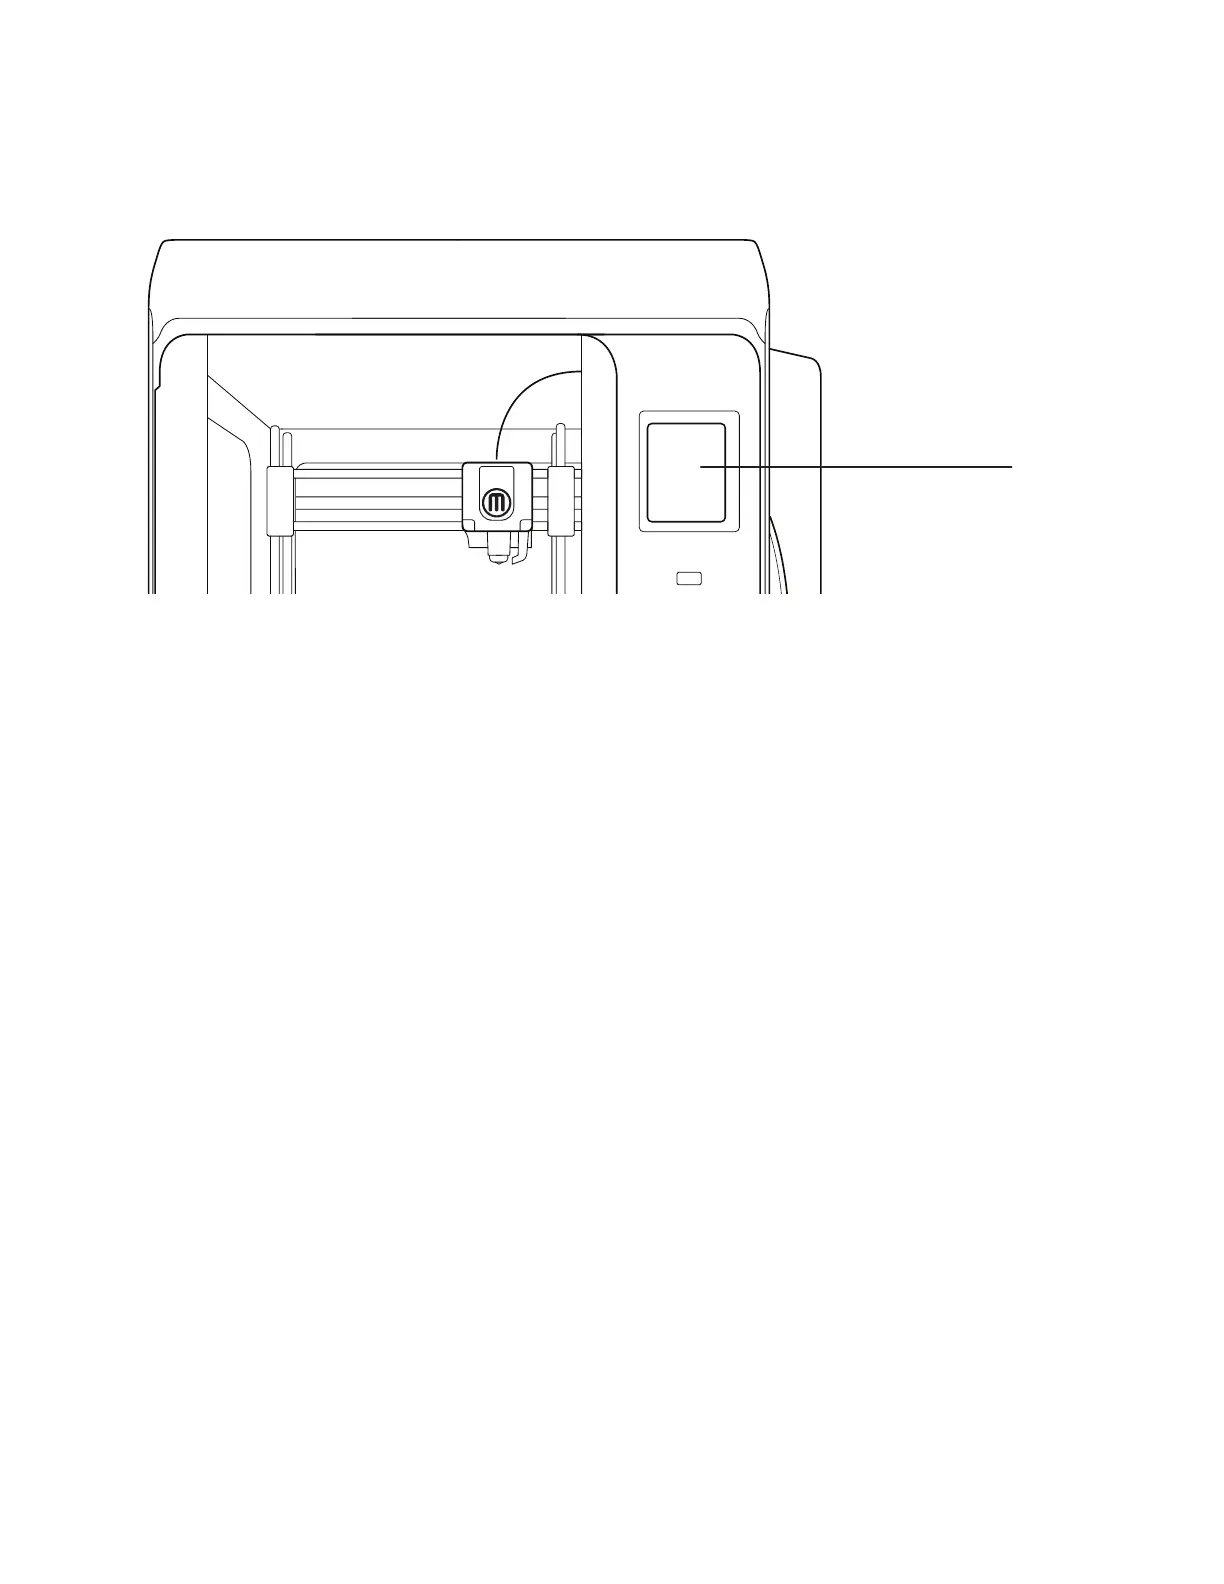
THE MAKERBOT SKETCH TOUCHSCREEN
The touchscreen located at the upper right of the machine operates the MakerBot Sketch.
See Chapter 4 The User Interface for more related information.
THE GUIDED SETUP
The first time you turn on your MakerBot Sketch, you will be guided through the initial setup process using the
MakerBot Sketch user interface. This Guided Setup will walk you through connecting the printer to an internet
connection, authorizing your printer, running calibration, loading material, and running your test print.
RE-RUN THE GUIDED SETUP
To re-run the Guided Setup, select SETTINGS > UTILITIES > RESET TO FACTORY. The screen will then prompt
a restart of the printer. Restoring factory settings will allow you to rerun the Guided Setup and also remove all
authorized MakerBot accounts.
NEW FIRMWARE UPDATE REQUIRED
Having up to date firmware is one of the most important factors in getting the most out of your MakerBot Sketch.
The first step in the setup process will make sure that your MakerBot Sketch is running the most up to date
firmware. You will not be able to proceed without updating firmware. Use the touch screen on your MakerBot
Sketch to select the option that works best for you. Once selected your MakerBot Sketch will walk you through
the firmware update process via on screen prompts.
UPDATING VIA ETHERNET
Please make sure your MakerBot Sketch is plugged into your local network via the Ethernet port in the back of
the printer. Once your MakerBot Sketch has established an Ethernet Connection, it will download the latest
firmware. Once the firmware has been downloaded and installed, restart the printer.
UPDATING VIA WI-FI
Once you select “Update via Wi-FI” from the startup screen, your MakerBot Sketch 3D Printer will automatically
scan for nearby Wi-Fi networks. Select your preferred wireless network from the available list. You will then
be prompted for the password for this network, please enter it using the touch screen. Once complete your
MakerBot Sketch will connect to the network and automatically download the newest firmware version.
Once you have successfully entered the password for the selected Wi-Fi network, your MakerBot Sketch will
automatically connect and begin searching for the latest firmware version. Once the latest firmware has been
found, it will automatically begin downloading and installing. Once all three steps have been completed, your
MakerBot Sketch will restart running the latest firmware version. Once the firmware has been downloaded and
installed, restart the printer.
UPDATING VIA USB FLASH DRIVE
For the MakerBot Sketch, visit MakerBot.com/SketchFW to download the latest firmware.
Once you have downloaded the newest firmware version, transfer it to a USB flash drive. Please ensure that the
firmware file is not embedded inside another folder on your USB flash drive, or else the Sketch printer will not be
able to select it. Also be sure that there is only one firmware file on your USB flash drive.
Insert your USB flash drive into the USB flash drive port under the touch screen then power cycle the printer.
TOUCHSCREEN