1600/1800 Manual
23
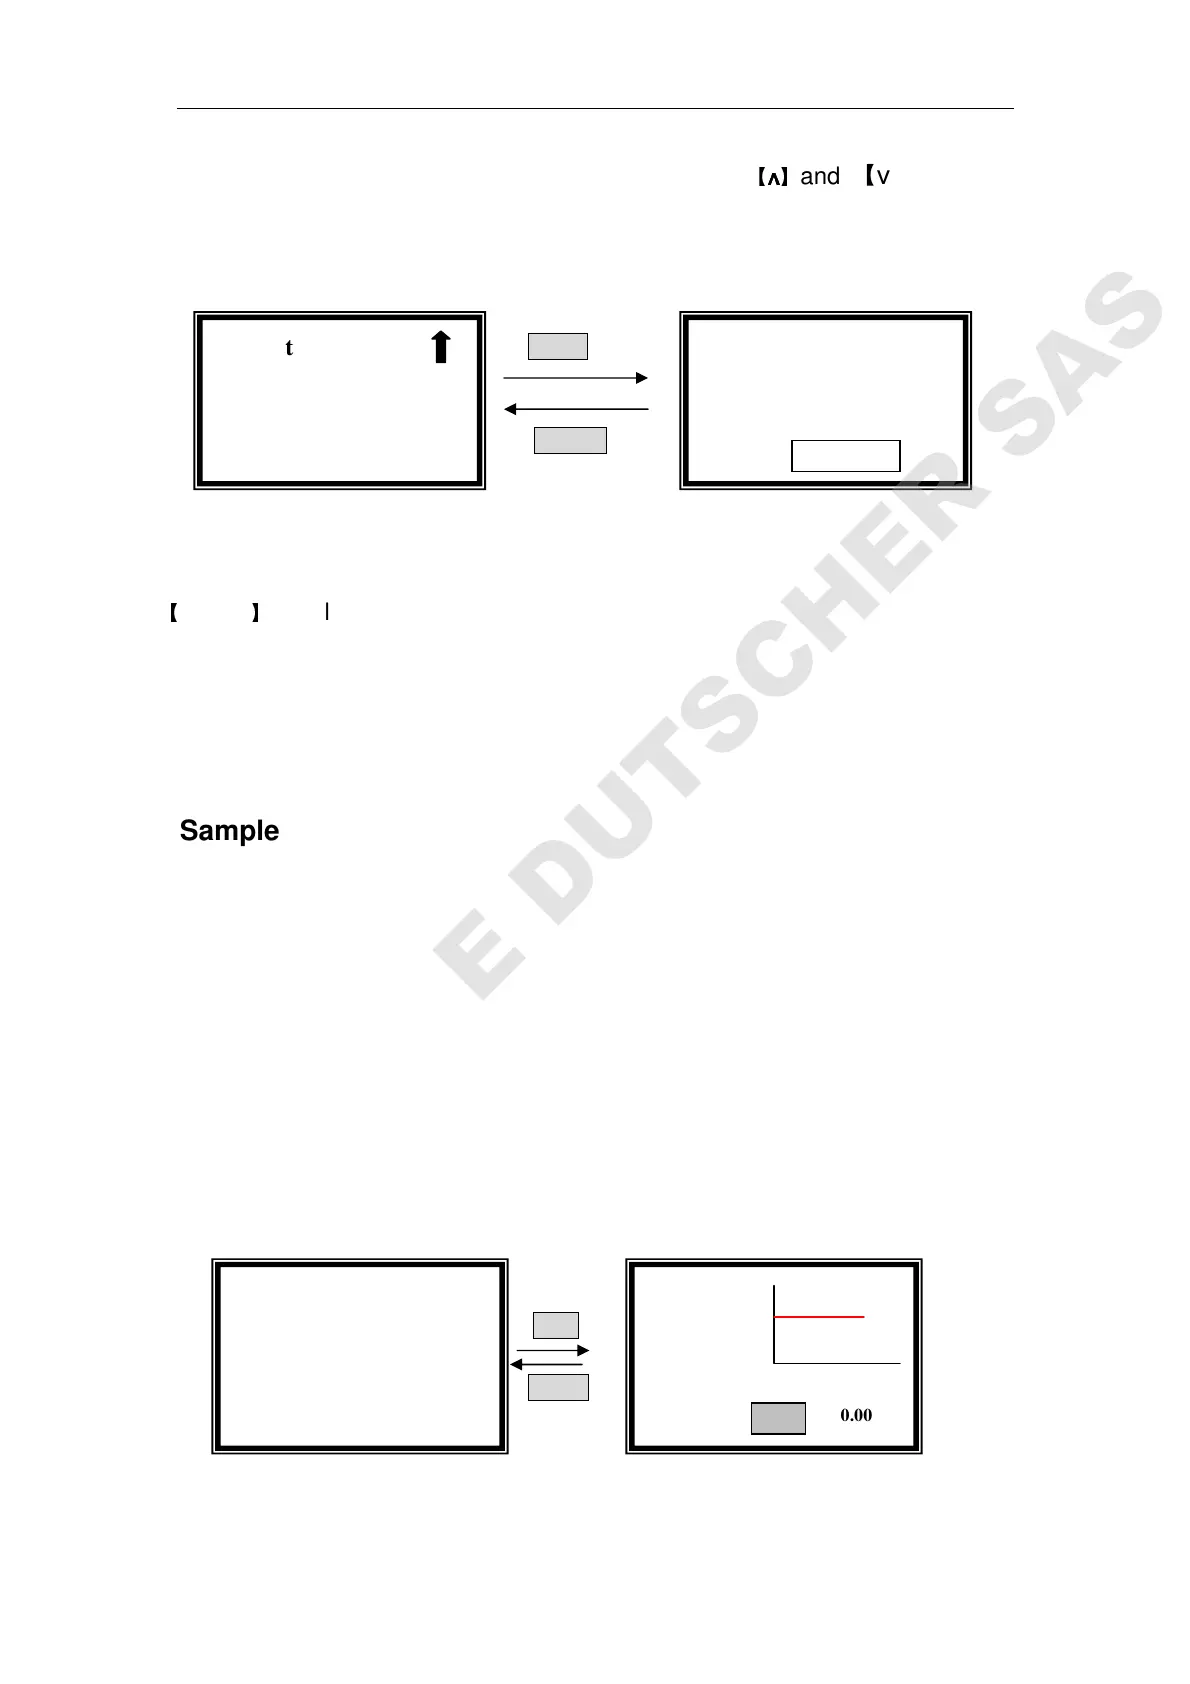
Move the cursor on “Lower Limit” by pressing
【
∧
∧∧
∧
】
and 【∨
∨∨
∨】in setting
interface, followed by【ENTER】(Fig.36)
ENTER
RETURN
Fig. 36
Input the new lower value by pressing the numeric keypad followed by
【
ENTER
】
, it will return to the kinetics setting interface.
If you don’t want to change the value being set last time, press 【ENTER】
or【RETURN】directly .
Note: the range or A is -0.3-3, the range or T is 0-200, other value is invalid.
Sample Test
After you have finished setting “Time Interval”, “Total Test Time”, “Test
Mode”, “Upper Limit” and “Lower Limit”, press
【RETURN】to go back to
kinetics pre-testing interface. (The left interface of Fig. 37)
Pull the blank cuvette in the light path, press 【ZERO】for blanking.
Pull the sample cuvette in the light path, press 【START】to go into testing
interface.
Press【START】again to began your test. (Fig. 37)
START
RETURN
Fig. 37
When the testing begins, the curve will be drawn on the screen in real
Kinetics
100.0 T%
546.0 nm
Kinetics 3.000
-0.500
0S 60S
546.0nm 0.002A
√ Kinetics
○
○○
○Upper Limit
●
●
●
●Lower Limit
Kinetics: Abs.
Lower=-0.500
Please Input New
Lower=