1600/1800 Manual
34
Service Provider. Be sure the socket of the lamp flange matches with the positioning
bolt. Then tighten the two screws.
9) Reconnect the wire connector (make sure the wire connection orientation is the
same as step 6.)
10) Turn on the instrument. After self-testing, select 300 nm and press
【
ZERO
】
.
Check to make sure that the light beam is focused on the entrance slit of the
monochromator. Since the lamp is pre-aligned, there will be minimum, if any,
adjustment required.
11) Switch the instrument off, re-cover the lamp chamber and tighten the two screws.
12) Reinstall the instrument cover by positioning the front of the cover first and then
sliding the back
of the cover over the backside grill plate. Be sure to prevent all
wires from being pinched in the process.
13) Reinstall the four screws and the Cuvette Holder Control Knob.
2. Battery Replacement
Mapada 1600/1800 series can save many data in the RAM, so a battery must be used
in the main board. When the battery is disabled, you’ll have to replace it as the following
indication.
1) Turn off and unplug the instrument (VERY IMPORTANT: HIGH VOLTAGE).
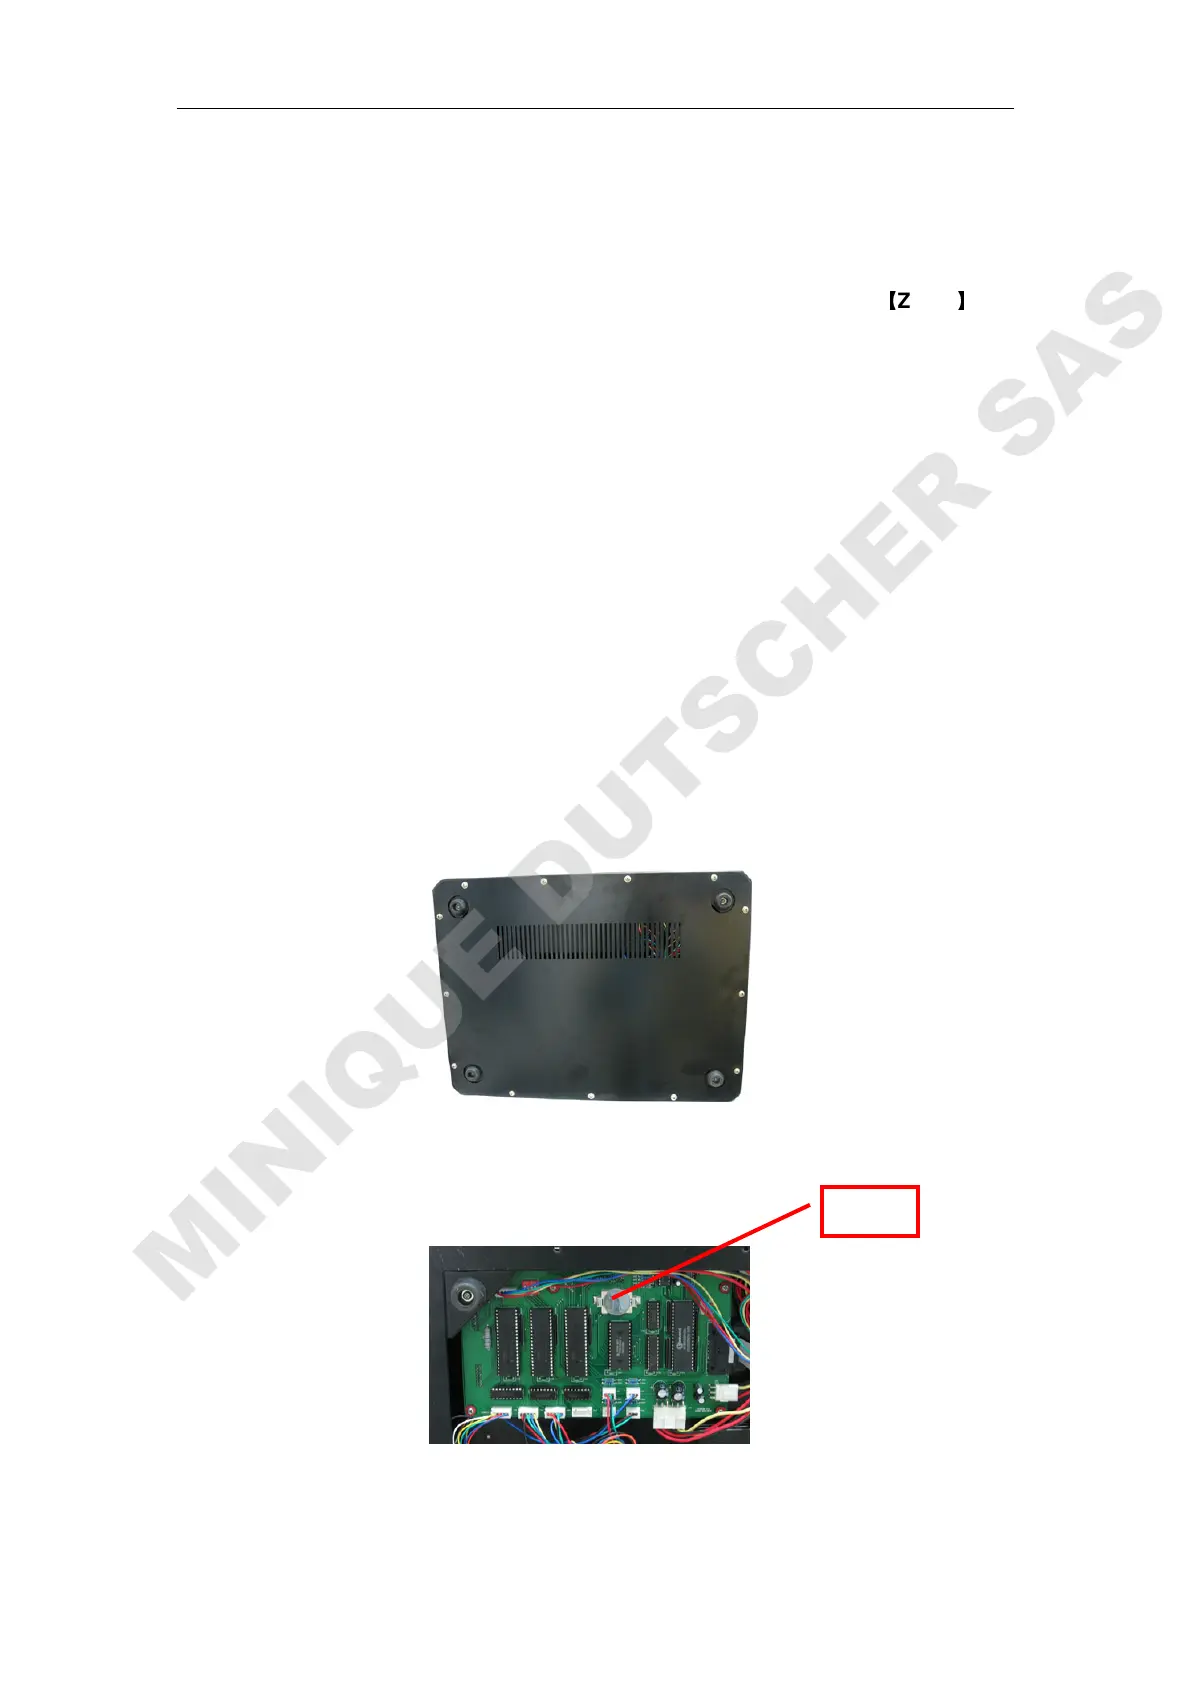
2) Unscrew the 13 white screws from the bottom board and remove the board.
(Fig.4-4)
Fig.4-4 Bottom
3) Pick out the old battery and replace a new one. (Fig.4-6)
Fig. 4-5 Main Board
4) Recover the bottom board and tighten the 13 screws.
Battery