3
ENGLISH
3
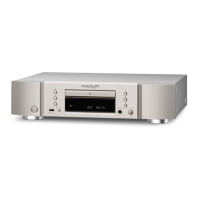
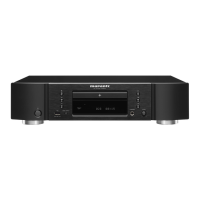
Discs
Discs playable on this unit
q Music CDs
Discs marked with the logo at right can be
played in this unit.
w CD-R/CD-RW
NOTE
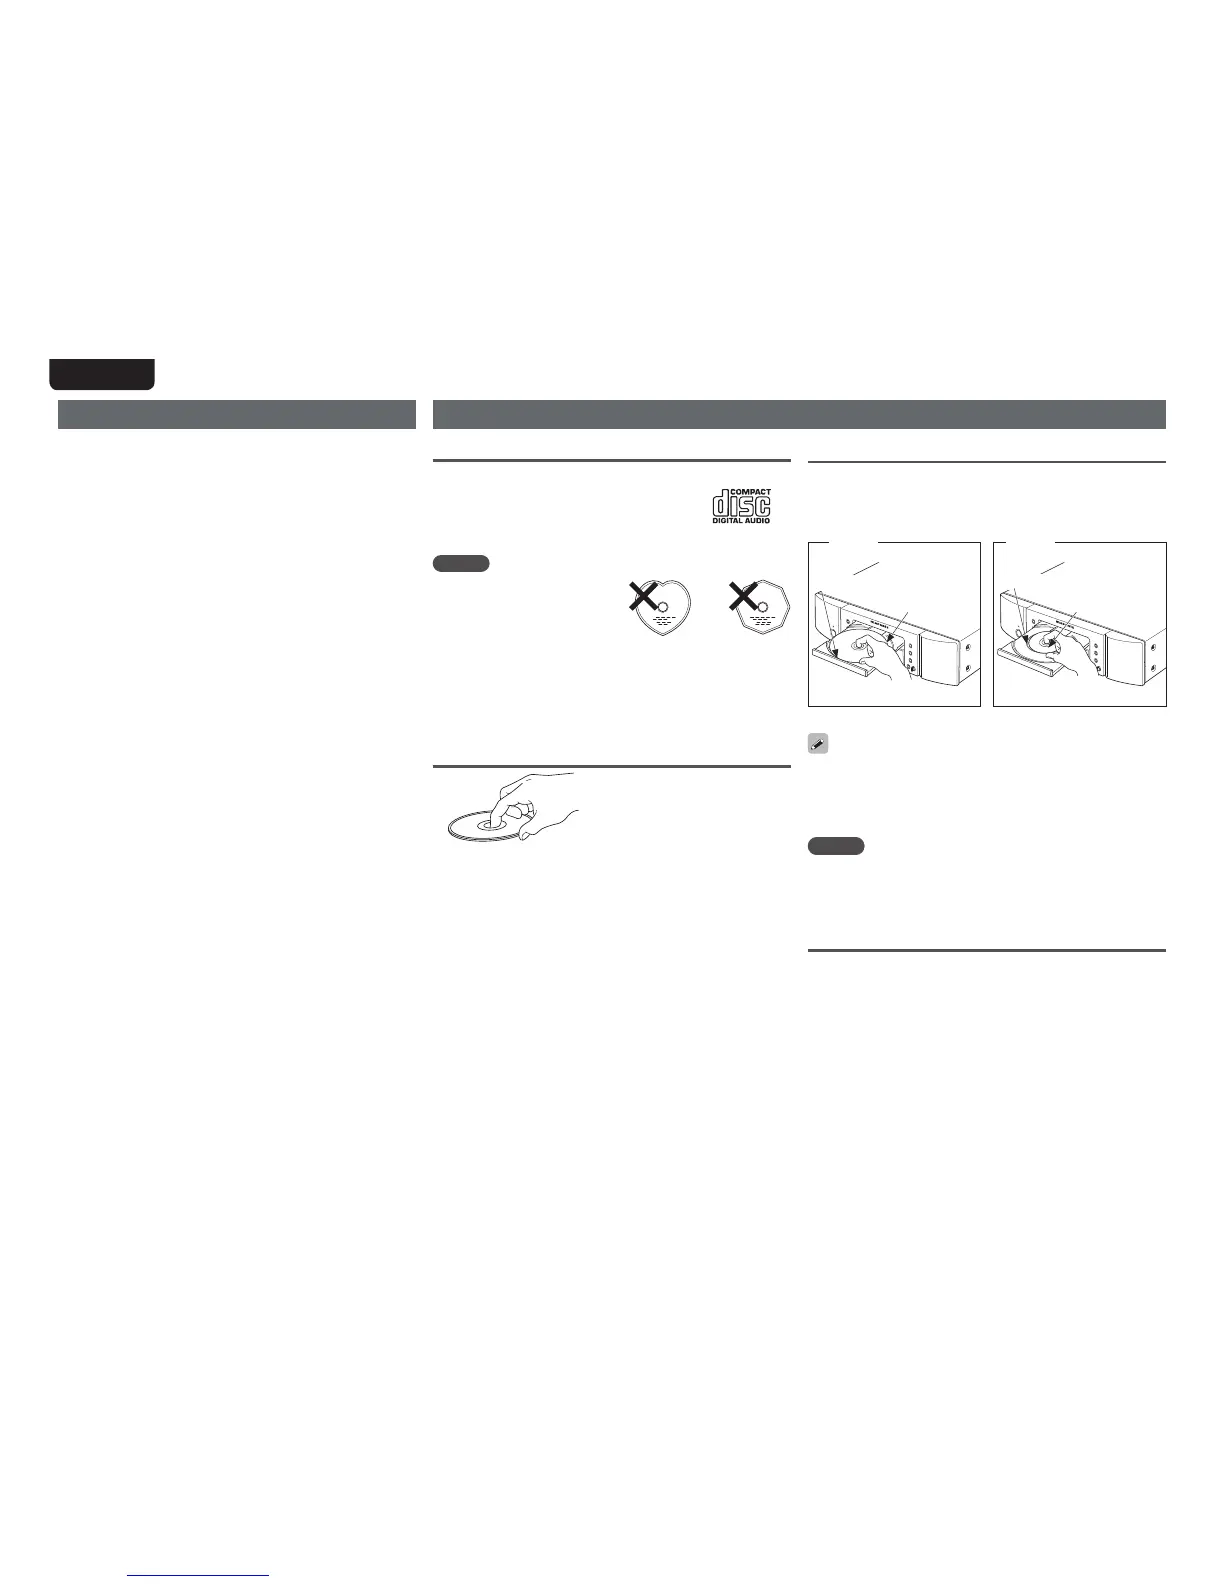
tDiscs in special shapes (heart-
shaped discs, octagonal discs,
etc.) cannot be played. Do not
attempt to play them, as doing
so can damage the unit.
tSome discs and some recording formats cannot be played.
tNon-finalized discs cannot be played.
z What is finalization?
Finalization is the process that makes recorded CD-R/CD-RW discs
playable on compatible players.
Holding discs
Do not touch the signal surface.
Cautions on handling
tBefore turning the power switch on
Check once again that all connections are correct and that there are
no problems with the connection cables.
tWhen leaving home for long periods of time, be sure to unplug the
power cord from the power outlet.
tProper ventilation
If the unit is left in a room full of the smoke from cigarettes, etc., for
long periods of time, the surface of the optical pickup may get dirty,
preventing it from receiving the signals properly.
tAbout condensation
If there is a major difference in temperature between the inside of
the unit and its surroundings, condensation may form on parts inside
the unit, causing the unit to fail to operate properly.
If this happens, let the unit sit for an hour or two with the power off
and wait until there is little difference in temperature before using
the unit.
tCautions on using mobile phones
Using a mobile phone near this unit may result in noise. If that
occurs, move the mobile phone away from the unit when it is in use.
tMoving the unit
Turn off the power and unplug the power cord from the power outlet.
Next, disconnect the cables connected to other system units before
moving the unit.
Loading discs
tMake sure the label side (printed side) is facing upwards.
tMake sure the disc tray is fully open when inserting the disc.
tPlace the discs flat, 12 cm discs in the outer tray guide (Figure 1),
8 cm discs in the inner tray guide (Figure 2).
Figure 1
12 cm disc 8 cm disc
Figure 2
Outer tray guide
Inner tray guide
tPlace 8 cm discs in the inner tray guide without using an adapter.
tIf a DVD or other disc that is not supported by this unit is placed on
the disc tray, “SubQ Error” is shown on the display. When the
5
button is pressed after that, the disc tray opens after 60 seconds.
tIf you place a disc that contains other than MP3 or WMA files, “No
File” is displayed.
NOTE
tDo not push the disc tray in by hand when the power is turned off.
Doing so could damage the set.
tDo not place any objects other than discs on the disc tray. Doing so
may damage the unit.
Cautions on loading discs
tOnly load one disc at a time. Loading two or more discs can damage
the unit or scratch the discs.
tDo not use cracked or warped discs or discs that have been repaired
with adhesive, etc.
tDo not use discs on which the sticky part of cellophane tape or labels
is exposed or on which there are traces of where labels have been
removed. Such discs can get caught inside the player and damage it.