UTILITIES
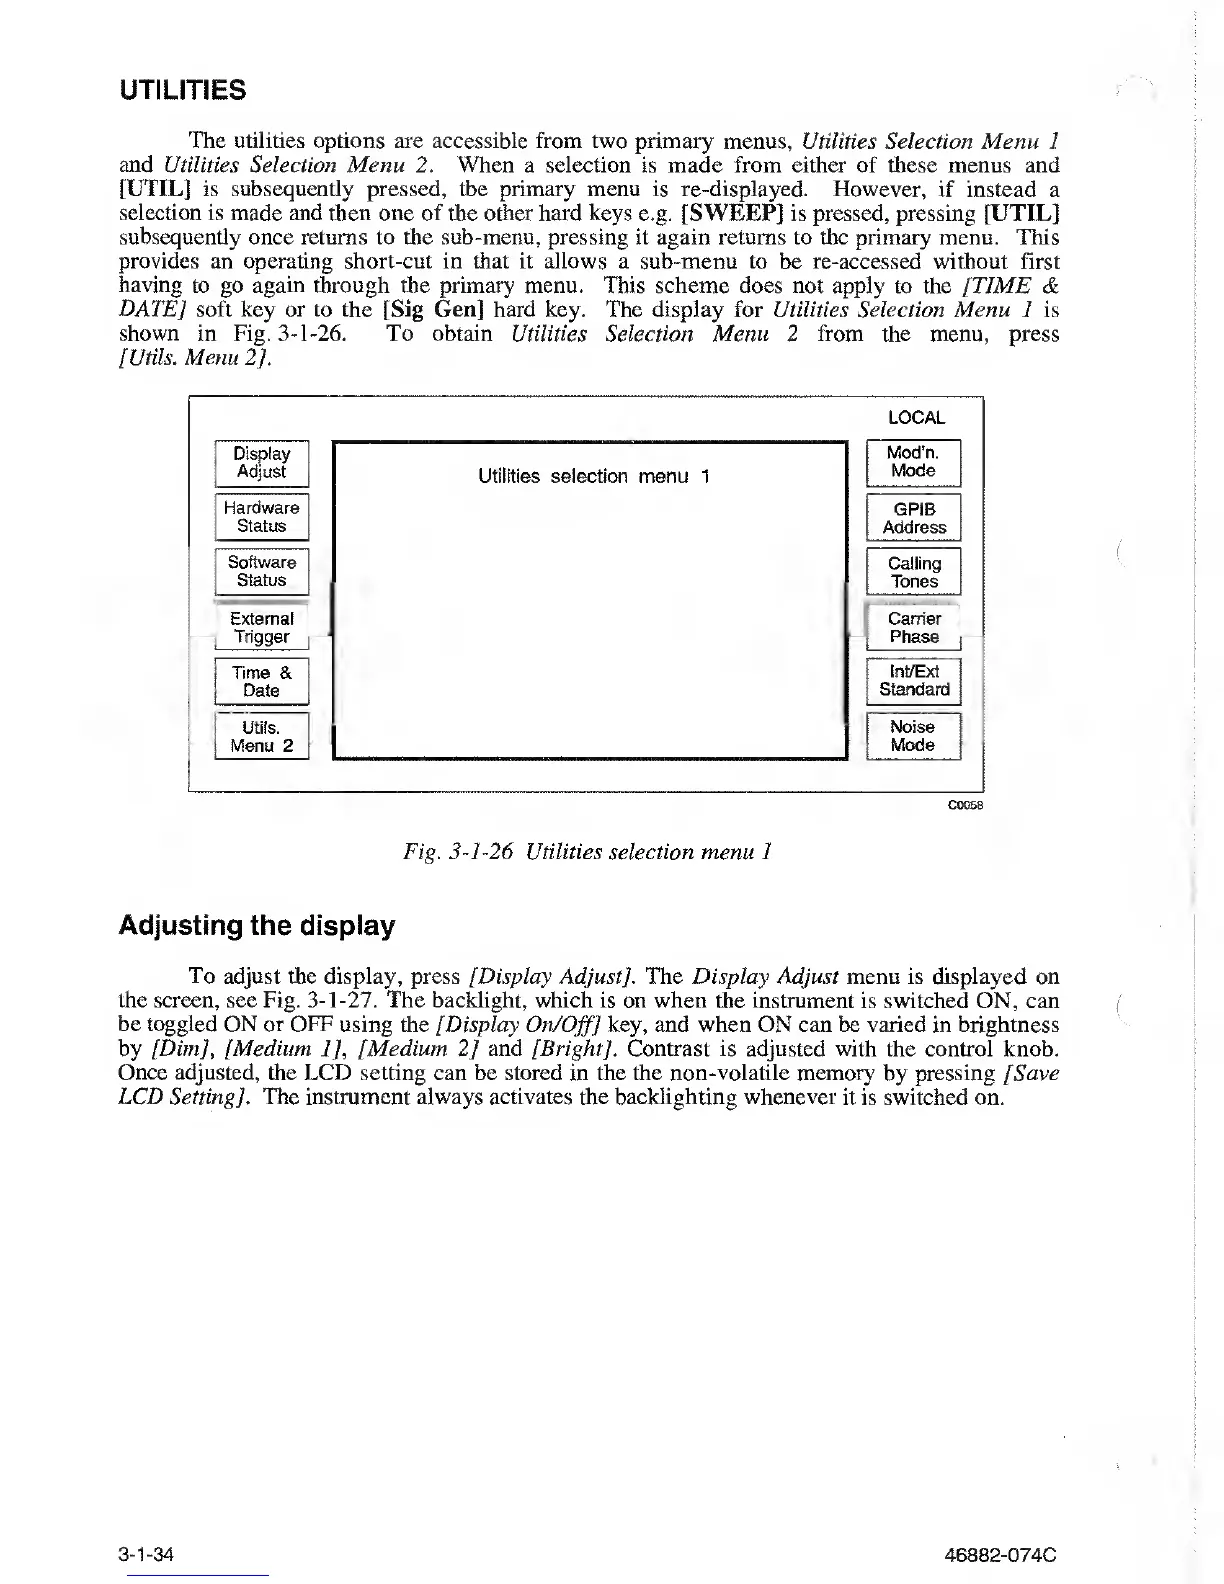
The utilities options are accessible from two primary menus, Utilities Selection Menu 1
and Utilities Selection Menu 2. When
a selection is made from either of these menus and
[UTIL]
is subsequently pressed, the primary menu is re-displayed. However, if instead a
selection is made and then one of the other hard keys
e.g.
[SWEEP] is pressed, pressing [UTIL]
subsequently once returns
to the sub-menu, pressing it again returns to the primary menu. This
provides an operating short-cut in that it allows a sub-menu to
be
re-accessed without
first
having
to go
again through
the primary menu. This scheme does not apply to the [TIME
&
DATE]
soft key
or
to the [Sig Gen] hard key. The display for Utilities Selection Menu 1 is
shown in Fig.
3-1-26.
To obtain Utilities
Selection Menu 2 from the menu, press
[Utils. Menu
2].
LOCAL
Display
Adjust
Hardware
Status
Software
Status
External
Trigger
Time &
Date
Utils.
Menu 2
Utilities selection menu 1
Mod’n.
Mode
GPIB
Address
Calling
Tones
Carrier
Phase
Int/Ext
Standard
Noise
Mode
C0058
Fig.
3-1-26
Utilities selection menu 1
Adjusting
the
display
To adjust the display, press [Display
Adjust
/.
The Display Adjust menu is displayed on
the screen, see Fig.
3-1-27.
The backlight, which is on when the instrument is switched ON,
can
be toggled ON or OFF using the
[Display
On/Off]
key, and when ON can be
varied
in brightness
by [Dim], [Medium
1],
[Medium
2]
and [Bright]. Contrast is adjusted with the control
knob.
Once adjusted, the LCD setting
can be stored in the the
non-volatile
memory by pressing [Save
LCD
Setting].
The
instrument always activates the backlighting whenever it
is
switched
on.
3-1-34
46882-074C