Owner’s Guide
MAINTENANCE
Tire Repair
Tool List
Quantity
Tool List Quantity
Lug Wrench, 3/4”
. . . . . . . . . . .. . . . . . . . . . . . . . . . . . .
. . . . . . .. . . . . . . . . . . . .. . . . . . . 1
Impact Socket, 3/4” ..................................................... 1
Impact Wrench ............................................................ 1 Torque Wrench, ft. lbs. ................................................ 1
Use caution when you inflate the tires. Because of the low volume of the small tires, over inflation can occur in seconds.
Over inflation can cause the tire to separate from the wheel or cause a tire explosion.
The general recommended tire inflation pressure is 18-22 psi, but know that tire inflation pressure can change
according to the condition of the terrain.
For outdoor applications with primary use on areas with grass, consider the following:
•
Slightly higher tire inflation pressure is suitable on hard turf
•
A lower pressure decreases the risk of tires cutting into a soft turf
For hard surfaces or pavement, tire inflation pressure must be in the higher allowed range, but not more than
recommended on the tire sidewall.
All four tires must have the same pressure for best control qualities. Always install the valve stem cap after you check
or inflate the tires.
The vehicle has low-pressure tubeless tires, installed on one-piece rims.
Use a tire plug to repair small holes in the tread part of the tire. For large holes and cuts, replace the tire.
Tire plug tools and plugs are available at automotive outlets. The tires do not have to be removed from the wheel to
install the tire plugs.
If the tire is flat, remove the wheel and inflate the tire to the recommended maximum pressure for the tire. Submerge
the tire in water to find the leak and mark with chalk. Install the tire plug according to manufacturer’s instructions.
Wheel Installation
To decrease the risk of component damage, do not tighten
lug nuts to more than 85 ft. lbs. (115 Nm) torque.
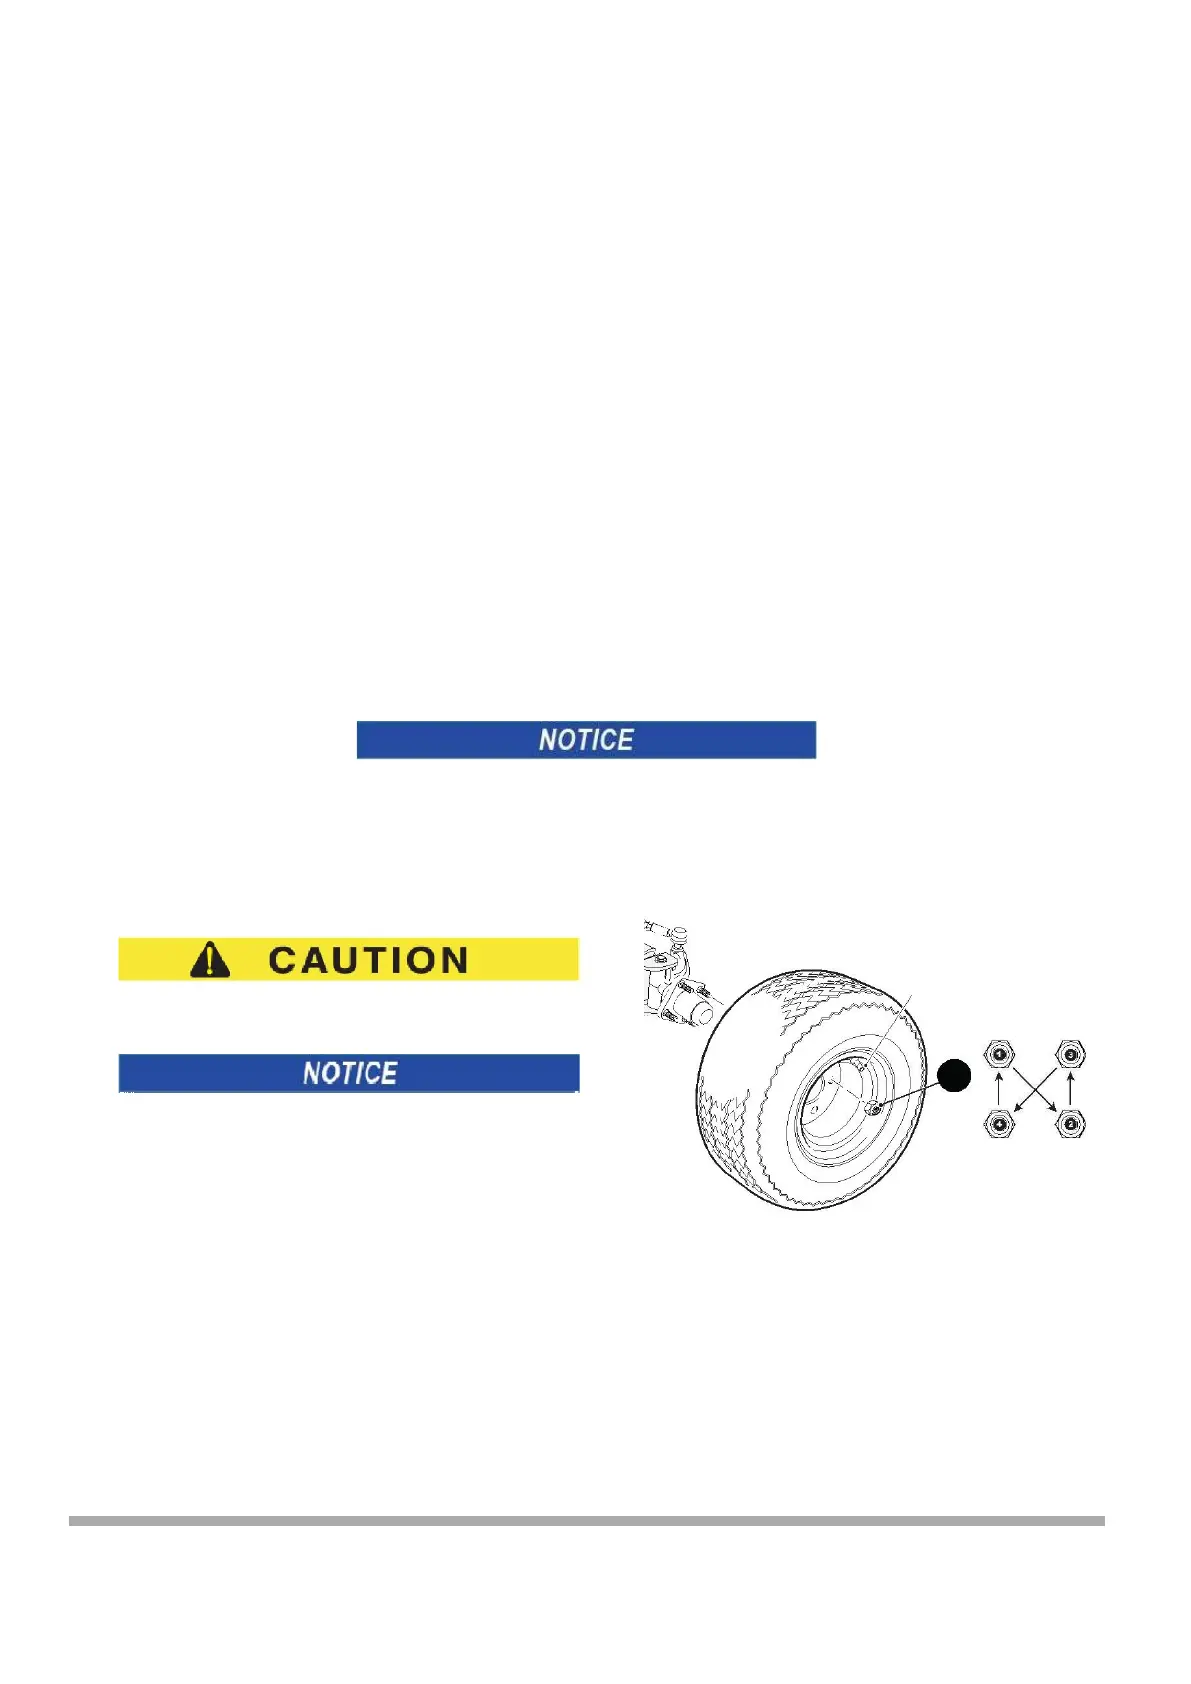
Valve Stem Cap
1
Always follow the cross-sequence pattern when you install the
lug nuts to make sure the wheel is evenly seated against the
Cross Sequence
hub.
•
With the valve stem to the outside of the wheel, install the
wheel on the hub with lug nuts.
Tire style may vary
•
Tighten the lug nuts (1) with your fingers in the cross-sequence pattern shown.
•
Tighten the lug nuts to 50 to 85 ft. lbs. (70 to 115 Nm) torque in 20 ft. lbs. (27 Nm) increments.
•
Continue to follow the cross-sequence pattern until the correct torque is reached.
43