MAINTENANCE
Read all of SAFETY and this section before attempting any procedure. Pay particular attention to Notices, Cautions, Warnings and Dangers.
Battery Cleaning
To prevent battery damage, make sure you correctly install all battery caps.
To decrease the risk of damage to vehicle or floor, neutralize acid before you spray the battery with water.
To decrease the risk of damage to the electrical components while cleaning, do not use a pressure washer.
Clean the batteries according to the Periodic Service Schedule.
When you clean the battery cases and terminals, do not use a water hose without neutralizing any acid deposits first.
The water hose moves the acid from the top of the batteries to another area of the vehicle or storage facility, where it
can cause damage. After spraying the batteries, a conductive residue remains on the batteries and contribute to the
discharge of the batteries
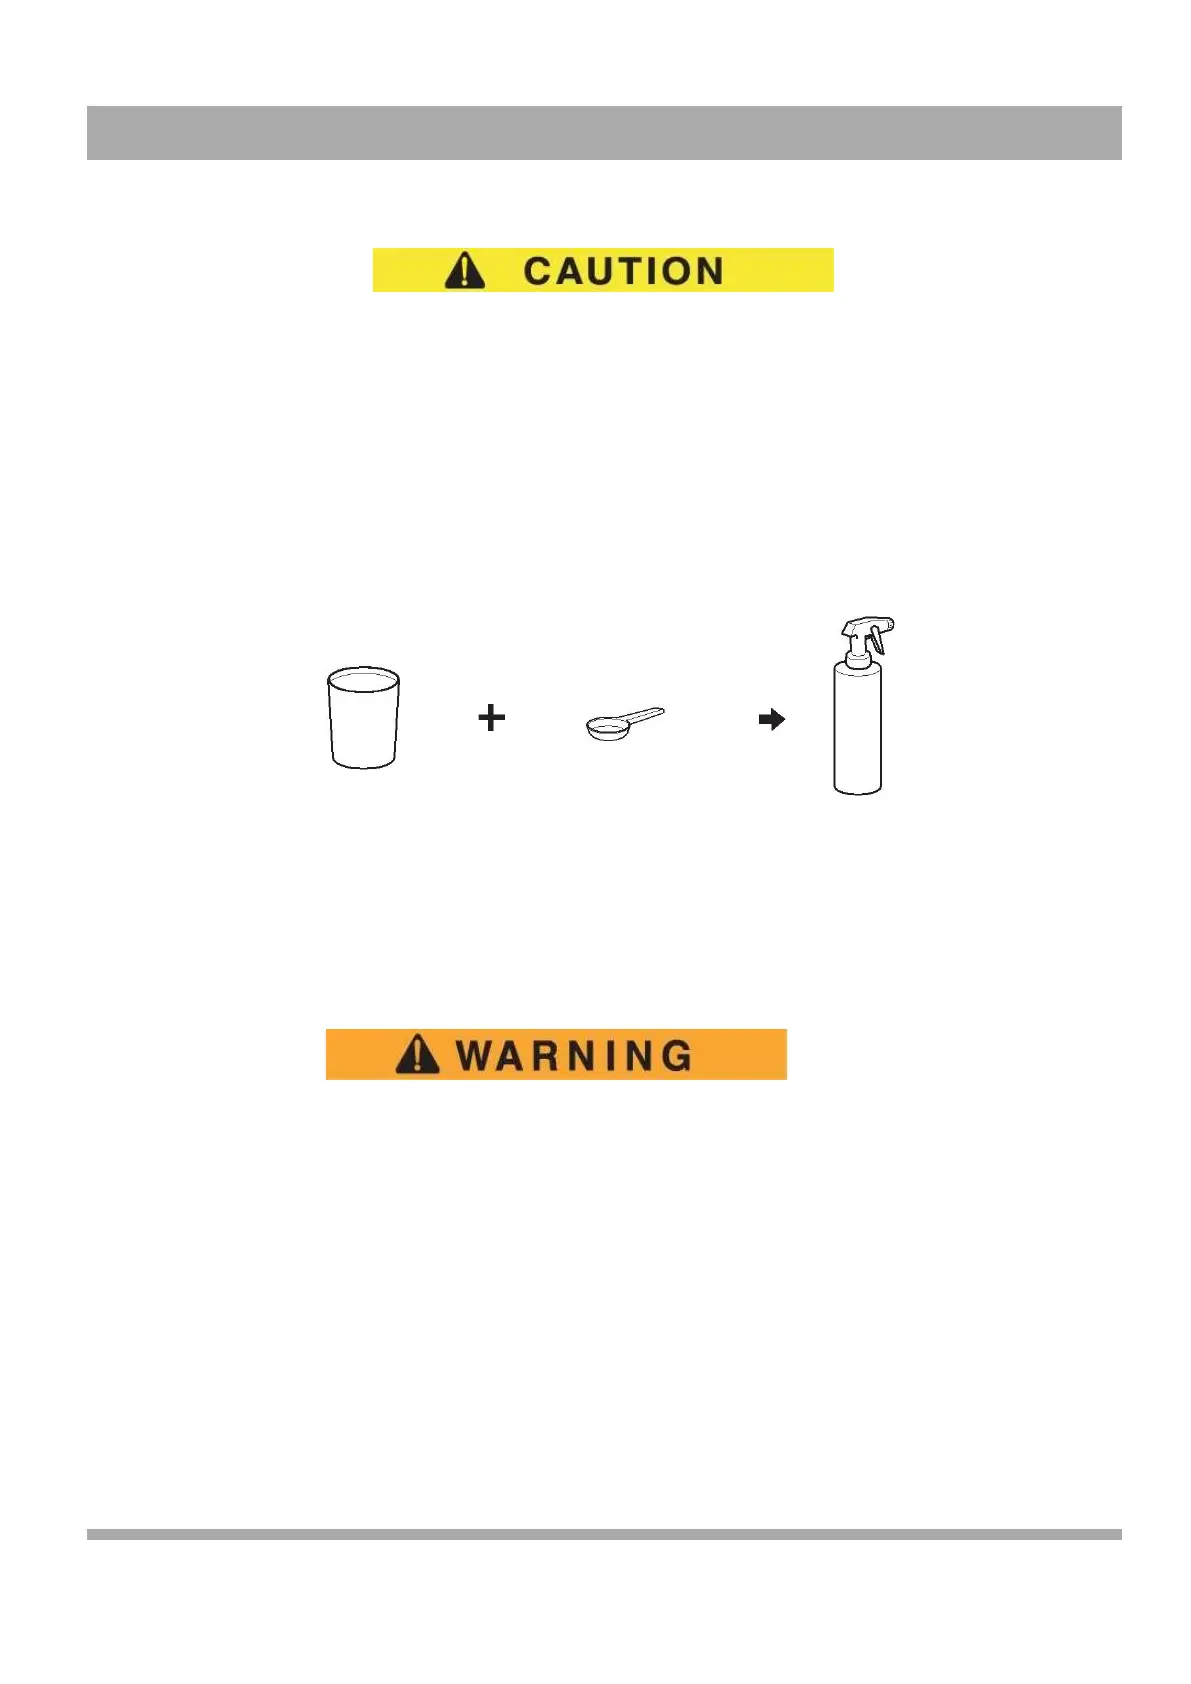
Preparing Acid Neutralizing Solution
2 teaspoons (10 ml)
1 quart (1 liter) Sodium Bicarbonate Plastic Spray
Clear Water (Baking Soda) Bottle
The correct cleaning method is to spray the top and sides of the batteries with a solution of baking soda and water. Apply
this solution with a plastic spray bottle. The solution is 2 teaspoons (10 ml) sodium bicarbonate (baking soda) mixed with 1
quart (1 liter) of water. Spray the solution on all metal components near the batteries also.
Allow the solution to set a minimum of three minutes. Use a soft bristle brush or cloth to clean the top of each battery to
remove residue that can cause the discharge of the battery. Clean the area with low pressure clear water.
Be careful when you use aerosol containers near the battery terminals. Use a container with
insulation to prevent an explosion.
Clean one time a month or more often in harsh conditions. After the batteries are clean and dry, apply a
commercially available protectant to the terminals.
Battery Removal and Installation
Tool List
Quantity
Tool List
Quantity
Insulated Wrench, 9/16"
......... ...... ....... . ..... ...... ....... .. ... 1
Socket, 1/2" Deep-well
. . . . . . . . . . . . . . . . . . . . . . . . . . . . . . . . . . . . . . . . . . . .. . . . 1
Socket, 9/16” ............................................................... 1 Ratchet ............................................................................ 1
Battery Carrier Strap ................................................... 1 Torque Wrench, in. lbs .................................................... 1
Portable Lifting Device ................................................ 1 Torx Bit, 50IP .................................................................. 1
52
Owner’s Guide