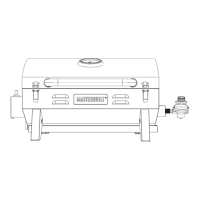
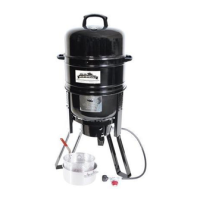
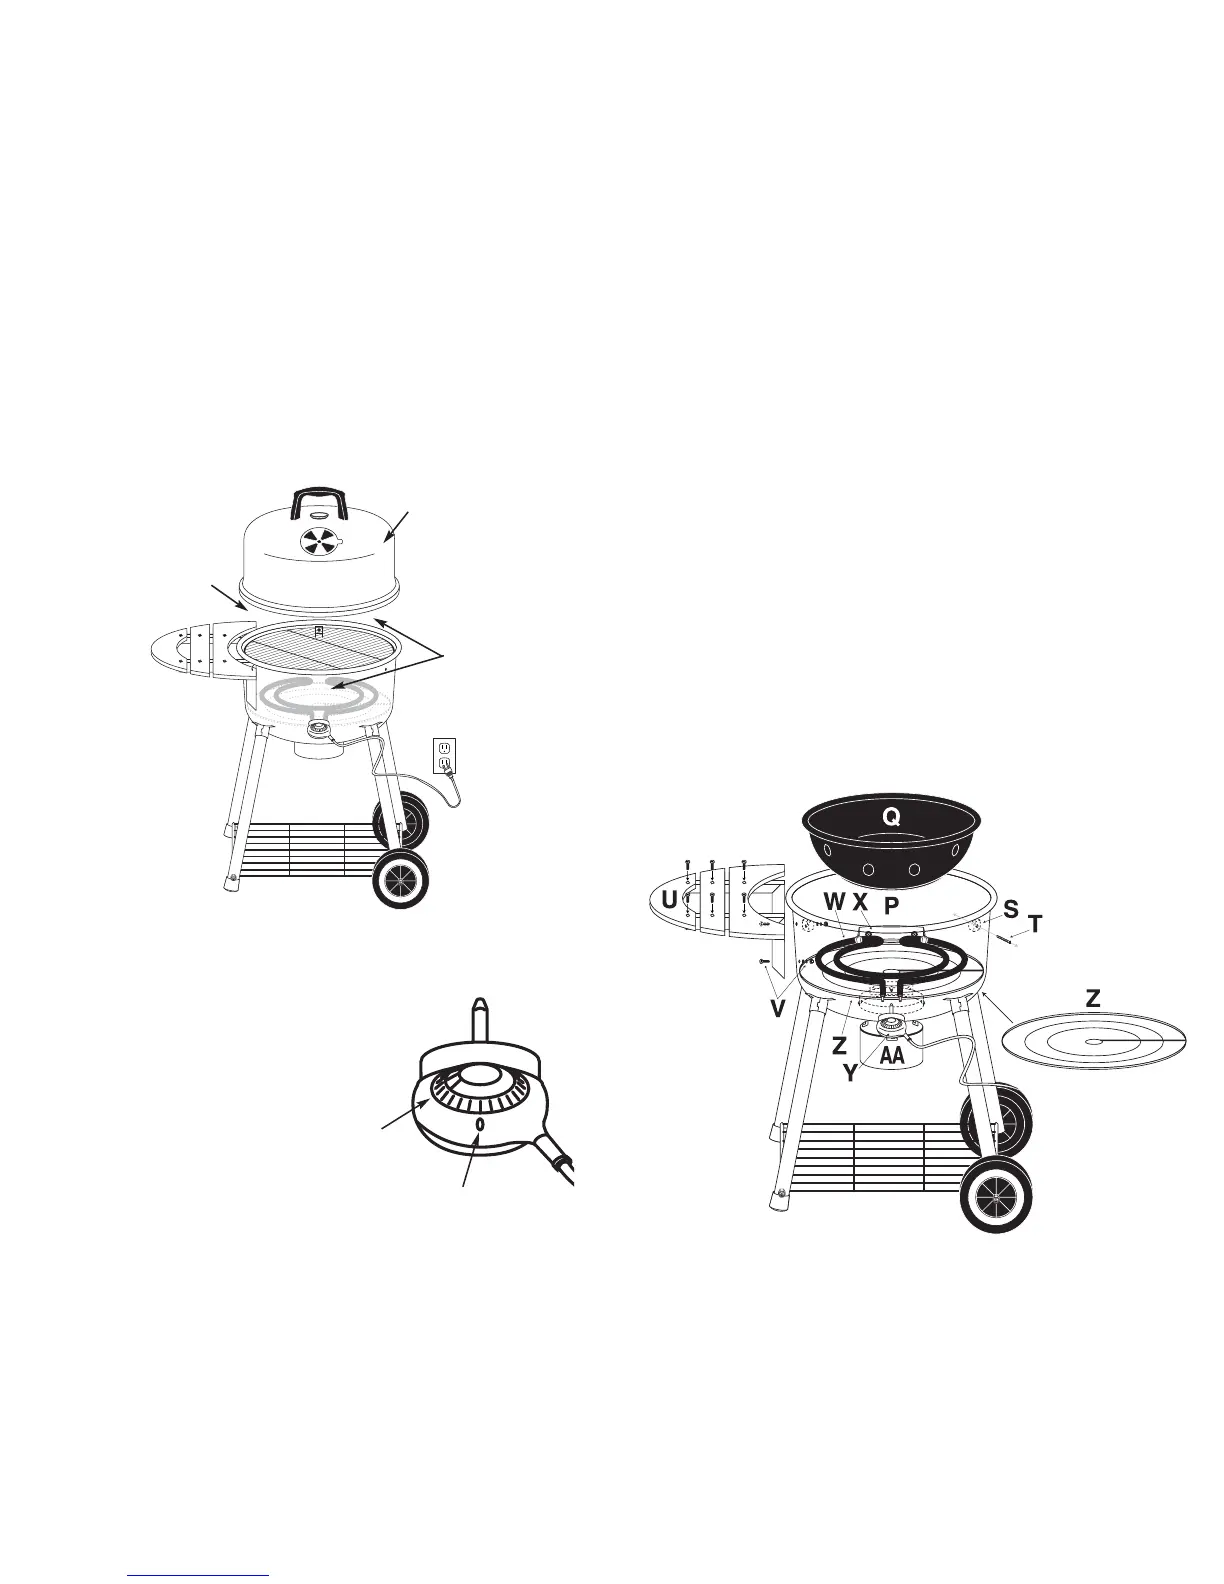
GETTING STARTED – GRILLING
FIRST, remove Middle Body H, Water Bowl O and Wood Chip Bowl Q,
NEXT, place one of the Grill Racks I, on Lower Body P.
LAST, use Dome A, if desired.
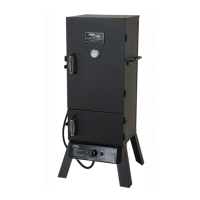
USING ELECTRIC CONTROLLER UNIT
FIRST, attach Electric Controller Unit Y to smoker.
NEXT, plug cord into 110 volt current outlet only.
LAST, Turn control knob to desired temperature.
Indicator light will turn off on when desired
temperature is reached.
NOTE: Use Heat Indicator D on Dome A
to monitor temperature.
PLACE ONE
GRILL RACK ON
BOTTOM BODY.
REMOVE
MIDDLE BODY,
WATER BOWL
& WOOD CHIP BOWL
FROM LOWER BODY
INDICATOR
LIGHT
CONTROL
KNOB
58
STEP 2:
Lower Body Assembly
FIRST, place Heat Shield Z inside Lower Body P concave side up. Mount Element
Bracket X to side of Lower Body P with Bracket Bolts T. Slide prongs of Heating
Element W through holes opposite side the Element Bracket X. Heating Element W
should fit inside Element Bracket X. Make sure the white insulation rings on the
Heating Element W are between the Element Bracket X and Heating Element W.
See diagram below. W.
NEXT, attach Ash Pan AA to bottom side of Lower Body P. Slots in Ash Pan M
line up with teeth on bottom side of Lower Body P. Twist counter clock wise to
lock in place, clockwise to remove for emptying. P
LAST, Place Wood Chip Bowl Q directly on Heating Element W. Assemble Side
Shelf U with bolts provide for shelf and Mount Side Shelf U to Lower Body P
using Bolts, Nuts, Washers, and Lock Washers V. Mount three Brackets S to
Lower Body P using Bracket Bolts T.
USE DOME
(IF DESIRED)