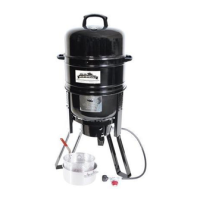
STEP 3:
Dome Assembly
FIRST, mount Heat Indicator D to top of Dome A
using the Large Bolt E.
NEXT, mount Handle B to Dome A with Wing Nut,
Lock Washer, and Washer C. Mount Air Damper F
to Dome A using Nut & Bolt G
76
STEP 3:
Middle Body Assembly
FIRST, mount Handles L to sides of Middle Body H using Wing Nuts, Lock
Washer, Washers M.
NEXT, mount Grill Rack Brackets J to inside of Middle Body H using Bracket
Bolts K. The longest Grill Rack Bracket J is used for Water Bowl O. Mount the
longest Grill Rack Bracket J to the bottom set of holes. Slide Wood Door N into
slot in front of Middle Body H. Door opens from top to bottom.
LAST, Place Water Bowl O to the bottom Grill Rack Bracket J and place Grill
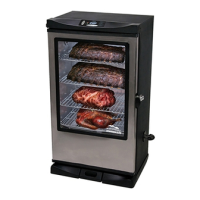
Racks I where desired. Use all three Grill Racks I to smoke small to medium
fish, jerky, chicken, etc. Use two Grill Racks I for larger dishes like ham, turkey or
Boston butt. Use Lower Body P with one Grill Racks I for hamburgers, hotdogs
and steaks, etc. I
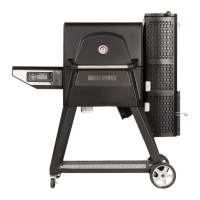
GETTING STARTED – SMOKING
NOTE: The wood bowl must touch the heating element. This allows the
bowl to heat up, allowing wood chips or chunks to smoke.
WET SMOKING
CONFIGURATION
ADD
WATER
AND/OR
MARINADE
HERE
ADD
WOOD
HERE
ADD
WOOD
HERE
RACK
PLACEMENT
(UP TO 3
RACKS
CAN BE
USED
AT THE
SAME
TIME)
USE DOME
(REQUIRED)
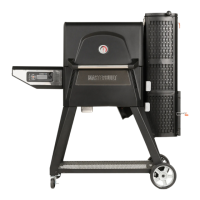
DRY SMOKING
CONFIGURATION
USE
BOWL
WITH
NO
LIQUIDS
USE DOME
(REQUIRED)
Add water of favorite marinade to the
water bowl. Place wood chips of chunks
into the wood bowl. If you need to add
wood chips or chunks during cooking,
add them through the wood chip door.
Same as wet smoking (left), but do not
add liquid to water bowl. Wood chips or
chucks are still needed for wet smoking.