Technical Techniques
Step 7: All models, except X2: Gentlyscrapeanyremainingsealant,avoidingscratchestothegelcoatbeneath.
Step 8: All models, except X2:Patchtheholesthroughthetransomwherethe
actuatorhadbeenlocated.
Preparation for installation of GEN 2 wake shaping device plates for all
models except X10 & X25:
(For X 10 and X25, go to Step 11 for shim locations.)
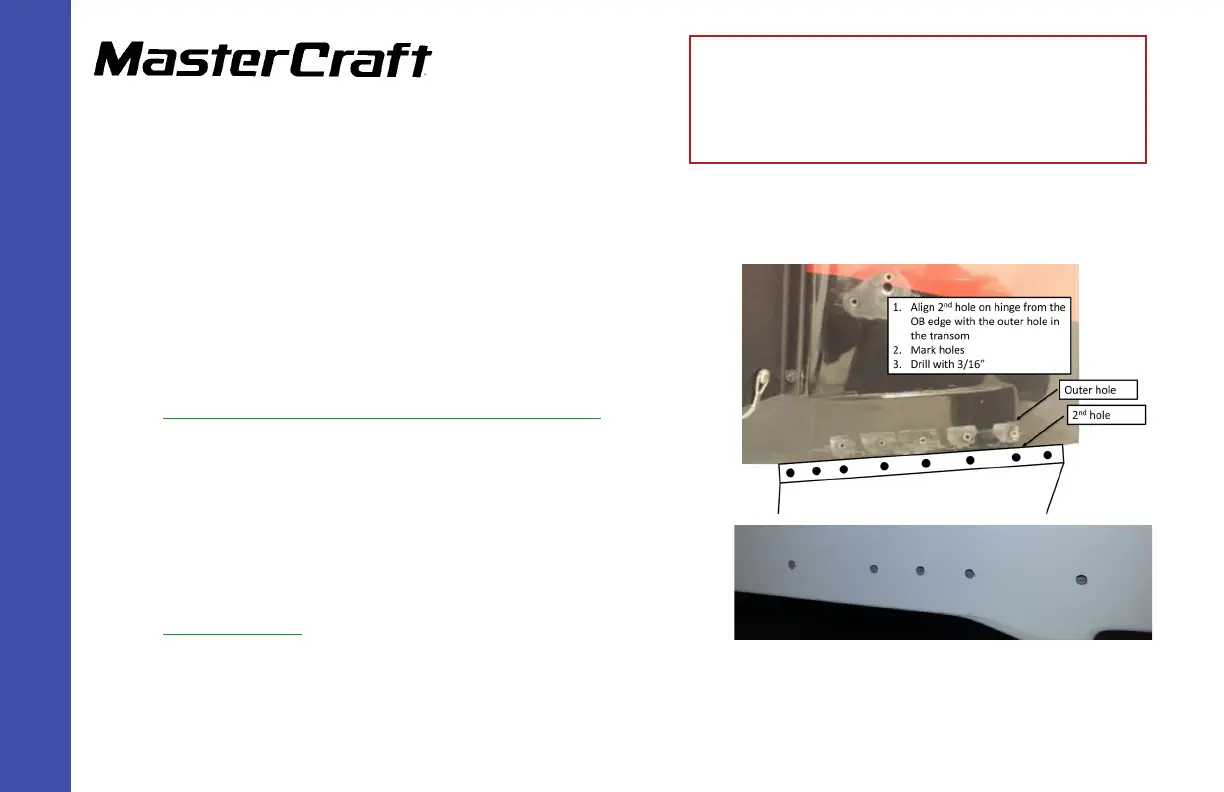
Step 9: All models except X25: TheGEN2platesalignwiththetransomdesign,
ashadtheGEN1plates.TheGEN2platerstholealignswiththerst
holeinthetransom.Aligntheplateoneachsidewiththenaturalbottom
andbump-outofthetransom.Markthedrillholeswithagreasepencil.
Step 10: Usingthe3/16”drillbit,drillthroughthemarkedholelocations.
Move to Step 15.
Preparation for installation of GEN 2 wake shaping device plates for
X10 & X25:
Step 11:BecausethenewtabsarewiderthantheGEN1,itwillbenecessarytoinstallshimsonbothsides.Theshimsforeithermodel
havebeenmachinedtotproperlywhenalignedwiththenaturalcontoursofthebottomandbump-outofthetransom.(The
GEN 2 Wake Shaping Devices Installation
(Replacing GEN 1) for X2, X10, X25,
X30, and X46
(Page 3)
X-25 illustration