Technical Techniques
PROCEDURE:
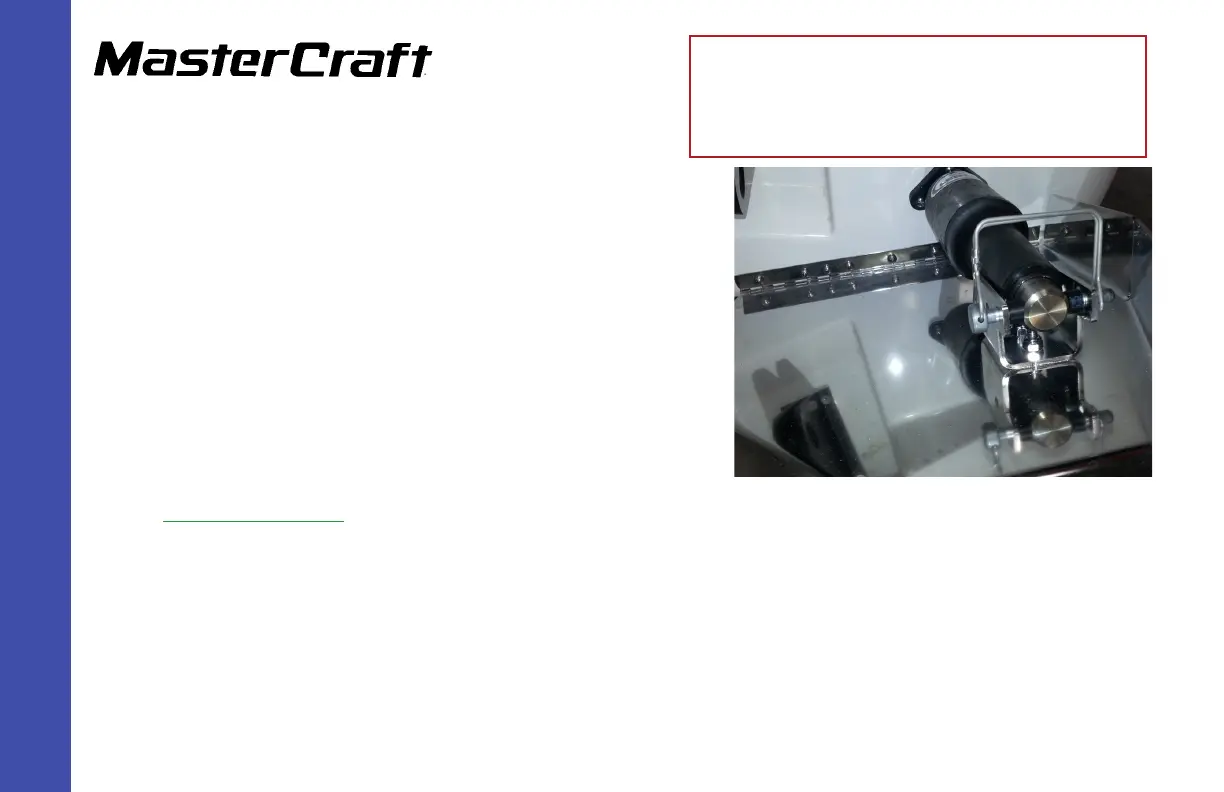
These instructions were prepared in anticipation of removing the original
GEN 1 surf tab, shown right.
Removal of GEN 1 items:
Step 1: Usingscrewdriverorpowerdriver,removetheexistingwakeshaping
devicesonbothsides.
Step 2: Usingascraper,gentlyremoveanyremainingsealant,avoidingscratch-
estothegelcoatbeneath.
Step 3: All models, except X2:Removetheactuatorsonbothsides. (Acutator
locations are moving on all models except the X2.
(For X2, go to Step 9.)
Step 4: All models, except X2: Removeboth closeoutsintheenginecompartmenttoaccessthewiring.
Step 5: All models, except X2:Unplugtheactuatortabfromthewiringharness.
Step 6: All models, except X2: Cuttheactuatorwireandpullthroughthehullholewheretheatuatormountedonthetransom.Dis-
cardthetabontheconnectorside.
GEN 2 Wake Shaping Devices Installation
(Replacing GEN 1) for X2, X10, X25,
X30, and X46
(Page 2)