1. This product is intended to be supplied by a UL listed power
supply unit marked “Class 2” or “LPS” or “PS2” and rated 12VDC,
2A min.
2. The wired LAN hub providing Power over the Ethernet (PoE) in
accordance with IEEE 802-3af shall be a UL listed device with the
output evaluated as a limited power source as defined in UL60950-
1 or Ps2 as defined in UL62368-1.
Installation Instruction
7
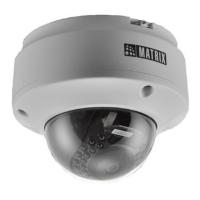
Step 1: Select a Location
Select a suitable location for your camera to enable coverage of the
intended surveillance area. The location should preferably be a flat
surface, such as a wall or a ceiling.
You can install the camera where cables are running through the
interior of the wall or ceiling. Else cabling has to be done through
POE.
Installation
Before you start:
You can insert SD card in camera to store recordings during network
failover and to upload image or clip as a result of event trigger.
See page 22 to view the SD card slot in camera.
8
Step 2: Prepare for Installation
Ensure that the necessary cabling to connect the camera to LAN port
and Power outlet are in place. The connecting cables from the
monitoring site should be ready at the installation site.
Please make sure,
Ÿ The device in the package is in good condition and all the
assembly parts are included.
Ÿ All the related equipments are powered-off before installation.
Ÿ The wall or ceiling is strong enough to support the weight of
camera.
 Loading...