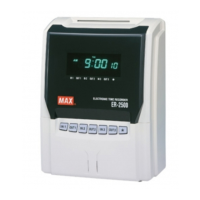
REPLACING THE INK RIBBON CASSETTE
Use only ER-IR103 ink ribbon cassettes.
Replace the ink ribbon cassette using the following procedure, if the printing is too light.
CAUTION
Never touch the printer head. It is very hot just after printing and you could
get burned.
Disconnect the power cord from the plug socket.
Wash your hands/body imme
diately with soap if the ink ribbon rubs off on
them.
Procedure
1. Disconnect the power cord from the plug
socket.
Open and remove the front cover.
2. Holding (1) as shown, lift the cassette out.
3. Turn the knob (4) of the new ink ribbon cassette in the direction indicated by the arrow to re-
move any slack in the ribbon.
4.
Insert the cassette properly as illustrated
Then turn the knob again to remove the
5. Close the front cover and connect the power cord.
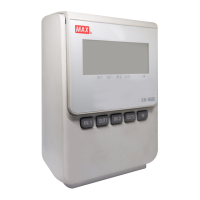
WALL MOUNTING AND LAID-DOWN POSITION INSTALL
If mounting on a wall, make sure the wall is strong enough to hold the mount
Mount ER-1600 by the attached wall mounting plate.
Do not use other materials.
Disconnect the power cord before installing on wall.
Wall Mounting
If hanging ER-1600 on a wall, use the following procedure.
1. R
emove screw (A) and the attached wall mounting
plate as illustrated.
2. Fix the wall mounting plate to the wall with the i
cluded 2 screws (accessories).
3. Install ER-1600 into the wall mounting plate as illu
trated.
Laid-Down Position
1. Remove the front cover.
2. Press the key for Laid Down Position.
3. The clock display will turn upside down.
The time on the display shows 24-hour format only.
Screw (A)