EasyManua.ls Logo

Max ER-2500 - User Manual

Max ER-2500
30 pages
Print Icon
To Next Page IconTo Next Page
Loading...

Questions and Answers

  • E
    emilymosleyAug 1, 2025
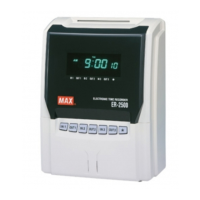
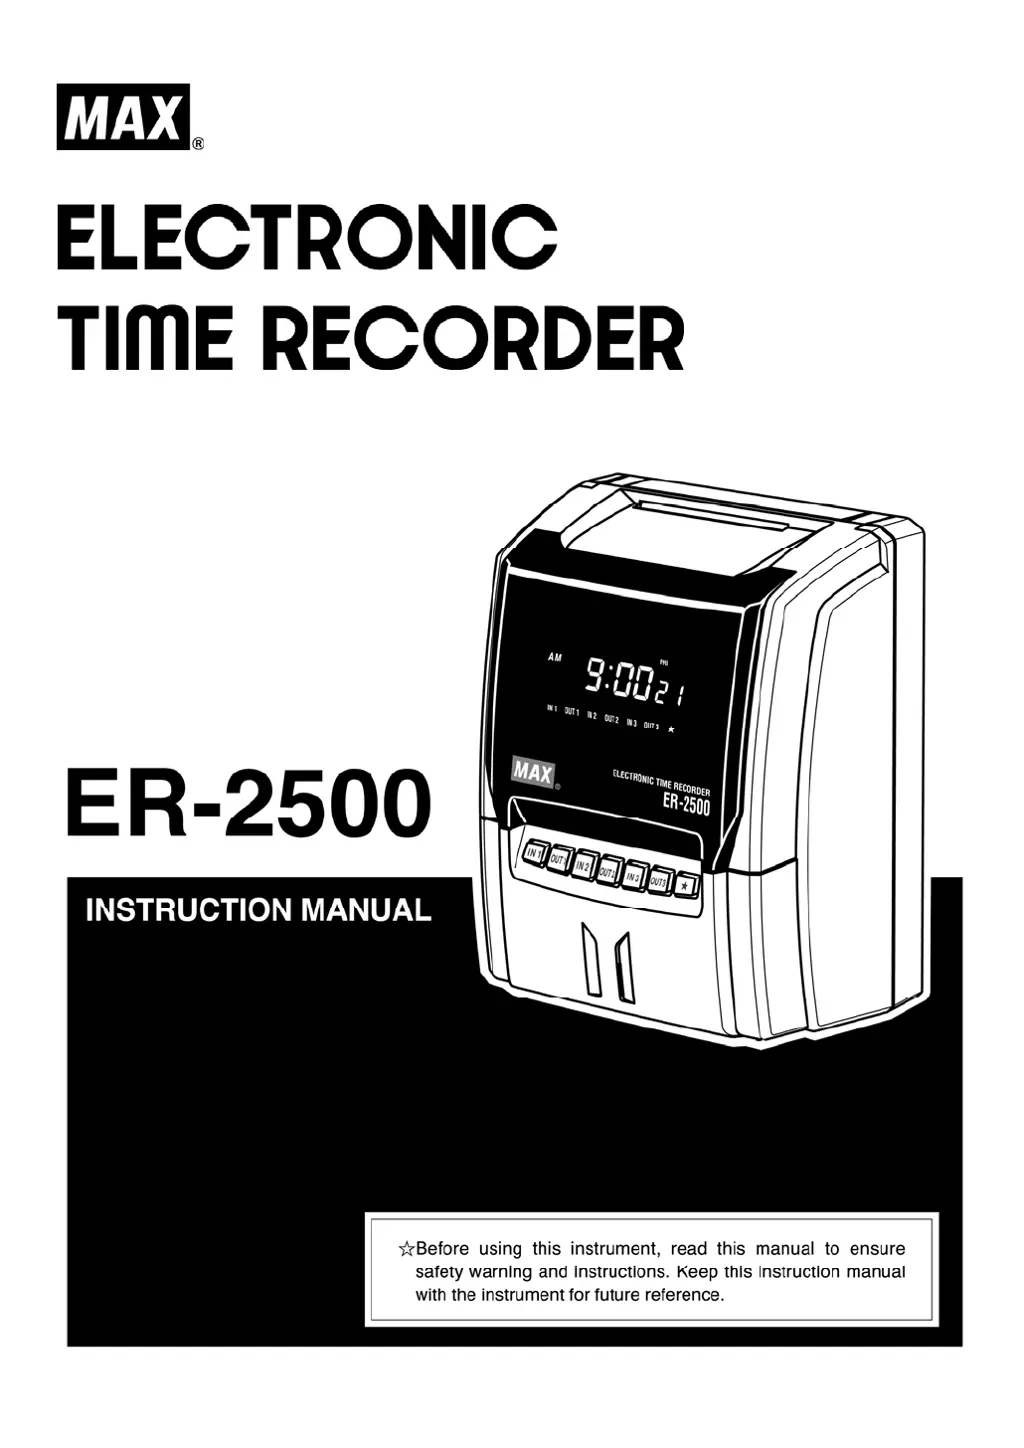
    Why is the printout faint on my Max ER-2500?
    • J
      Jennifer CoxAug 2, 2025
      If the printout on your Max Clock is faint, it might be due to the ink ribbon. Check if the ink ribbon has been used for too long or if the ink ribbon cassette is inserted correctly.
  • M
    Marvin GutierrezAug 12, 2025
    What to do if there is deviation in the printing line position of Max ER-2500 Clock?
    • M
      Michael ParksAug 13, 2025
      If you're experiencing deviation in the printing line position with your Max Clock, consider these points: * Avoid inserting the card too forcefully. * Do not pull out the card while it is printing. * Avoid holding the card when it's being automatically pulled inside. * Ensure the card isn't damp.
  • N
    Norma HughesAug 21, 2025
    What to do if card insertion is obstructed in Max Clock?
    • V
      villarrealkaraAug 21, 2025
      If card insertion is obstructed in your Max Clock, make sure you're inserting the card on the correct side and that the card isn't bent or damaged.

Summary

Before Use

Safety Instructions

Provides crucial safety warnings, cautions, and symbols for proper instrument usage and hazard prevention.

Accessories

Lists all included accessories with the electronic time recorder for user confirmation before operation.

Main Features

Details the key functionalities and capabilities of the ER-2500 electronic time recorder.

Parts Descriptions

How to Open and Close Front Cover

Display and Keyboard

Display Layout

Explains the layout and meaning of symbols displayed on the electronic time recorder's screen.

Keyboard Layout

Details the layout of the keyboard and the functions of each key for operation and setting.

How to Operate

How to Set Up

Key-Card

Explains the necessity and procedure for using the Key-Card to set or change device data.

Basic Operation of Setting or Changing Data

Outlines the fundamental steps for setting up or modifying data using the instrument's interface.

Setting Mode 1

Machine Mode 1 (CODE 01)

Sets the machine mode, including employee capacity and function activation for the time recorder.

Machine Mode 2 (CODE 02)

Configures the 12/24-hour format and pay period for the time recorder's operation.

Pay Closing Date (CODE 03)

Sets the pay closing date for monthly, weekly, or bi-weekly pay periods.

60 or 100 Scale (CODE 04)

Selects the time printing style, either regular minutes (1/60) or 1/100th of an hour.

Daily Total Hours (CODE 05)

Configures the style for displaying Daily Total Hours and Accumulation of Daily Total Hours.

Setting Mode 2 (Year, Month, Date, Hour, and Minute)

Setting Mode 3

Holiday (CODE 01)

Allows setting specific days of the week as holidays for special printing.

Special Day (CODE 02)

Enables setting specific days of the week as special days for unique operational programs.

Line Shift Time, IN;OUT and Overtime Working (CODE 03 to 10, # FOR SPECIAL DAY: CODE 11 to 17)

Sets Line Shift Time, IN/OUT times, and Overtime working times for regular and special days.

Daylight Saving Time (CODE 18 to 19)

Configures the starting and ending dates for Daylight Saving Time adjustments.

Setting Option

Melody (CODE 01)

Sets the type of melody for the internal time signal and controls external bell timing.

Time Signal (CODE 02 to 23)

Sets up to 22 time signals with specific times and days of the week for audible alerts.

Connection to External Time Signal (ER-2500 R)

Replacing Ink Ribbon Cassette

Wall Mounting and Laid-Down Position Installation

Error Codes

Caution Code

Trouble Shooting

Specifications

Max ER-2500 Specifications

General IconGeneral
BrandMax
ModelER-2500
CategoryClock
LanguageEnglish

Related product manuals