11921 Slauson Ave. Santa Fe Springs, CA. 90670 (800) 227-4116 FAX (888) 771-7713
35
To prevent damage to • ow control valve, do not disassemble the valve.
Keep dirt, water and other contaminants from entering the hydraulic system.
Before opening the hydraulic •
uid reservoir fi ller cap, drain plug and hydrau-
lic lines, clean up contaminants that can get in the openings. Also, protect
the openings from accidental contamination during maintenance.
CAUTION
CAUTION
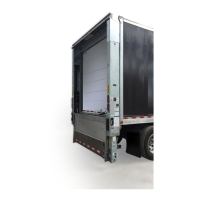
FLOW CONTROL VALVE ON RH CYLINDER
FIG. 35-1
FLOW
CONTROL
VALVE
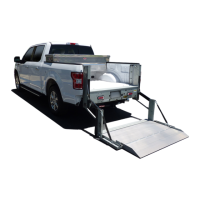
4. Make sure platform is on the ground. Check
the RH !
ow control valve as follows. Remove
! ow control valve (FIG. 35-1). Ensure the ! ow
control valve operates with a smooth spring-
loaded action. Check for debris inside the
valve. Clean or replace the ! ow control valve,
if necessary. Reinstall ! ow control valve (if
good) or a replacement. Do the same for the
LH ! ow control valve.
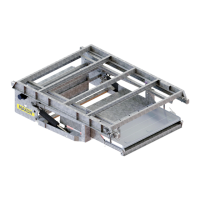
RH CYLINDER
CHECKING SOLENOID VALVE
FIG. 35-2
VALVE
CARTRIDGE
1/8”
5. Check the lowering solenoid valve as follows.
Check if "
ltering screen is plugged. Clean
carefully if required. Push on the plunger in
the valve by inserting small screwdriver in the
open end (FIG. 35-2). If the plunger does not
move with a smooth, spring-loaded action (ap-
proximately 1/8”), replace the valve cartridge.
Reinstall lowering solenoid valve (if good) or
a replacement. Torque valve cartridge to 30
lbs.-ft. and hex nut to 30 lbs.-in.
 Loading...