Flow
Flow
HAZCHEM 2R UN 1789
PKG GRP II
10
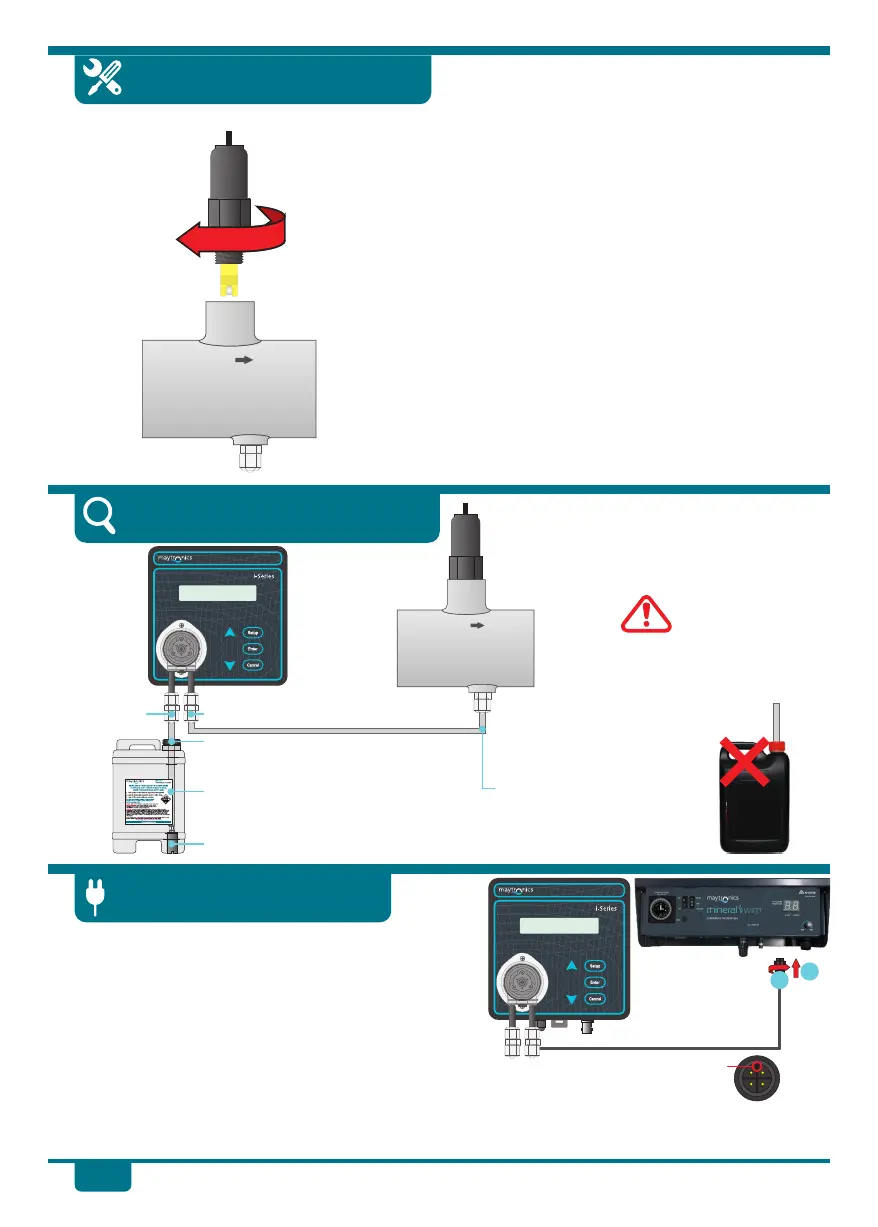
1. Carefully remove the protective cap from the
tip of the sensor.
2. Screw the pH Sensor into the pH Tee thread.
Tighten firmly by hand. DO NOT OVER-
TIGHTEN. DO NOT USE A TOOL.
3. After the pH Sensor is installed in the pH Tee,
connect plug on the pH Sensor cable into the
sensor socket on the pH Drive. Push the plug
into place and 1/4 turn clockwise to lock it into
place.
pH Sensor Installation
Suction tube
on left side
Delivery tube on right side
Acid safety label fitted to drum.
Suction tube fed through 7.0mm
hole, drilled into acid drum lid.
Drum weight inside acid drum.
All installation steps are now complete. It is recommended that you use the Quick Dose function
with 1 Litre of fresh water to test the system for leaks before using your pH Drive with acid.
u Locate the pH Drive power socket on your
Maytronics Ozone Swim system. Remove the dust
cover. The keyway of the power socket is towards
the front of the unit. Align the pH Drive plug with
the keyway of the socket and push in.
v Screw the retaining nut of the plug clockwise until
finger tight to lock the plug into place to seal.
Connect Power Lead
Keyway
1
2
Delivery tube firmly
fixed into non return
valve in pH Tee.
Completed Installation
DO NOT fit suction
tube directly into
neat acid container.
See page 6 for Acid
Dilution information.
Hydrochloric Acid
320G/L
5 Litres
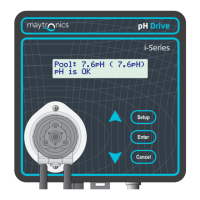
pH Drive
pH Drive