Then, using a drill bit slightly larger than the tip of
your saw blade, drill one hole at each of two
diagonally opposite corners. The holes should bare-
ly touch the inside edge of the penciled outline.
Before taking the next step, make sure that the six A
and B holes have been drilled.
4. Saw the Panel Cutout
Saw carefully on the inside of the penciled lines.
First make the two long cuts and then the two short
cuts. After the rectangular opening has been cut out,
use a file to square the corners and smooth any ir-
regularities in the cut edges.
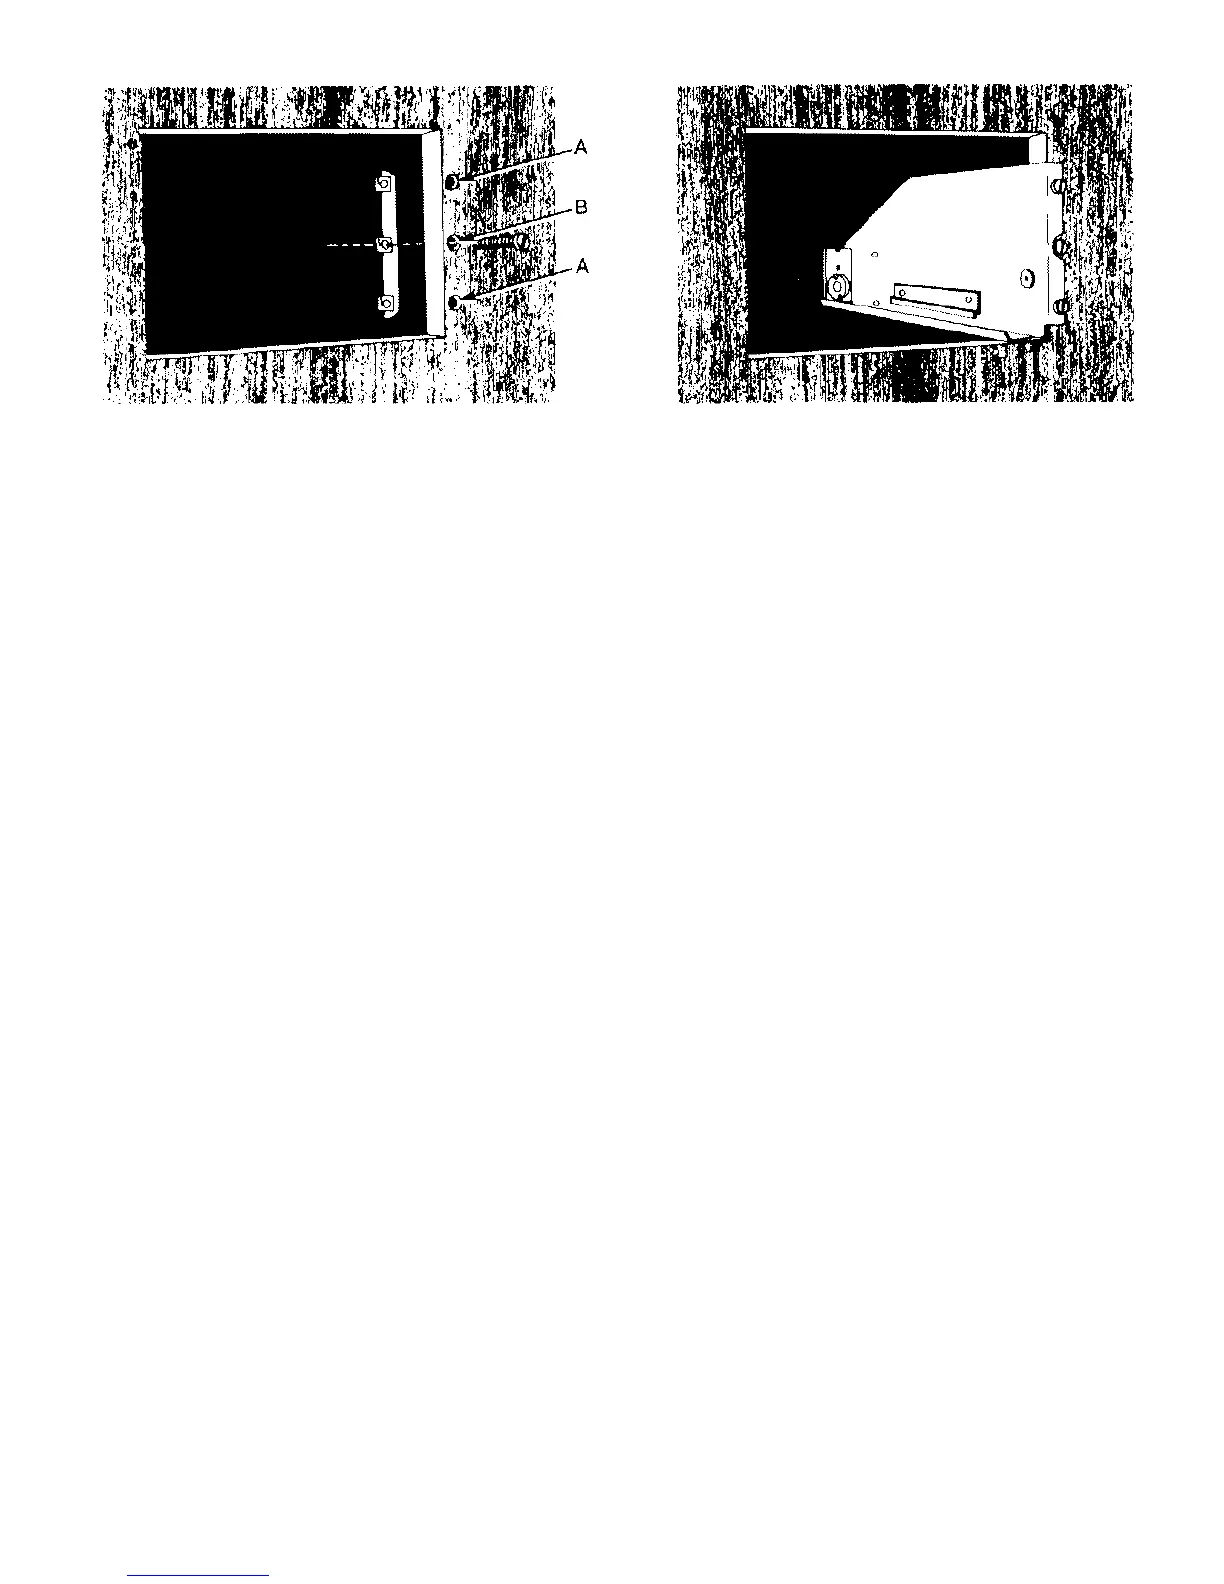
5. Install the Mounting Strips
In the hardware package you will find two mounting
strips, and two sets of machine screws. For panels
that are less than 1/2 inch (12.7 mrn) thick, use the
3/4 inch (19.1 mm) screws; for panels that are more
than 1/2 inch (12.7 mm) thick, use the 1-1/4 inch (31.8
mm) screws.
Starting at the right-hand side of the panel, insert
a screw of the proper length into the center hole in
the panel, marked B on the template. On the back of
the panel, align a mounting strip with the holes in
the panel and tighten the screw until the screwhead
is pulled into the wood.
Repeat this procedure to attach the mounting
strip to the left side of the panel.
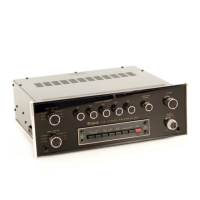
6. Attach the PANLOC Brackets
Using two screws of the proper length in the A holes
on each side, attach the PANLOC brackets to the
cabinet panel; the short flange is mounted against
the front (face) of the cabinet panel. The screws
pass through the PANLOC bracket flange, the
cabinet panel, and then through the mounting strips
previously mounted.
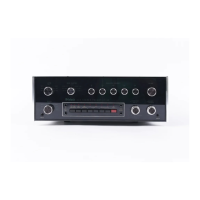
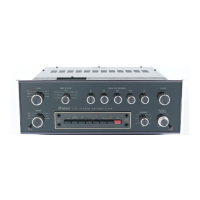
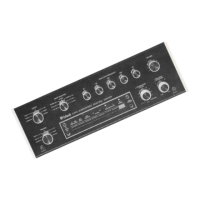
7. install the Instrument
Guide the AC power cord through the panel opening
to the back of the cabinet; then, slide the instrument
into the opening carefully so that the rails on the
bottom of each side of the chassis engage the
tracks on the mounting brackets. Continue to slide
the instrument into the cabinet until it is stopped by
the intermediate position latches. Press the latches
inward, this permits the instrument to slide into the
cabinet until its front panel is flush with the cabinet
panel. Depress the PANLOC buttons at the lower left
and right corners of the instrument panel to lock the
unit firmly in the cabinet. Depressing the PANLOC
buttons again will unlock the instrument so that it
can slide outward to the intermediate position; if
you press inward on the intermediate position lat-
ches then you can remove the instrument from the
cabinet.
5