800-797-4632 . mecoutdoors.com
6
SMART SERIES
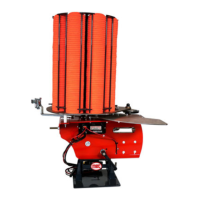
Clay Target Machine Electrics
Step 1 - Remove all previously existing electrical
components from the machine (Fig. 2).
Step 2 - Mount the SMART Series Pod onto the
mainframe. For this step you will either use
the included hardware to mount directly to the
frame, or the included 3M Dual Lock Strips. (Fig.
3) If using the strips, make sure to place the pod
within close proximity of where the old electric
box used to be. (Fig. 4)
Step 3 - Connect the J1 Plug into the SMART
Series Pod (refer to Fig. 5 & Fig. 15). Once that
plug is connected, take the limit switch wire and
reconnect to the limit switch. (Fig. 6 & 7) After
this is complete you can reattach the top plate.
(Fig. 8)
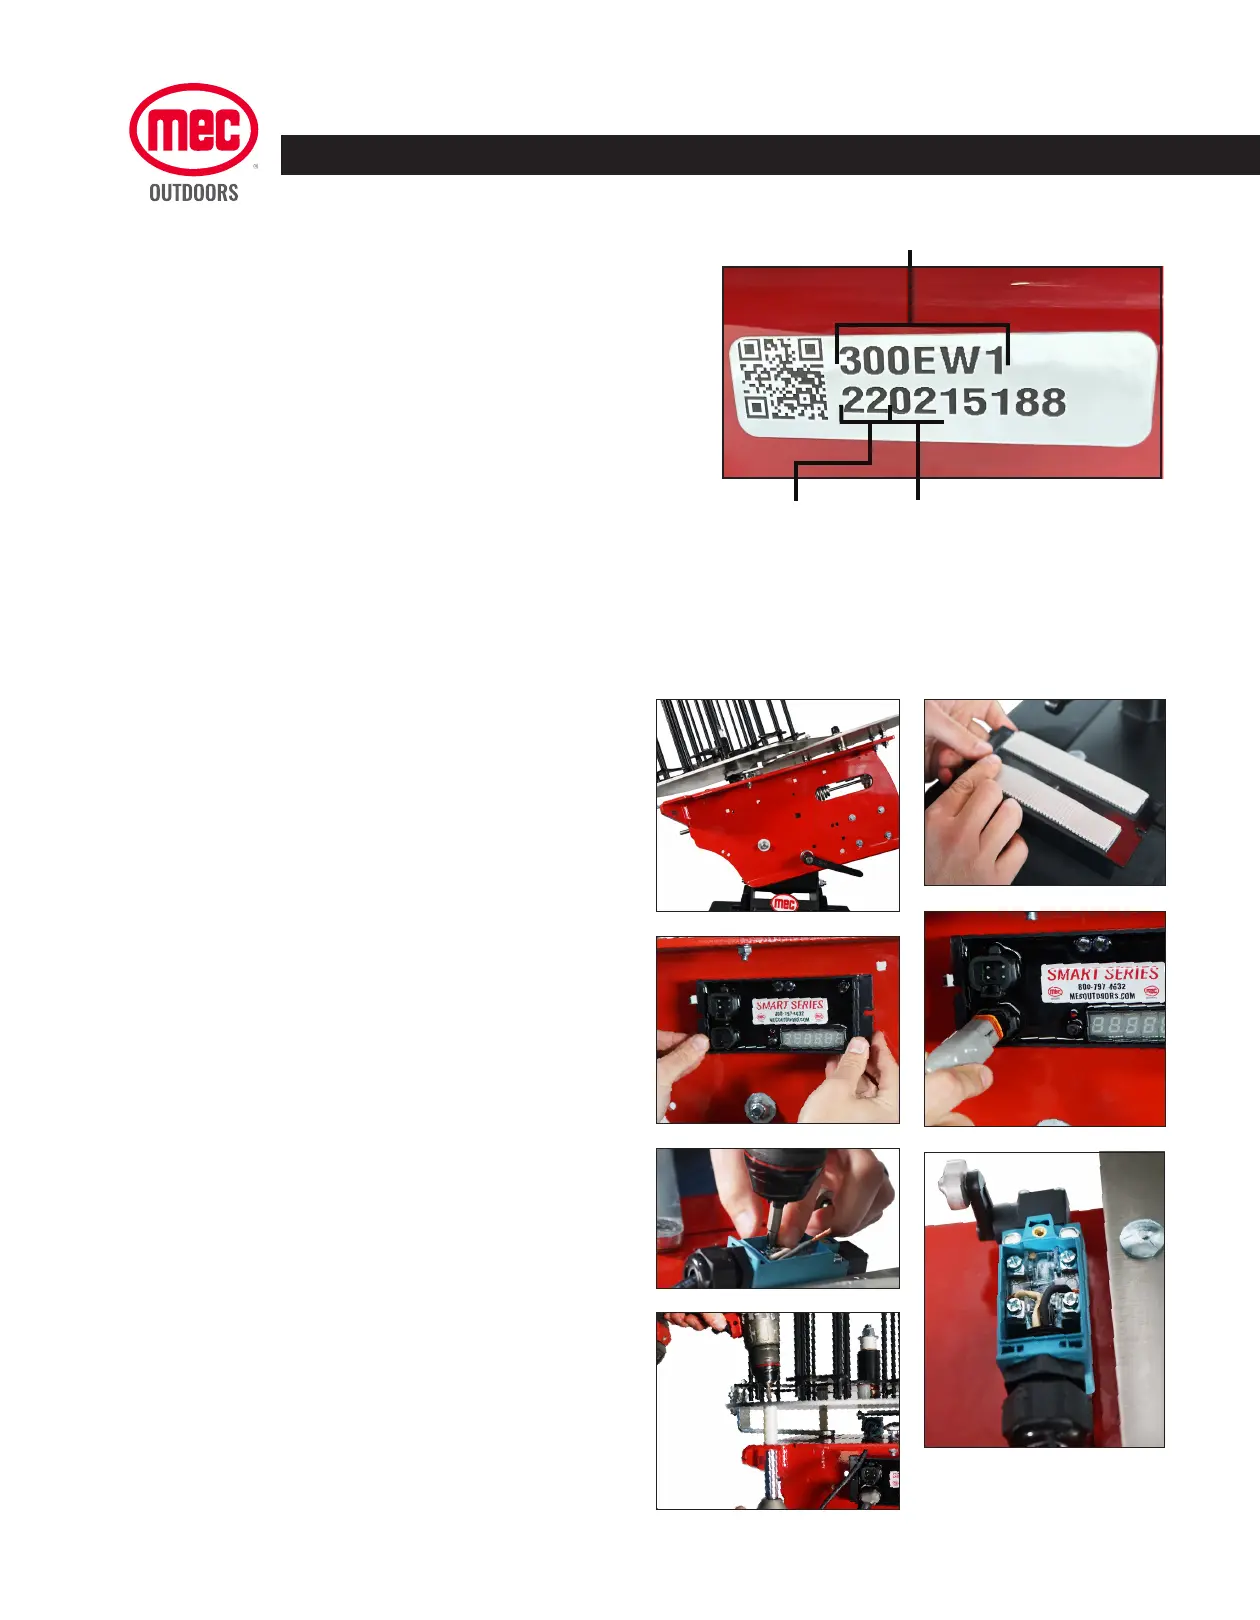
MOUNTING INSTRUCTIONS
*Note: If your MEC Clay Target Machine was built prior
to November of 2019, you will need to use the included
3M Dual Lock strips to mount the SMART Electrics Pod
to the mainframe of your machine. You can locate your
machine’s year and month by referring to Fig 1.
If you are retrotting the SMART Electrics on a non MEC
Machine you will need to use the 3M Dual Lock Strips.
FIG.1
Model
Year
Month
To see if your machine already has the mainframe holes pre-drilled refer to Fig.15 on the following
page. If the holes are in place, you will nd 2 holes drilled through the mainframe 6.75” apart.
Fig. 3
Tools Required for Mounting to a MEC Machine:
- ½” wrench
- Phillips Screwdriver
- Wire Crimping Tool
- 10mm wrench (Not required if mounting pod to
the mainframe with 3M Dual Lock Strips)
Fig. 2
Fig. 4
Fig. 5
Fig. 7
Fig. 8
Fig. 6