H4-EN Calibration P
AGE
26/44
5
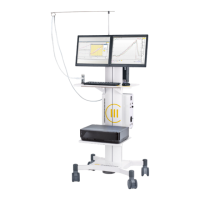
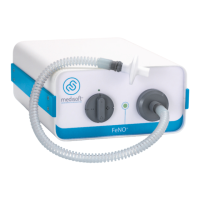
Connect the Prevent Pitot tube to the umbilical. Make sure the connector of the
umbilical is connected to the Prevent to the right side (honeycomb sticker in the
same side than the honeycomb of the Prevent).
Select the Volume tab.
Select the device (if there are several modules connected to the same computer).
Define the calibration syringe volume (by default, it is set to 3 liters).
Click on Calibrate.
Wait for the zero flow measurement (red cross).
When the green check mark is displayed, the device is ready to calibrate. The flow
transducer is zeroed and the signal is displayed. Be sure the voltage outputs of the
flow transducer (both values) are within ± 50 mV.
Connect the 3 liter syringe to the Prevent Pitot tube (to the honeycomb side) with
the light blue rubber adapter.
Perform several calibration syringe strokes (being sure to include the entire volume,
end to end of the syringe) at a very low constant flow rate. Make sure you don’t
exceed the maximal flow rate indicated in the green bar.
After 5-6 full strokes of the syringe at low flow rate, the label “High flow” is
highlighted in red. Perform several calibration syringe strokes (being sure to include
the entire volume, end to end of the syringe) at a medium constant flow rate.
After 5-6 full strokes of the syringe at medium flow rate, the calibration results
appear. Click on Close to accept the new calibration data or Cancel to perform a
new calibration.
Analyze the results of the calibration.