Basic operation
35
GB
Install the appliance on a stable, at
and dry surface.
Do not install the appliance in the vicin-
ity of sinks or the like.
Do not install the appliance on hot
surfaces.
Install the appliance at a sucient
distance (approx. 10cm) from the wall
and other objects. The space above the
appliance should be at least 20cm.
Route the power cable so it cannot be
damaged by edges or hot surfaces.
3.3 Connecting the appliance
Observe the following instructions:
Check that the supply voltage matches
the operating voltage specied in the
technical data (see tableTechnical data
on page51).
Only connect the appliance to a prop-
erly installed earthing contact socket. If
in doubt, consult a specialist electrician.
The earthing contact socket must have
a fuse of at least 10 A.
3.4 Switching on the appli-
ance for the rst time
Once you switch on the appliance for the
rst time, the appliance performs auto-
matic rinsing. Hot water ows out of the
outlet. The appliance is vented.
Information
We recommend pouring away the rst
two cups of coee after initial start-up.
If you want to use a water lter, only
insert this after starting up for the rst
time.
15
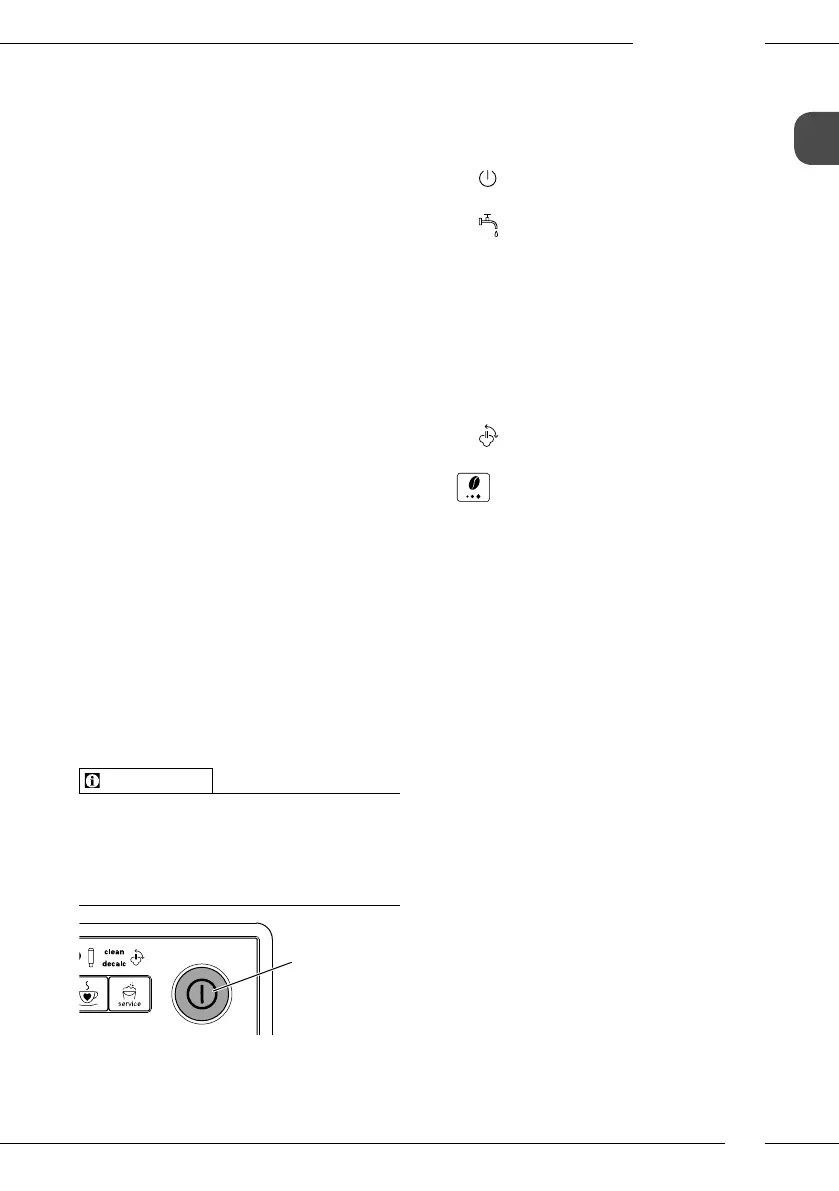
Fig. 4: ON/OFF button
Requirement: The appliance has been
installed and connected.
1. Place a vessel beneath the outlet.
2. Press the ON/OFF button (15).
» The Ready display lights up
briey.
» The Water display lights up and
requests you to ll the water tank.
3. Open the lid of the water tank and
pull the water tank upwards out of the
appliance by the handle.
4. Rinse out the water tank with clean
water. Fill the water tank with fresh
water.
5. Insert the water tank into the appliance
from above and close the lid.
» The Vent display lights up and
requests you to vent the appliance.
6. Press the "Coee strength" button.
» Water ows into the drip tray.
» The appliance heats up and hot
water ows out of the outlet.
7. Once no more water ows out of the
outlet, the Coee bean display lights up.
» The appliance is vented.
8. Fill coee beans into the bean con-
tainer (see section4.3 Filling coee
beans into the bean container on
page11).
9. As required, you can now either
a) set the water hardness (see sec-
tion6.3 Setting the water hardness on
page41) or
b) screw in a water lter (see sec-
tion7.5 Using a water lter on
page48).
4 Basic operation
4.1 Switching the appliance
on and o
Before switching on after starting up the
appliance for the rst time, read sec-
tion3.4 Switching on the appliance for the
rst time on page35.
 Loading...