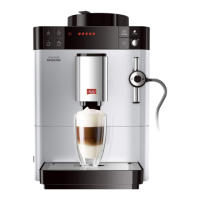
Care and maintenance
44
GB
7 Care and maintenance
Regular care and maintenance of the
appliance ensure the consistent high qual-
ity of your beverages.
7.1 General cleaning
Clean the appliance regularly. Immediately
remove external soiling caused by coee.
ATTENTION
The use of unsuitable cleaning agents
may lead to scratched surfaces.
Do not use any abrasive cloths,
sponges or cleaning agents.
Requirement: The appliance is switched
o.
Clean the outside of the appliance with
a soft, damp cloth and normal wash-
ing-up liquid.
Rinse o the drip tray, the coee
container and the cup plate. Use a soft,
damp cloth and normal washing up
liquid for this.
The coee container is dishwasher-safe.
Clean the bean container with a soft,
dry cloth.
7.2 Cleaning the brewing unit
To avoid damage to the appliance, we
recommend cleaning the brewing unit
once a week.
10
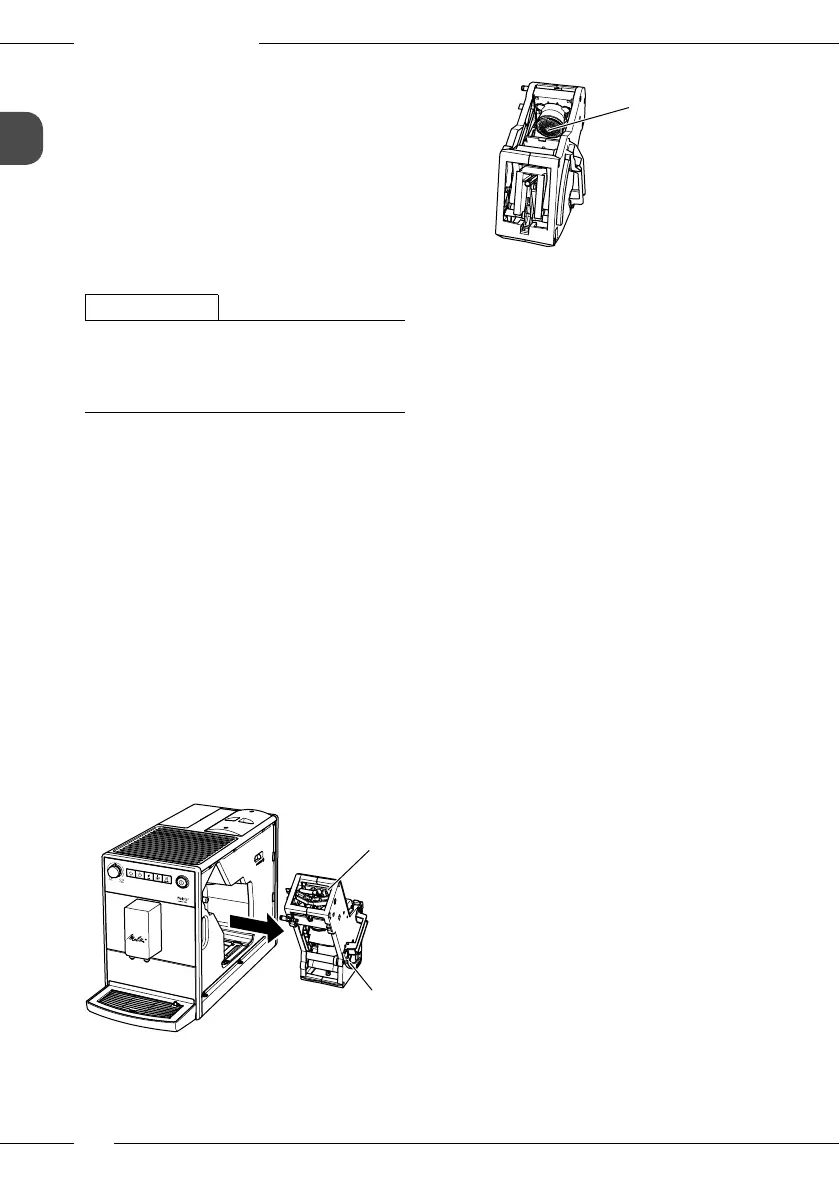
19
Fig. 12: Removing the brewing unit
20
Fig. 13: Cleaning the brewing unit
Requirement: The appliance is switched
o.
1. Open the cover (9). To do this, reach
into the recess on the right of the appli-
ance and pull the cover o sideways.
2. Press and hold the red lever(19) on the
brewing unit handle(10) and turn the
handle clockwise until it engages at the
stop.
3. Pull the brewing unit out of the appli-
ance by the handle.
4. Rinse the entire brewing unit thor-
oughly from all sides under running
water. In particular, make sure that
coee residues are removed from the
sieve(20).
5. Allow the brewing unit to drip dry.
6. Use a soft, dry cloth to remove coee
residues from the surfaces inside the
appliance.
7. Insert the brewing unit into the appli-
ance. Press and hold the red lever on
the handle of the brewing unit and
turn the handle anticlockwise until it
engages at the stop.
8. To do this, insert the cover sideways
until it engages.
When the appliance is switched on, an
alternating ashing of the Ready display
and the Clean display indicates a missing
brewing unit. After the brewing unit has
been inserted, the appliance switches to
Ready mode.
 Loading...