Rev 1.0
Mellanox Technologies
3
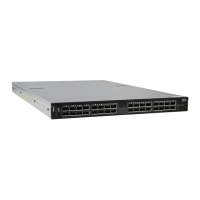
Figure 2: Which Side of the Rack Do You Want the Connectors?
• Do you want the connector side recessed in the rack to allow for larger cable bending radius?
• Will the connector side be recessed past other equipment in the rack and will this be problematic?
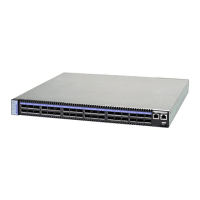
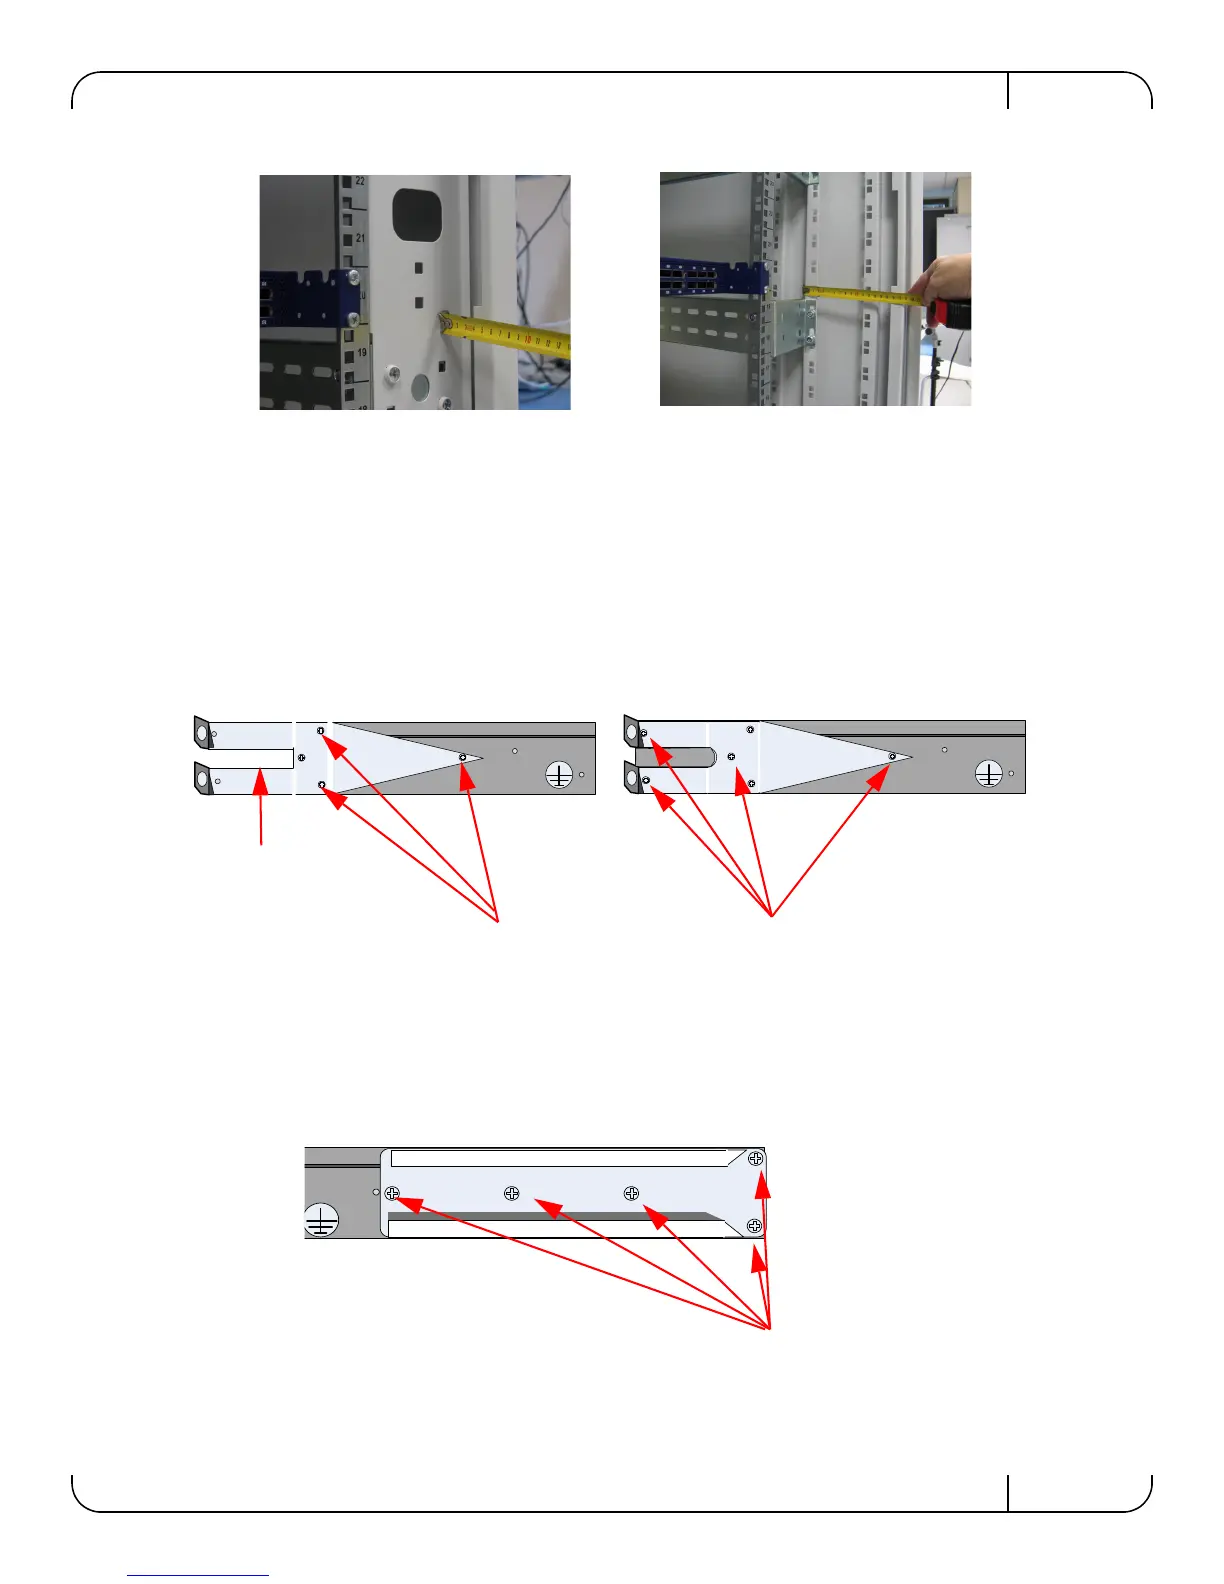
Step 3. Screw the brackets onto the switch. Use the flat head screws to connect the bracket.
There are two options for mounting the bracket. One option will place the switch even
with the vertical support of the rack and the second option will recess the switch fur-
ther into the rack.
Note: The side of the switch with these brackets will be the side that is even with the vertical rack support.
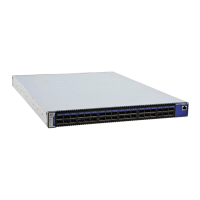
Step 4. Screw the rails onto the switch. Use the 5 flat head screws to connect each rail to the
switch.
The distance between the rack and the door can be as little as 4 cm on one side
of the rack and as much as 18 cm on the other side of the rack. Keep in mind that
there can be as many as 36 cables connected to the switch.
In this position you will use 4 flat
head screws
In this position you will use 3 flat
head screws
Place to
put the
power
cable.
 Loading...