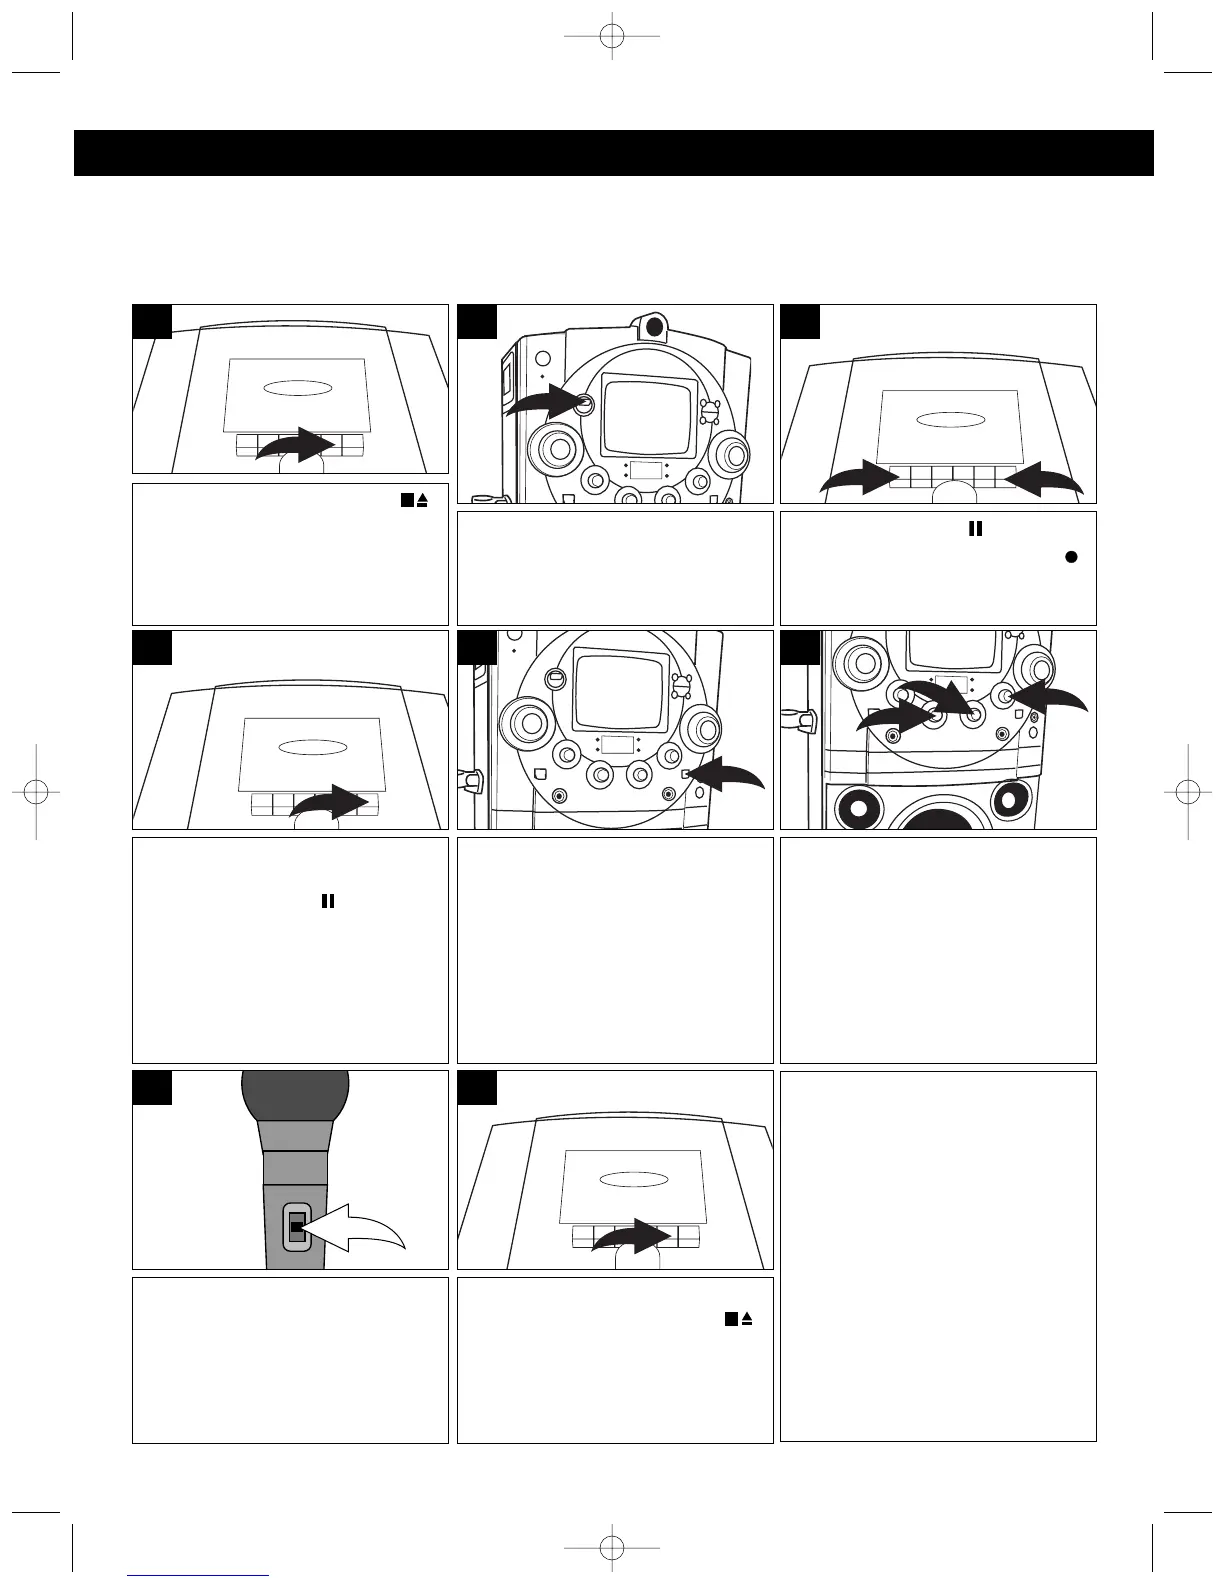
16
Press the STOP/EJECT ( )
button to open the Cassette Door
and insert a cassette with the
open end facing down. Close
cassette door.
1
Press the PAUSE ( ) button ❶,
then press the RECORD
()
b
utton ❷ (the PLAY button will be
automatically depressed).
3
Slide the FUNCTION switch to the
CDG position. Insert the
microphone into the appropriate
jack.
2
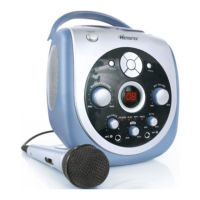
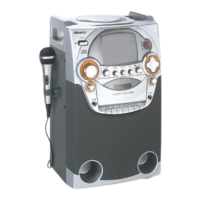
KARAOKE RECORDING FROM A CD OR CD+G (COMPACT DISC + GRAPHICS) DISC
You can record onto a cassette tape from a CD+G karaoke disc or standard CD. CD+G discs combine the
recorded music with an additional video track that displays the song lyrics on a television screen. As the song
plays, the words to be sung are highlighted.
Press the PAUSE button to
release pause and then press the
CD Play/Pause ( ) button on
the front of the unit to start
CD/CD+G playback.
If connected to a TV and using a
CD+G disc, the image and lyrics
will appear on the monitor and/or
external TV (see page 9).
4
Adjust the MIC1/MIC2 VOLUME
controls ❶ as desired. Increasing
this control will increase the
volume of the respective
microphone. Adjust the ECHO
control ❷ to add an echo effect to
your voice. The ECHO control ❷ is
variable so add as much or as little
reverb as desired.
6
Adjust the AUTO VOCAL control
for the best balance between
playback and microphone levels.
IMPORTANT: This feature only
works with multiplex CDs.
5
OPERATION (CONTINUED)
Turn the microphone on using the
Microphone ON/OFF switch. Sing
or talk into the microphone(s) and
both the CD/CD+G and the
microphone(s) will be recorded
onto the cassette.
7
NOTES:
• Refer to SAFEGUARD
AGAINST ACCIDENTAL
ERASURE section (page 18) if
the RECORD button cannot
be pressed.
• Keep the microphone away
from the unit to avoid
feedback.
When you are finished recording,
press the STOP/EJECT ( )
button to stop the tape.
8