OUTBOARD INSTALLATION
64
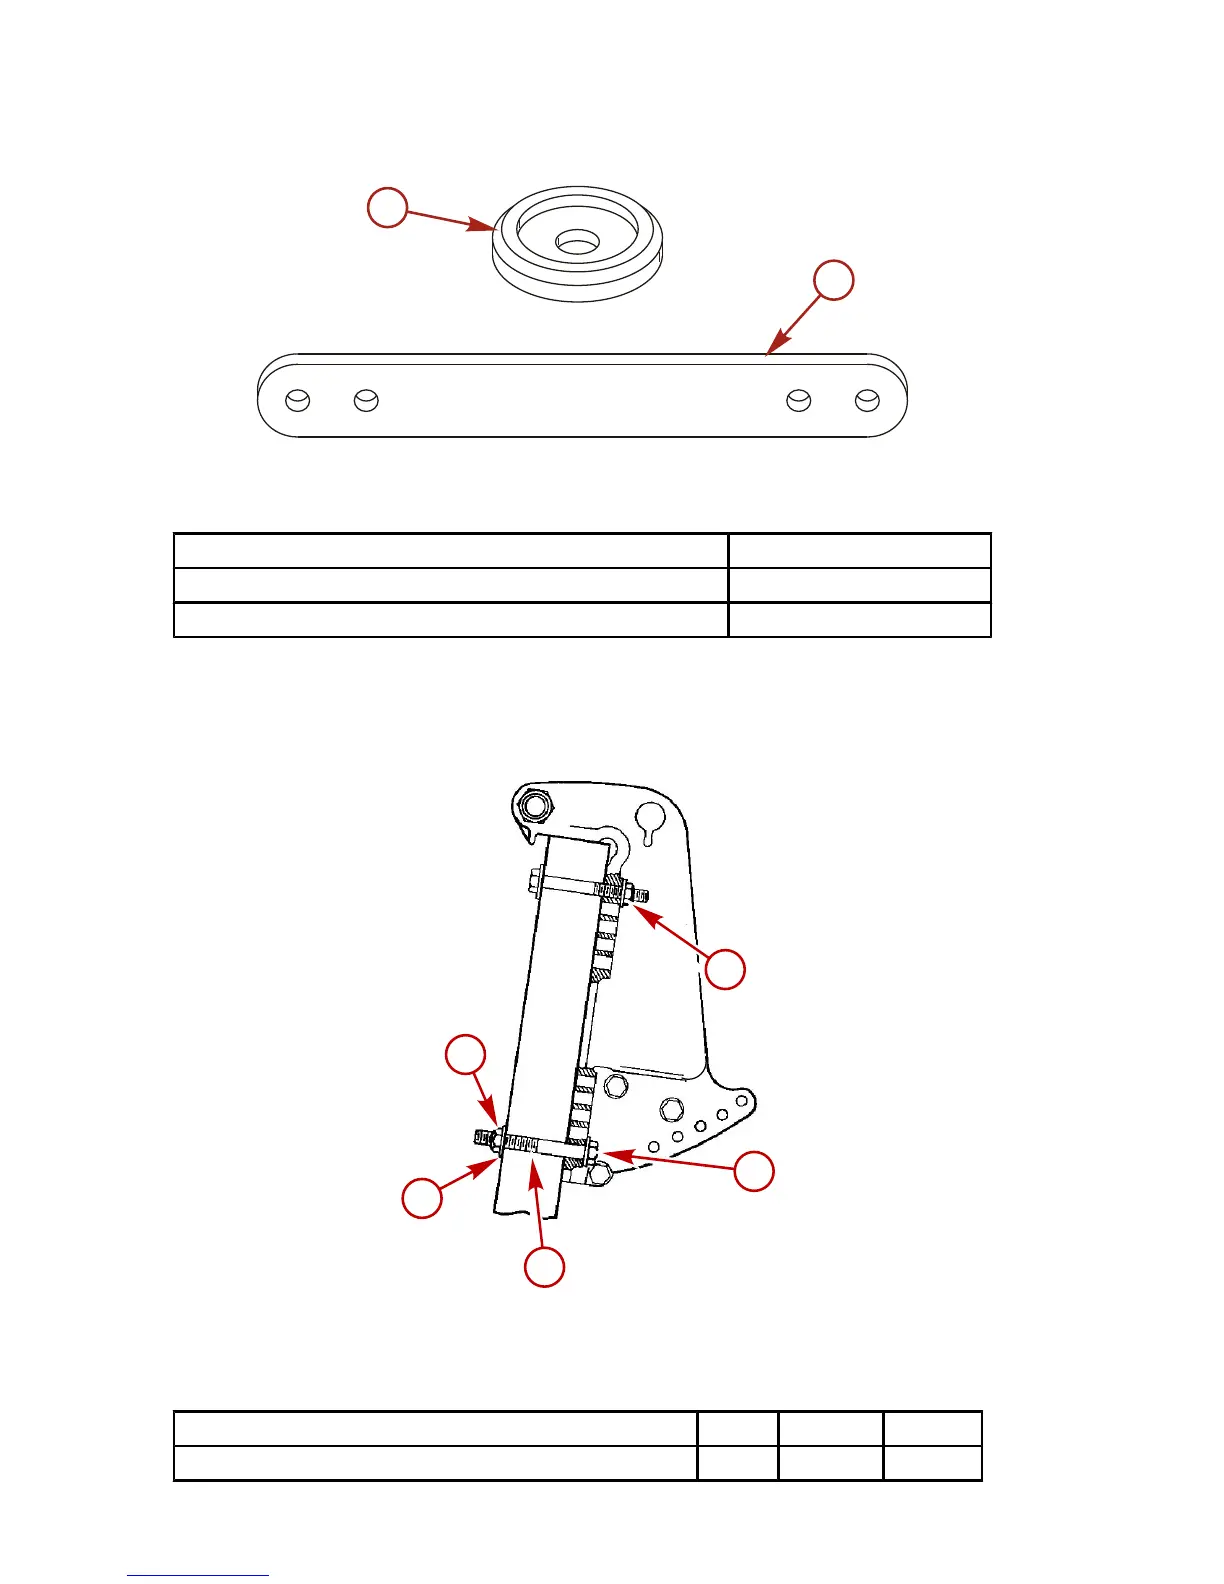
NOTE: The inside holes on the transom reinforcement plate are for the lower transom bolts and the
outside holes are for the upper transom bolts.
a - Large transom washer b - Transom reinforcement plate
Description Part Number
Large transom washer 67-896392
Transom reinforcement plate 67-896305
1. Apply marine sealer to shanks of bolts, not the threads.
2. Fasten the outboard with the correct mounting hardware. Tighten locknuts to the specified torque.
NOTE: For more accurate torque, whenever possible turn/tighten the mounting locknuts rather than
turning the mounting bolts.
3729
a
b
c
d
e
a - Flat washer (4)
b - 1/2 in. diameter bolt (4)
c - Shank of bolt
d - Flat washer (4)
e - Locknut (4)
Description Nm lb. in. lb. ft.
Outboard mounting locknuts and bolts 75 55
 Loading...


